
Product term
How to Configure Lock Screen Features for Dementia Care
Last verified 2026-07-26
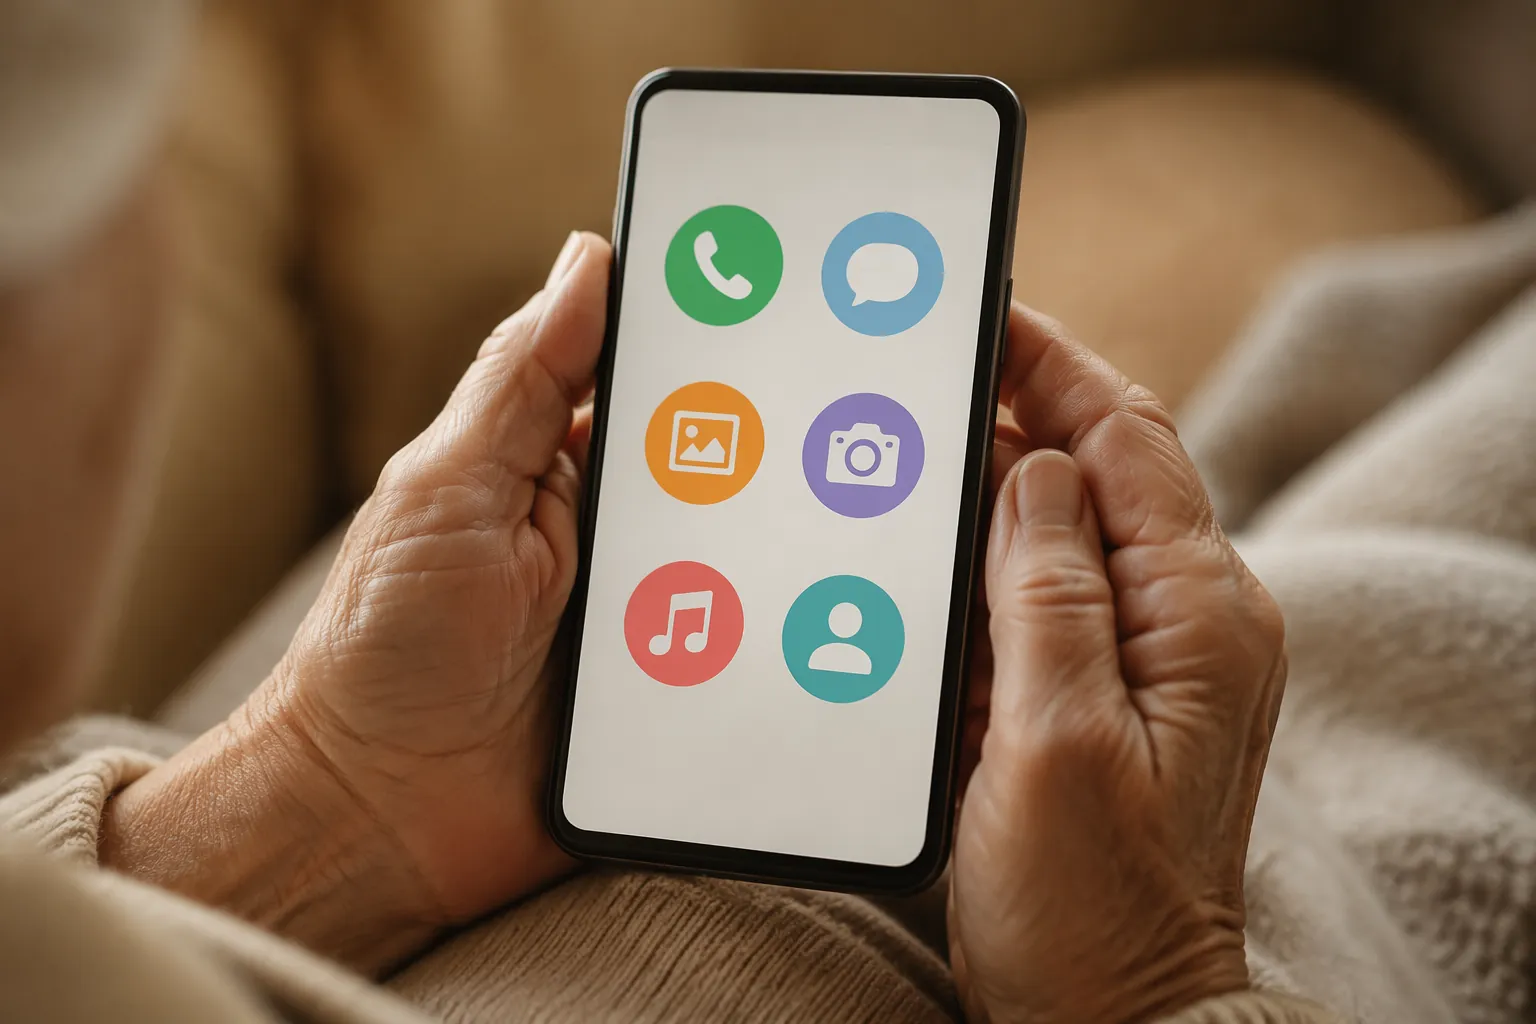
If your parent’s phone is already in your hand, start with the lock screen. The most useful lock screen features for seniors with dementia are not one magic “senior mode.” They are four separate protections: emergency medical information, Emergency SOS, a simplified phone experience, and a way to lock the phone into one app when that is safer.
Set them up from least disruptive to most restrictive. That way, you can stop when the phone is safe enough for today instead of accidentally making it so unfamiliar that your parent refuses to use it.
| Layer | What it protects against | What to configure |
|---|---|---|
| 1. Emergency info | A responder or neighbor cannot identify medical needs or family contacts | Medical ID on iPhone; Emergency Information on Android |
| 2. Emergency SOS | The person cannot find the Phone app or dial during panic | Five side-button or power-button presses to call emergency services |
| 3. Simplified mode | The normal home screen, lock screen, and menus cause confusion or accidental changes | Assistive Access on iPhone; Simple View on Pixel; Easy Mode on Samsung |
| 4. Single-app lockdown | The person only needs one app and keeps wandering into other screens | Guided Access on iPhone; app pinning on Android |
Layer 1: Put Medical ID or emergency information on the lock screen
This is the first setting to do because it helps even when nobody can unlock the phone. On an iPhone, Medical ID can show emergency contacts, allergies, medications, blood type, and organ donor status from the lock screen through Emergency, then Medical ID. Android phones can show emergency information from the emergency call screen, though the exact wording and icon vary by device maker.[1]
iPhone: set up Medical ID
- Open the Health app.
- Tap the profile picture or initials.
- Tap Medical ID.
- Add the details a responder actually needs: name, age, emergency contacts, medications, allergies, major conditions, and blood type if known.
- Turn on Show When Locked.
- Lock the phone and test it: tap Emergency, then Medical ID.
Do not skip the test. A setting that looks complete inside the Health app does not help if it is not visible from the locked phone.
Android: set up Emergency Information
- Open Settings.
- Look for Safety & emergency, Emergency Information, or a similarly named section.
- Add medical information and emergency contacts.
- Lock the phone and test the path from the lock screen, usually Emergency call, then a medical information icon or Emergency information option.
Android is less uniform than iPhone here. A Pixel, Samsung Galaxy, and Motorola may all use different labels. The important thing is not the menu name; it is whether a stranger can reach the information without the passcode.
Layer 2: Turn on Emergency SOS and practice the button press
Emergency SOS covers a different failure point. Medical ID helps someone else know what to do; SOS helps your parent call for help without finding the Phone app. On iPhone, five rapid presses of the side button can start an emergency call. On Android, Emergency SOS commonly uses five rapid presses of the power button, with behavior depending on the device and settings.[2]
iPhone: check Emergency SOS
- Open Settings.
- Tap Emergency SOS.
- Review the available calling options, including the five-press side button option.
- Confirm emergency contacts are current, because the wrong contact is worse than no shortcut.
Android: check Emergency SOS
- Open Settings.
- Tap Safety & emergency, Emergency SOS, or a similar menu.
- Review what happens after five power-button presses.
- Check whether the phone calls emergency services immediately, starts a countdown, shares location, records video, or contacts chosen people.
Be careful with practice. Do not place a real emergency call just to test muscle memory. What you can safely test is whether your parent can find and press the correct physical button. If the gesture is too hard, keep SOS configured anyway, but do not pretend it solves the emergency plan by itself.
Layer 3: Replace the confusing phone experience with a simpler one
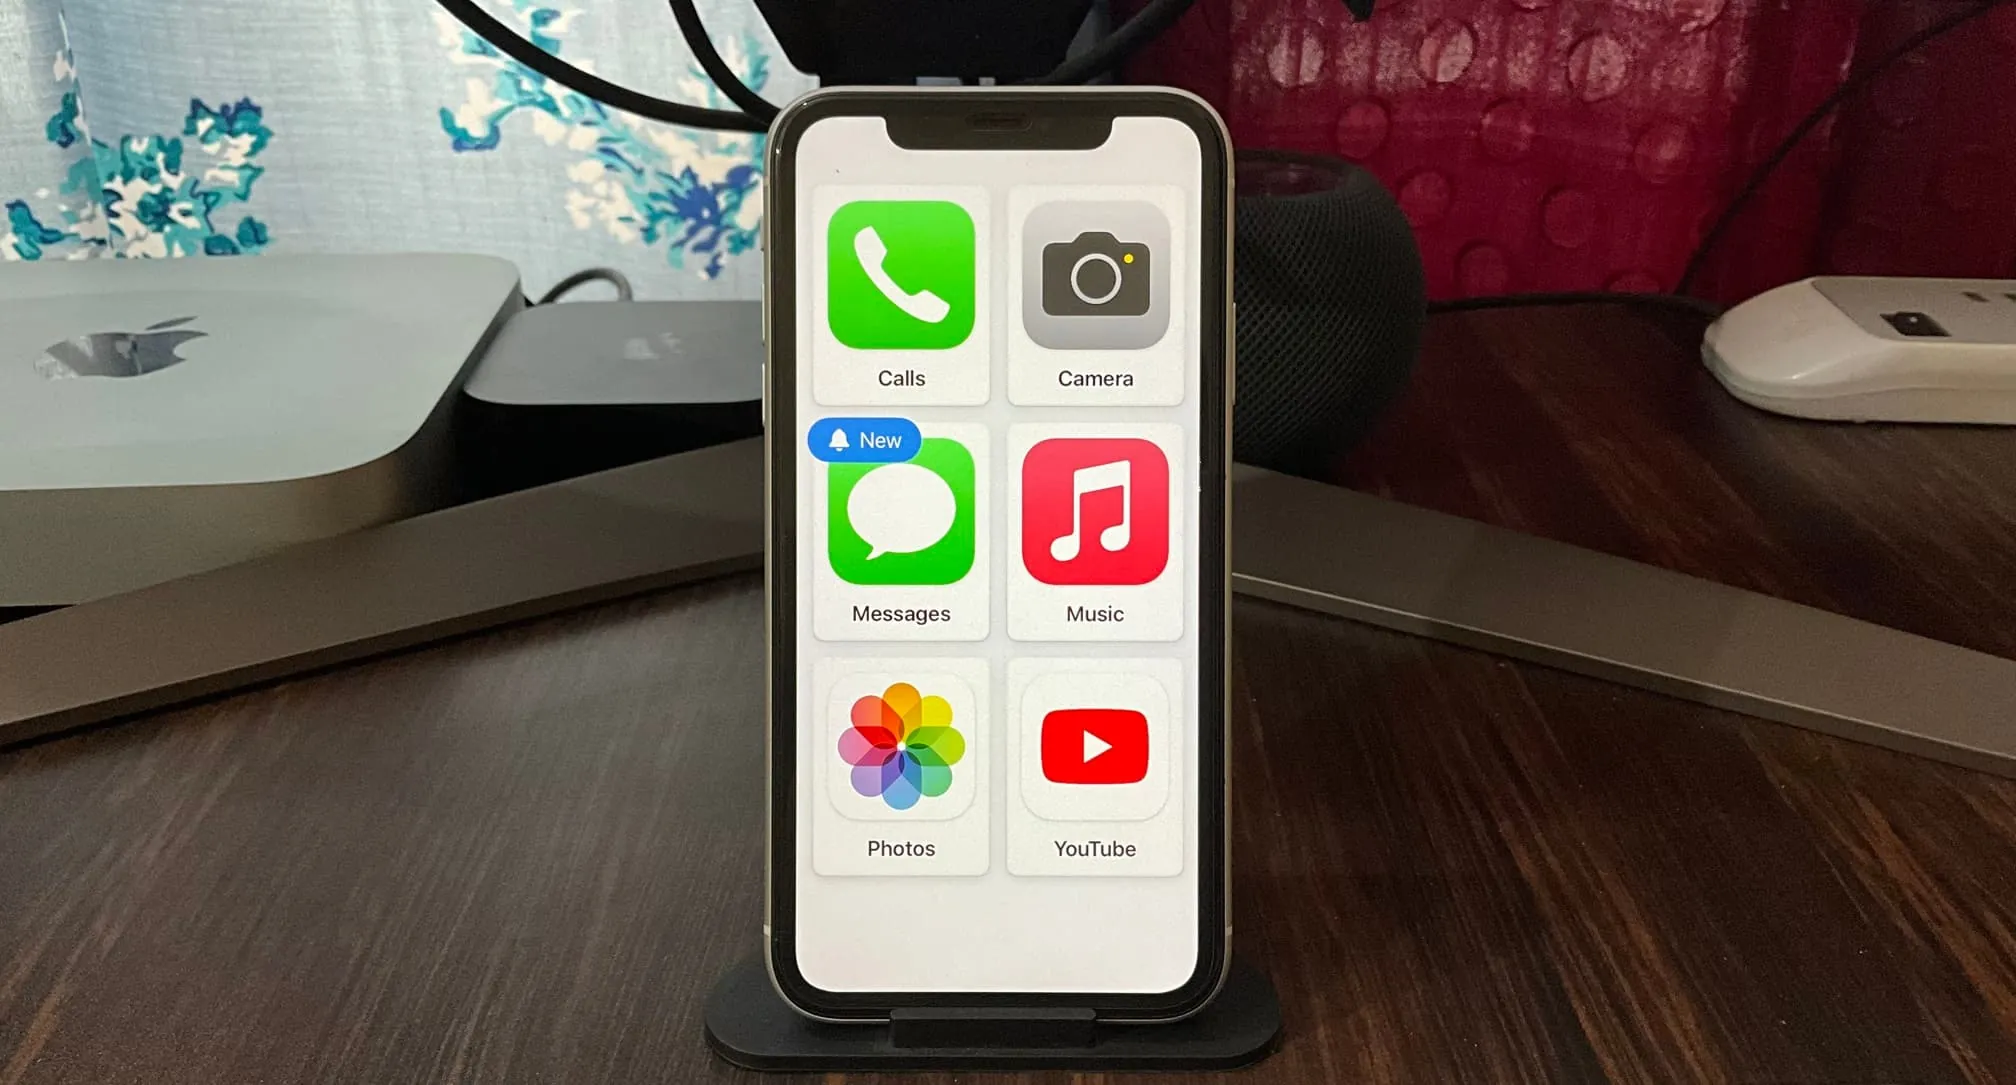
This is where the real tradeoff starts. A simplified mode can make the phone feel calmer, but the iPhone and Android versions are not equal. Apple’s Assistive Access is a deeper cognitive accessibility mode that reshapes the whole iPhone experience, including the lock screen and home screen; the caregiver chooses which apps appear. Pixel Simple View and Samsung Easy Mode make the phone easier to see and navigate, but they do not necessarily block access to Settings.[3][4]
That difference matters. Enlarged icons help a parent who taps the wrong thing. They do not necessarily help a parent who opens Settings, changes the ringtone, disables notifications, or removes the shortcut you just made.
iPhone: set up Assistive Access
Assistive Access is available on iPhone with iOS 17 or later. It is free and built in, but it is not a cosmetic lock screen toggle. It changes how the person uses the iPhone, with large on-screen items and a limited set of selected apps.[3]
- Update the iPhone if needed and confirm it is running iOS 17 or later.
- Open Settings.
- Tap Accessibility.
- Tap Assistive Access.
- Start setup and choose the person’s Apple ID, appearance, and allowed apps.
- Choose only the apps your parent can use safely, such as Calls, Messages, Camera, Photos, or a music app.
- Create an Assistive Access passcode that is different from the device passcode and known to the caregiver.
- Enter Assistive Access and test the lock screen, calls, messages, and exiting process before handing the phone back.
The app list is the part to slow down on. If your parent does not need Mail, do not include Mail. If web browsing reliably leads to pop-ups, passwords, or purchases, leave the browser out. The point is not to preserve the old phone as a museum piece; it is to leave the person with the parts they can still use without turning every afternoon into tech support.
Also check the lock behavior while Assistive Access is running. Make sure the phone can be unlocked in the way your parent actually uses it: Face ID, Touch ID, or a passcode. If passcode memory is already unreliable, Assistive Access may reduce confusion after unlock, but it does not erase the problem of getting into the phone in the first place.
Pixel: turn on Simple View
Pixel Simple View is available on Pixel phones with Android 15 and later. It increases text and icon size and simplifies navigation, including a simpler launcher experience.[4]
- Open Settings.
- Search for Simple View.
- Turn on Simple View.
- Review the home screen and lock screen with your parent, not just by yourself.
- Try opening Settings from the simplified screen so you know what remains reachable.
Simple View is useful when the main problem is visual clutter or small touch targets. It is weaker when the main problem is accidental reconfiguration. If your parent tends to explore menus, delete shortcuts, or change settings, treat Simple View as a visibility improvement rather than a lock-down tool.
Samsung Galaxy: use Easy Mode, but verify Settings access
Samsung Easy Mode enlarges items and simplifies the Galaxy interface, and senior-phone setup guides often recommend it for older adults who struggle with standard smartphone screens.[5]
- Open Settings.
- Tap Display.
- Tap Easy Mode.
- Turn Easy Mode on.
- Adjust touch-and-hold delay if available, since accidental long presses can cause trouble.
- Test whether Settings, notification shade controls, and app rearranging are still easy to reach.
Easy Mode can be exactly enough for someone who mainly needs bigger icons and fewer screens. It is not the same as Assistive Access. If Settings remains available, a determined or confused user may still undo parts of the setup.
Layer 4: Lock the phone into one app when simpler is still too much
Single-app lockdown is stronger than a simplified screen, but much narrower. It is useful when your parent only needs one thing for a stretch of time: the Phone app while waiting for a call, Camera during an outing, Photos during a visit, or a video-call app when someone is helping remotely. It is not a complete dementia phone setup because it deliberately blocks normal phone use.
iPhone: use Guided Access
Guided Access keeps an iPhone or iPad in a single app and lets the caregiver control which features are available. Apple’s setup also uses a passcode to end the session, separate from ordinary use if you choose.[6]
- Open Settings.
- Tap Accessibility.
- Tap Guided Access.
- Turn Guided Access on.
- Set a Guided Access passcode that the caregiver knows.
- Open the app you want to lock the phone into.
- Triple-click the side button or home button.
- Adjust options such as touch, motion, keyboards, volume buttons, or sleep/wake behavior, then start the session.
Before relying on it, test the exit path yourself. The setup is only helpful if the caregiver can reliably end the session and the parent cannot accidentally escape it in the middle of the need it was meant to cover.
Android: use app pinning
Android app pinning can keep one app on screen until it is unpinned. The exact menu varies, but it is usually under Security, Privacy, or system navigation settings.
- Open Settings.
- Search for App pinning or Pin app.
- Turn app pinning on.
- If available, require the device passcode to unpin.
- Open the app your parent needs.
- Open the recent-apps view and choose the pin option for that app.
- Test both pinning and unpinning before using it outside the house.
Use this for short, controlled situations. If your parent needs to receive calls, place calls, see reminders, use maps, and answer messages throughout the day, app pinning will probably feel like a cage rather than help.
Where location sharing fits
Location sharing is worth setting up, but it is not really a lock screen feature. Apple Find My and Google Find Hub can help a caregiver locate a phone only if the phone is powered on, connected, and still with the person. That last part is not a small condition.
The Alzheimer’s Association says approximately 60% of people with Alzheimer’s disease will wander, but that statistic should not be read as a prediction for every diagnosis or every stage.[7] It is enough reason to make location sharing part of the broader safety plan. It is not enough reason to assume a standard phone will work as a tracking device if your parent turns it off, leaves it behind, or lets the battery die.
When a standard smartphone is no longer enough
There is a hard limit that caregivers tend to discover the annoying way: no standard iPhone or Android phone lets you fully prevent the person from powering the phone off. You can simplify screens, expose emergency information, and lock one app in place. You cannot make a consumer smartphone behave like a supervised medical device.
Consider moving beyond a standard smartphone if passcode memory is unreliable, the phone is repeatedly powered off, emergency calls are missed because the screen is too confusing, or you need remote caregiver control beyond what Apple, Google, or Samsung settings provide.
Dedicated dementia phones exist for that boundary. SeniorLiving.org’s 2026 testing highlights dementia-oriented phones and notes that Jitterbug Smart4 includes a red Urgent Response button on the lock screen, with its urgent response answered in about 15 seconds during testing.[8] RAZ Mobility says its RAZ Memory Cell Phone never locks or sleeps, shows up to 6 large photo contacts, and allows remote caregiver controls, including disabling the power button remotely; its product page lists 395 reviews and a 4.79 out of 5 rating.[9]
Those devices have tradeoffs too. A dedicated memory phone may remove the camera, internet, or ordinary smartphone flexibility. But if the current problem is that the phone keeps becoming unusable at the exact moment it is needed, fewer features can be a safety feature.
What to configure now
Start with Medical ID or Emergency Information, then Emergency SOS. Those two are fast and worth doing on almost any phone. After that, choose the level of control that matches today’s reality: Assistive Access for a deeply simplified iPhone, Simple View or Easy Mode for a more readable Android, and Guided Access or app pinning when one app is safer than a whole phone.
Then test the setup while the phone is locked, unlocked, ringing, and sitting idle. A dementia-friendly phone setup is not finished when the menu switch turns green. It is finished when the person can still use the phone after one confused afternoon, and you can still maintain it without rebuilding everything from scratch.
References
- Putting Your Emergency Info on Your Phone's Lock Screen Could Save Your Life, PCMag, updated Jul 2025
- Overview of cognitive accessibility features on iPhone, Apple Support
- Set up Assistive Access on iPhone, Apple Support
- Use Simple View on your Pixel phone, Google Pixel Help
- How to Set Up a Smartphone for Elderly Loved Ones, WIRED, updated Dec 2025
- Use Guided Access on iPhone or iPad, Apple Support
- Technology Safety for Older Adults, Alzheimer's Association
- The Best Cell Phones for Seniors With Dementia, Tested and Reviewed, SeniorLiving.org, 2026
- RAZ Memory Cell Phone product page, RAZ Mobility
Browse more in the Glossary.