
Product term
Which iPhone 16e Accessibility Features Matter for Seniors?
Last verified 2026-07-31
Start at the hand-off table, not the spec sheet
The iPhone 16e can work well for many older adults, but it is not automatically easy just because it is an iPhone. Before it is handed over, someone needs to make the text readable, choose a reliable way to get back to safety, set up authentication that works on a bad day, and turn on only the hearing, touch, or simplification tools that match the person using it.
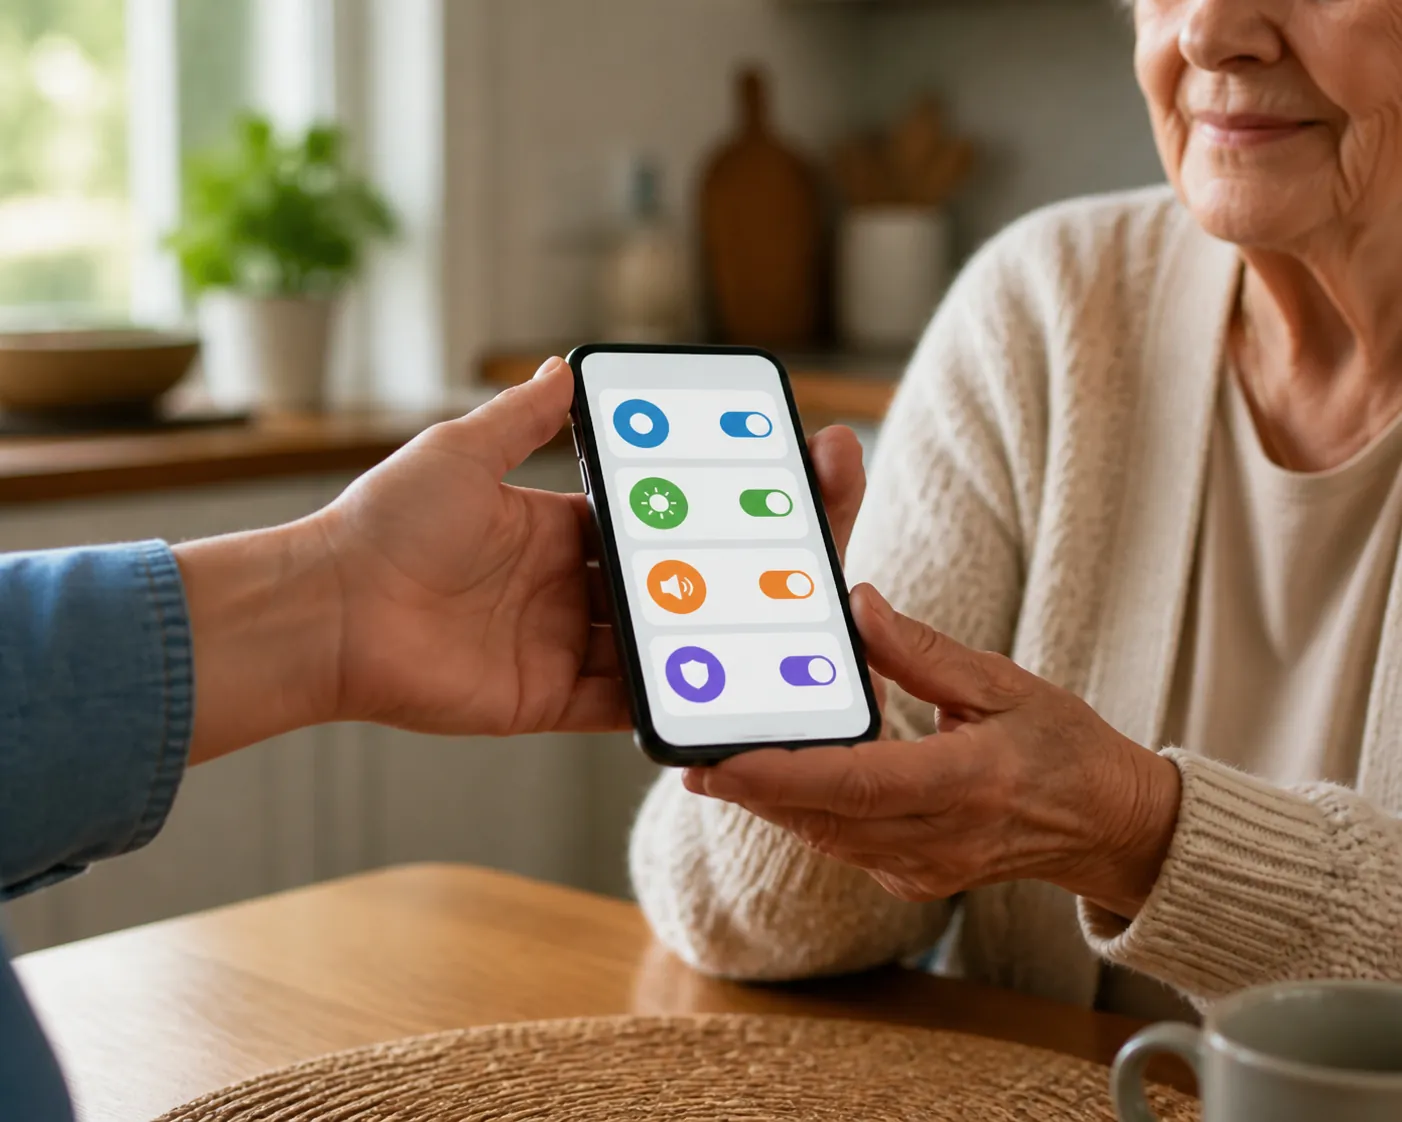
The hardware gives you a decent starting point: the iPhone 16e has a 6.1-inch Super Retina XDR display, an A18 chip, a listed weight of 167 grams, Crash Detection, and Emergency SOS via satellite support. [1] Those details matter, but they do not answer the kitchen-table question: can this person read the controls, answer a call, recover from a wrong tap, hear or notice alerts, and get help when something goes wrong?
Most of the answer lives in Settings. Apple groups many of the relevant tools under Settings > Accessibility, with related display controls under Settings > Display & Brightness. [2] For blind or low-vision users, it is also worth knowing that AppleVis found VoiceOver on the iPhone 16e to be fast and responsive in its review, broadly on par with other A18 iPhones for that task. [3]
Match the setting to the actual limitation
Do not turn on every accessibility feature because someone is older. A person who only needs bigger text may find Assistive Access insulting. A person with tremor may need touch filtering more than a larger screen. A person with memory changes may need a simplified phone even if their eyesight is fine.
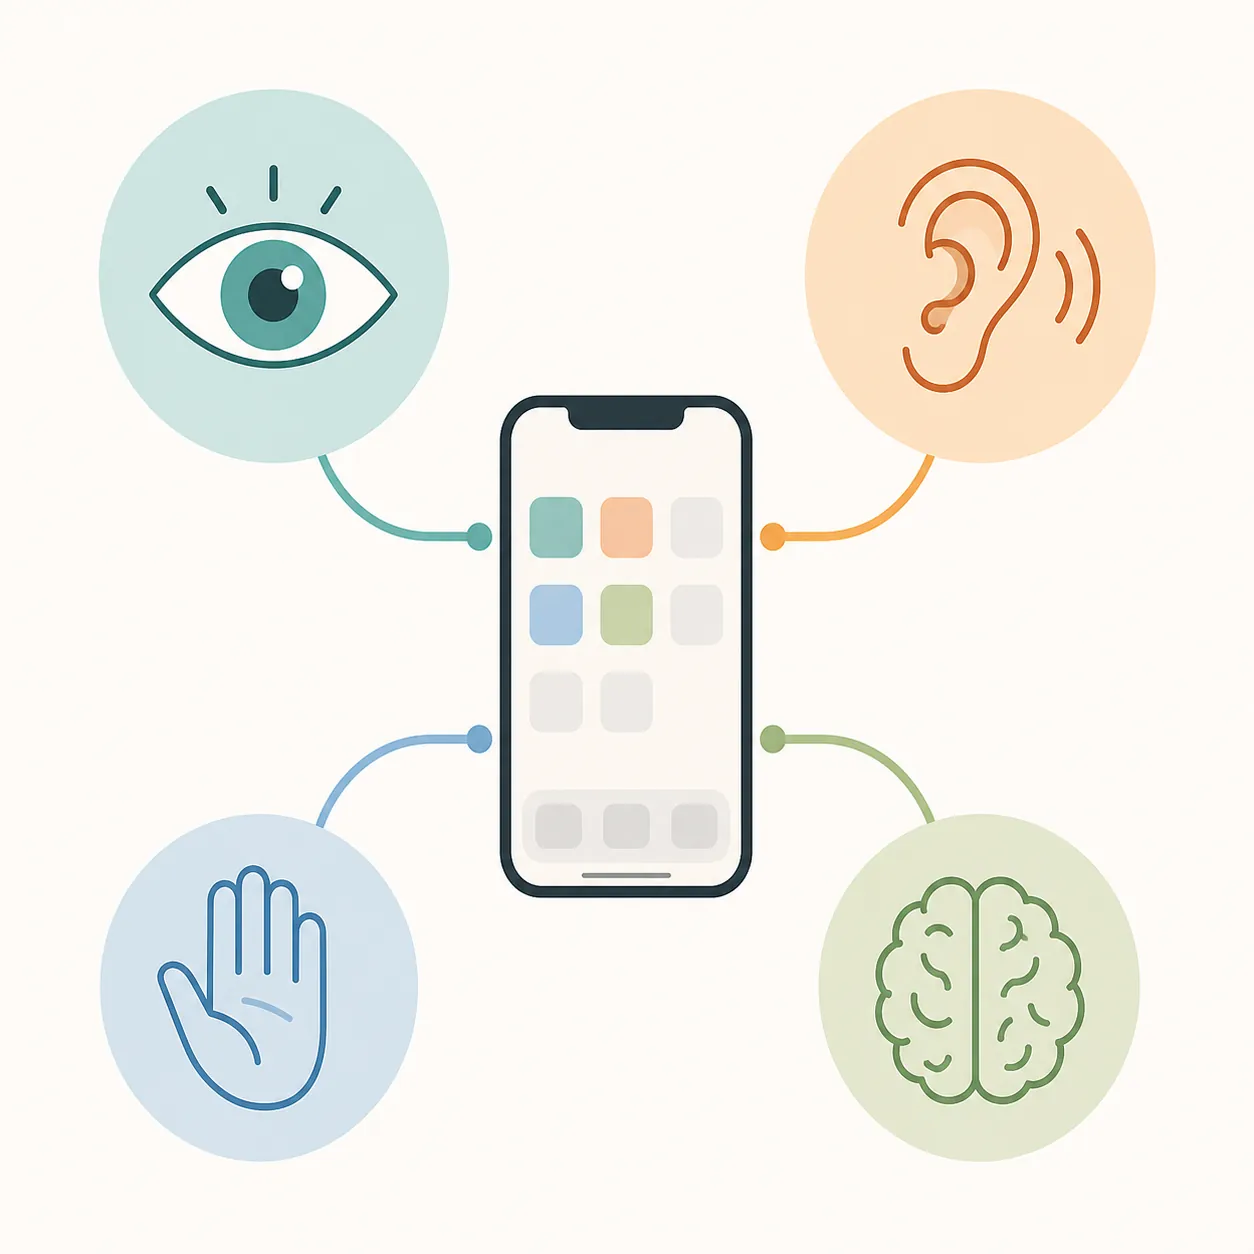
| Need | Start with | Use when | Be careful with |
|---|---|---|---|
| Seeing | Settings > Accessibility > Display & Text Size; Settings > Display & Brightness > Display Zoom | Text, buttons, labels, and app icons are hard to read | VoiceOver changes the whole way the phone is operated; do not enable it casually |
| Hearing | Settings > Accessibility > Hearing Devices; Audio & Visual; Live Captions; Sound Recognition | Calls, alerts, doorbells, alarms, or speech in apps are missed | Sound Recognition and captions are aids, not emergency monitoring systems |
| Dexterity | Settings > Accessibility > Touch; AssistiveTouch; Touch Accommodations; Voice Control; Back Tap | Swipes, taps, Face ID positioning, or the missing Home button cause mistakes | Too many shortcuts can create more confusion than they solve |
| Memory or cognitive support | Settings > Accessibility > Assistive Access; Guided Access | The normal Home Screen, app grid, or navigation creates repeated support calls | Assistive Access changes the phone’s whole operating mode |
Seeing: make everyday tasks readable first
For many older users, the first fix is not a special mode. It is bigger text, clearer contrast, and fewer moments of squinting. Start with Settings > Accessibility > Display & Text Size. Turn on Larger Text, then use the slider. If the largest normal size still is not enough, enable Larger Accessibility Sizes in the same area. [2]
Larger Text is worth using when the person can navigate the phone but struggles to read messages, menus, weather, medication reminders, or caller names. Test it in the apps they actually use. Some apps respond beautifully; others enlarge only part of the interface. If a banking app still has tiny labels after the setting is changed, that is not the user’s failure.
Then check Display Zoom: Settings > Display & Brightness > Display Zoom. This makes the overall interface feel larger, not just text. It is often the better choice when icons, tab bars, and small controls are the problem. Use it before reaching for more disruptive tools, because it preserves the familiar iPhone layout.
When the screen is readable most of the time, but not always
Zoom, under Settings > Accessibility > Zoom, is different from Display Zoom. It lets the user magnify part of the screen when needed. That can help with a tiny confirmation code, a small map label, or fine print inside an app that ignores text-size settings. It also adds gestures that must be learned, so it is a poor first choice for someone already overwhelmed by swiping.
Magnifier is the practical tool for the world outside the phone: pill bottles, thermostat labels, appliance buttons, mail, menus, and instruction sheets. Add it to an easy shortcut if the person will use it often. On the iPhone 16e, the Action button can be assigned to Magnifier, which is much easier than explaining where the app went after dinner is over.
Dark Mode and Color Filters are more individual. Dark Mode may reduce glare for some people and make the screen harder for others. Color Filters, under Display & Text Size, can help when color differences are hard to distinguish. Do not guess. Put the phone in the user’s hand, open Messages, Phone, Photos, and the weather app, and let them say which version is easier.
VoiceOver is powerful, but it is not just “bigger help”
VoiceOver, under Settings > Accessibility > VoiceOver, is for users who need spoken screen access. It changes how taps and gestures work. That is exactly what a blind or severely low-vision user may need, and the 16e has been reported by AppleVis to handle VoiceOver responsively. [3] It is not a setting to turn on for someone who merely wants larger text, because it can make the phone feel broken if they have not been taught the gestures.
If VoiceOver is the right tool, configure it deliberately: set a comfortable speaking rate, teach the basic gestures, and make sure the user knows how to turn it on and off. If the caregiver is not a VoiceOver user, this is a good moment to slow down and use Apple’s own training materials rather than improvising.
Hearing: make calls, alerts, and speech easier to catch
For hearing needs, start with the actual failure point. Is the problem hearing the caller? Missing the ringtone? Not noticing a timer? Struggling with speech in a video? These call for different settings.
- Made for iPhone hearing aids: go to Settings > Accessibility > Hearing Devices. This is the first place to check for compatible hearing aids and related audio routing.
- Hearing Aid Compatibility: look under Settings > Accessibility > Hearing Devices. Use it when the hearing-aid provider or Apple guidance indicates it helps with the user’s devices.
- Live Captions: go to Settings > Accessibility > Live Captions. Use it when the person benefits from on-screen captions for speech in supported situations. Test it with a real call or video app rather than assuming it will solve every listening problem.
- Sound Recognition: go to Settings > Accessibility > Sound Recognition. Use it for specific sounds such as alarms or doorbells when an extra visual or haptic notice would help. Do not treat it as a life-safety substitute.
- LED Flash for Alerts: go to Settings > Accessibility > Audio & Visual > LED Flash for Alerts. This can help when the phone is nearby and visible, especially for missed calls or messages.
- RTT/TTY: go to Settings > Accessibility > RTT/TTY. Use it when the person relies on real-time text or TTY services for phone communication.
Be precise about hearing-aid compatibility claims. Apple lists the iPhone 16e as hearing-aid compatible under ANSI C63.19-2019 via an FCC waiver, without using an M/T letter rating in that framing. SeniorLiving.org describes the iPhone 16e as M3/T4, but that should not replace checking Apple’s current compatibility language and the hearing-aid maker’s guidance for the exact hearing-aid model. [1][4]
Hearing loss can affect safety in daily life, but a phone setting is not a diagnosis or a fall-prevention plan. Treat hearing settings as communication and alert tools, then involve an audiologist or clinician when hearing changes are new, worsening, or affecting balance, driving, medication routines, or social withdrawal.
Getting in, getting back, and avoiding touch mistakes
The iPhone 16e has two trade-offs that matter at hand-off: authentication is Face ID rather than Touch ID, and there is no Home button. [1] Neither is automatically a deal-breaker. Both need to be handled before the person is left alone with the phone.
Face ID needs a fallback that is not a secret
Face ID can be convenient when it works. It can also fail when the phone is held too low, glasses change, posture changes, or the user forgets that they need to look toward the phone. During setup, enroll Face ID carefully and then test it in the places the person actually uses the phone: favorite chair, kitchen table, bedside, porch, car passenger seat.
The passcode fallback matters. Choose a passcode the user can enter reliably without writing it on a sticky note attached to the phone. If memory is a concern, decide who is allowed to help recover access and where the recovery information belongs. A phone that locks out its owner during a stressful moment is not configured safely.
The missing Home button needs a “get me back” plan
For someone coming from an older iPhone with a Home button, the bottom-edge swipe is not intuitive. Teach one reliable return action: swipe up from the bottom edge to go Home. Then practice it from Phone, Messages, Photos, Safari, and the Camera. The goal is not to explain gestures; it is to build one rescue move.
If that swipe is physically hard or easy to miss, turn on AssistiveTouch: Settings > Accessibility > Touch > AssistiveTouch. It places a floating on-screen button that can include Home, Lock Screen, Screenshot, Siri, or other actions. For some users, that floating button is the difference between independence and a daily “I’m stuck” call.
Back Tap, under Settings > Accessibility > Touch > Back Tap, can assign actions to a double or triple tap on the back of the phone. It can be useful for Magnifier, Camera, or a shortcut, but test it with the user’s case and grip. Accidental triggers are not rare when someone braces the phone with both hands.
The Action button is also worth considering for one high-value action. Magnifier, Silent Mode, Camera, or a carefully chosen shortcut may make sense. Do not turn it into a mystery button. If the user cannot describe what it does after setup, pick a simpler function.
For shaky hands, adjust the phone before blaming the user
Touch Accommodations, under Settings > Accessibility > Touch > Touch Accommodations, helps when taps are too brief, repeated, or imprecise. It can change how long a touch must be held and whether repeated touches are ignored. This is useful for tremor, neuropathy, or anyone who often opens the wrong thing because their finger bounces.
Make small changes and test them immediately. Over-filtering touch can make the phone feel slow or unresponsive. A good test is simple: open Phone, call a favorite contact, end the call, open Messages, dictate a short message, and return Home. If any step becomes harder, undo the last change.
Voice Control is more powerful than Siri because it can control interface elements, but it requires patience and a user who is comfortable speaking commands. Siri and Dictation are often easier wins: “Call my daughter,” “Text Sam,” “Remind me at 8,” and dictated replies can reduce tapping without changing the entire phone.
Memory and cognitive support: simplify only when it helps
Some older adults do not need a simplified phone. They need readable text and a little practice. Others are defeated by the normal Home Screen, tiny app icons, notifications, and gestures. That is where Assistive Access deserves attention.
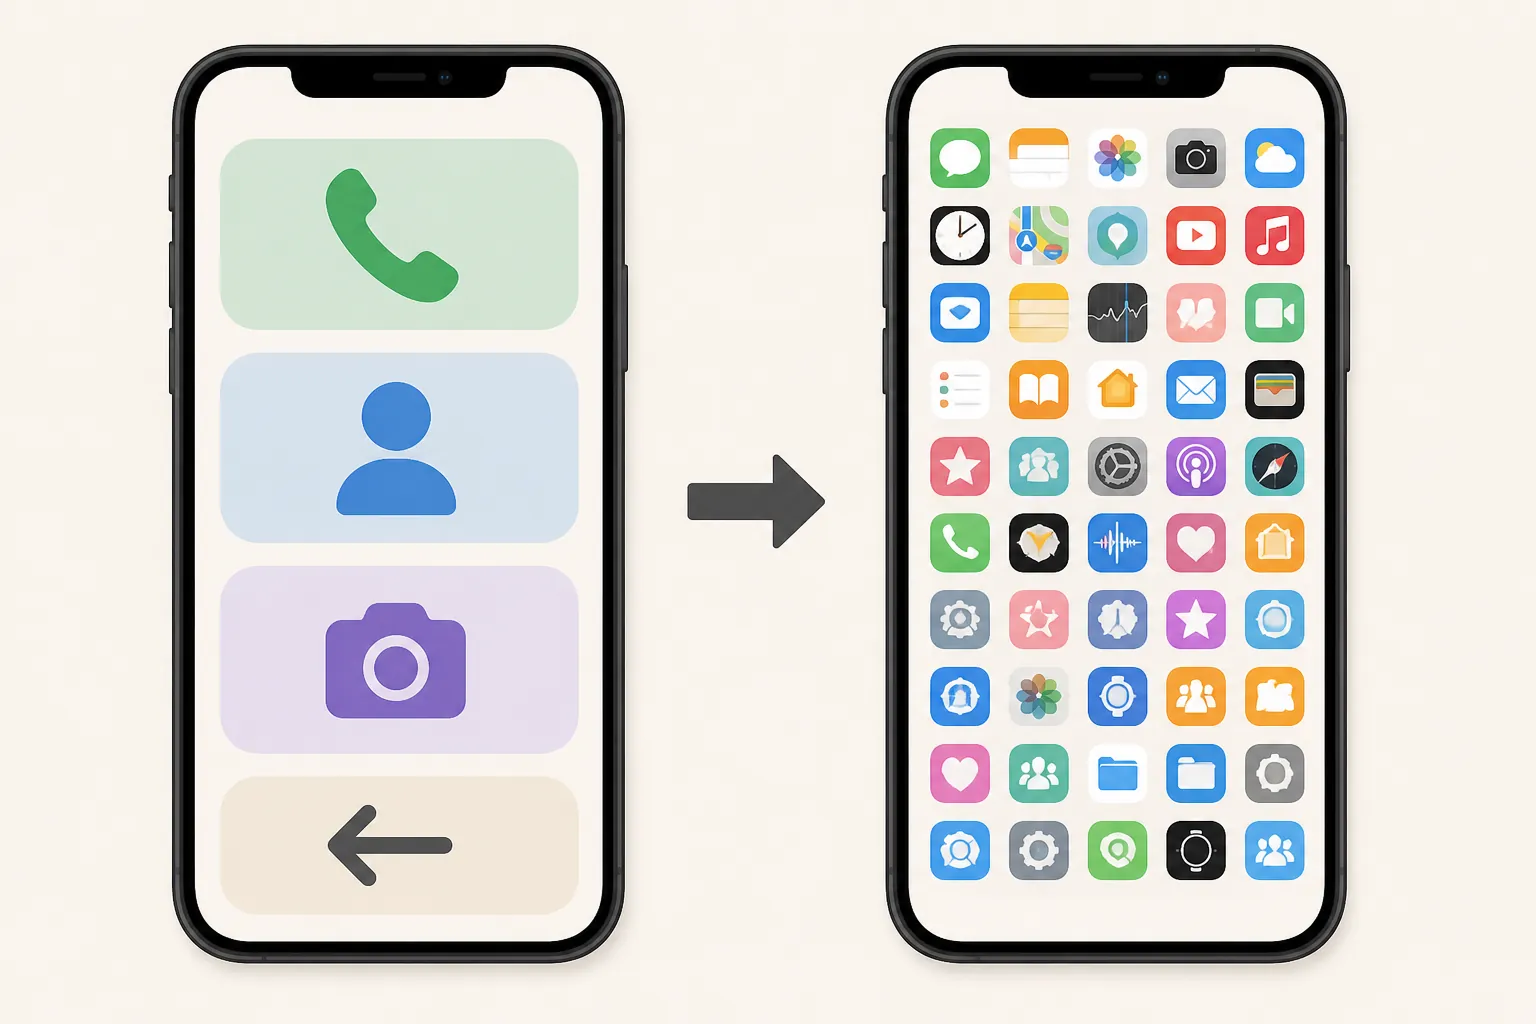
Assistive Access, under Settings > Accessibility > Assistive Access, changes the whole operating mode. It presents a simplified interface with larger targets and a more limited experience. The Senior List describes five fully optimized apps for Assistive Access — Calls, Messages, Camera, Music, and Photos — and notes that caregivers can control the separate passcode used to exit; on Face ID iPhones, exit can be tied to a triple-click of the side button. [5]
That is helpful when the normal phone creates repeated confusion: accidental app openings, lost navigation, trouble finding Calls or Messages, or panic when an unexpected screen appears. It is too much when the person is still comfortably using apps, browsing photos, reading news, and managing their own settings. Simplification should protect dignity, not take ownership away early.
Guided Access is narrower. It locks the phone into one app for a period of time. Use it when a single task should stay on screen — a video call, a telehealth visit, a photo album, or a communication app — and the person is likely to leave the app by accident. It is not a general replacement for learning the phone.
Safety settings to configure before hand-off
Do not leave safety settings for later. They are not exciting, and that is exactly why they get skipped.
- Medical ID: add emergency contacts, relevant conditions, medications, allergies, and whether the information can be shown when the phone is locked.
- Emergency SOS: teach the button sequence and test knowledge without actually placing an emergency call.
- Emergency contacts: confirm the right people are listed and that they recognize calls or alerts from this phone.
- Location sharing: decide whether it is appropriate, who can see it, and how consent will be revisited.
- Crash Detection: know that it is a crash-safety feature, not a general fall detector.
Emergency SOS via satellite is one of the iPhone 16e’s meaningful safety features when cellular and Wi-Fi service are unavailable. Apple says satellite Emergency SOS can share information such as location, Medical ID details if configured, and battery level with emergency services, and Apple’s support page describes the included satellite service window as two years at the time of that documentation. [6] Re-check current terms before relying on the free-service period, especially if you are buying or activating the phone well after launch.
The iPhone 16e itself should not be described as having fall detection. Apple lists Crash Detection for the iPhone 16e, while hard-fall detection is an Apple Watch feature. [1] In some off-grid situations, Apple’s satellite safety flow can relay an Apple Watch hard-fall notification through a compatible iPhone, but that is not the same as the phone detecting a fall by itself. [6]
If you are choosing between models rather than configuring a phone already on the table, separate that decision from this setup work. Newer iPhones exist in 2026, and buying advice changes faster than accessibility settings. For model trade-offs, use the separate iPhone upgrade guide for seniors. For a broader way to match devices to actual aging-in-place risks, see the caregiver’s guide to technology categories for aging in place.
Five-minute quick-start before you leave
- Make the screen readable: set Larger Text, consider Larger Accessibility Sizes, and test Display Zoom in Phone, Messages, Photos, and the user’s most important app.
- Create a reliable return method: teach the bottom-edge Home gesture, or turn on AssistiveTouch if the gesture is not dependable.
- Configure Face ID and the passcode fallback: test Face ID in real positions and make sure the passcode can be entered under stress.
- Add one physical or fast shortcut: use the Action button, Back Tap, or AssistiveTouch for Magnifier, Home, Camera, or another single high-value action.
- Turn on only the hearing tools that match the need: hearing-aid pairing, Live Captions, LED Flash Alerts, or Sound Recognition as appropriate.
- Set Medical ID, Emergency SOS contacts, and location expectations before there is an emergency.
- Test a real call: have the older adult unlock the phone, call you, answer your call, adjust volume, end the call, and return Home without coaching.
Last verified: July 31, 2026. This article is practical technology guidance, not medical advice. For vision, hearing, balance, memory, or safety changes that are new or worsening, involve the appropriate clinician as well as configuring the phone.
References
- iPhone 16e - Technical Specifications, Apple Support.
- Get started with accessibility features on iPhone, Apple Support.
- iPhone 16e Review: An Excellent Basic iPhone, AppleVis.
- Best iPhones for Seniors in 2026, SeniorLiving.org.
- Assistive Access on iPhone: A Guide for Older Adults, The Senior List.
- Use Emergency SOS via satellite on your iPhone, Apple Support.
Browse more in the Glossary.