
Caregiver decision guide
How to Set Up Contactless Payments on Your Parent's Phone
A one-sitting plan for setting up Apple Pay or Google Wallet on an elderly parent's phone: lock down the device first, add the card through the correct flow, clear common bank-verification stalls, and rehearse a real tap before leaving. It also covers when a phone wallet is the wrong tool — and why a physical backup card should stay in the parent's wallet.
The easiest way to make this hard is to open Wallet first, tap “add card,” and then discover that your parent does not remember the phone passcode, the Apple or Google account is asking for a password nobody has, or the bank wants a verification code on a number that is no longer in service. If you are trying to set up contactless payments for an elderly parent, start with the phone and the person using it, not with the card.
The goal is modest: help your parent make an ordinary purchase without handing over a card that can be lost, dropped, or skimmed. It is not a way to make money management safe for someone who can no longer tell whether the right amount is being charged. If your parent already has trouble counting change, paying for a purchase, or keeping track of money, the National Institute on Aging treats those as warning signs in the context of dementia-related money problems; a phone wallet should not be framed as an independence tool in that situation without a larger safety plan. [1]
The setup order that prevents the usual stall
On an iPhone, Apple Pay depends on the basics being in place first: an eligible device, a supported card from a participating issuer, an Apple Account, and device security such as Face ID, Touch ID, or a passcode. Apple also states that if the passcode is turned off, cards are removed from the device. [2] On Android, Google Wallet’s add-card flow is similarly dependent on device security and issuer approval; Google says cards may be removed if the screen lock changes to an unsupported type, if the Wallet app is unused for 90 or more days, or after a factory reset or remote wipe. [3]
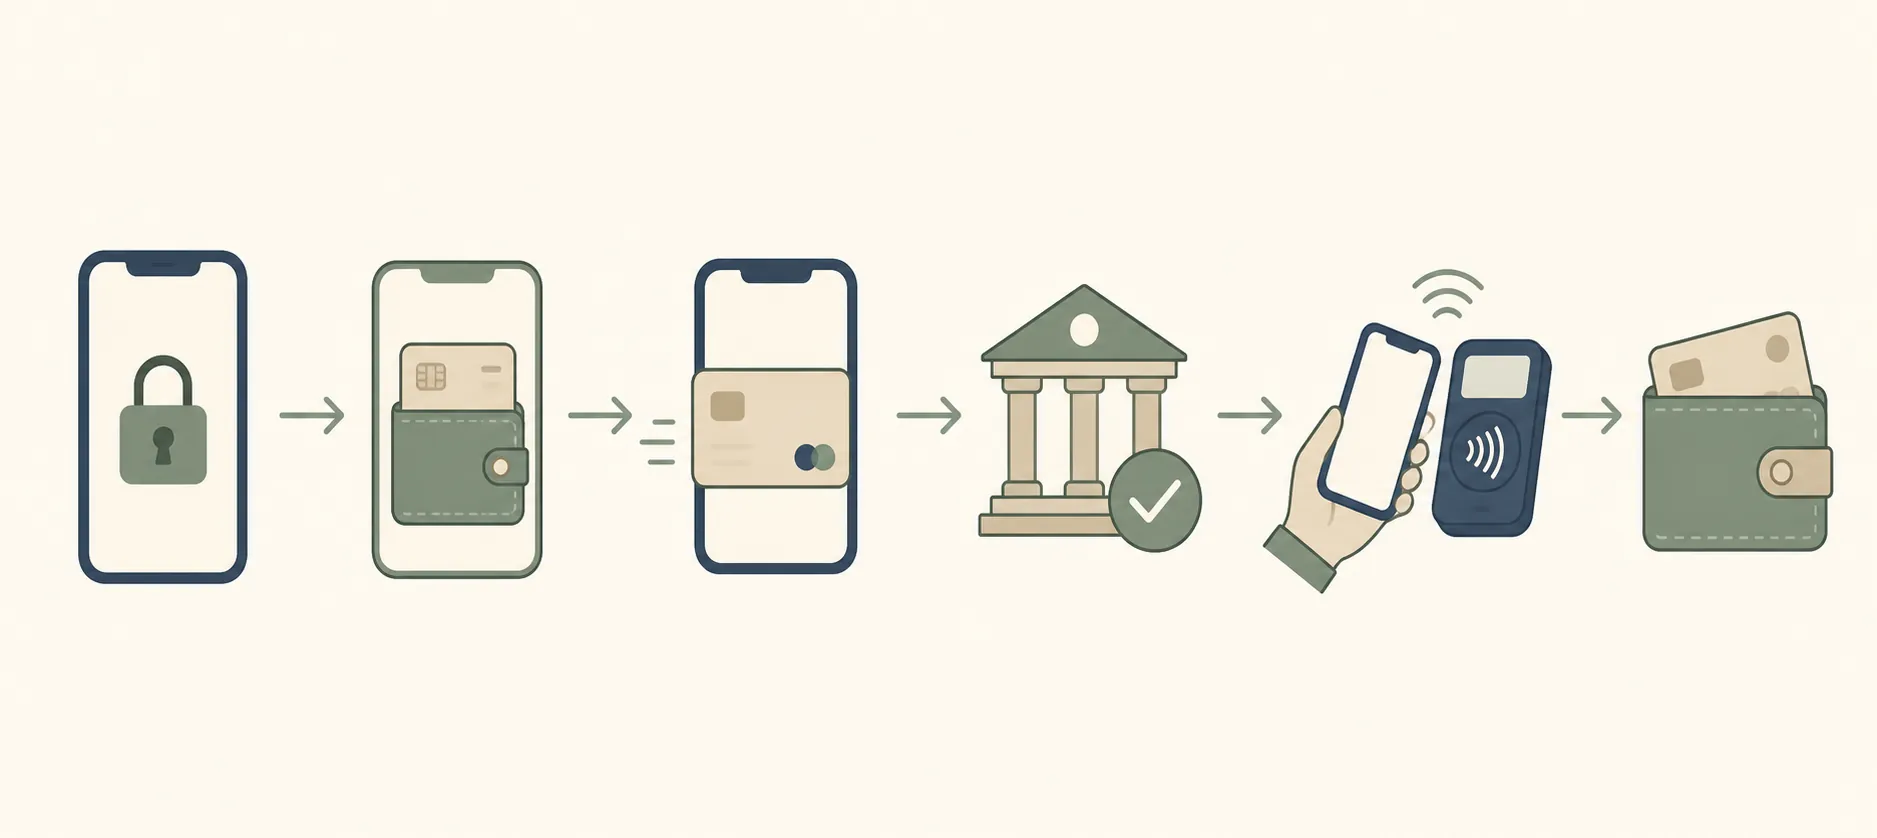
| Do this in order | What you are checking | Stop if |
|---|---|---|
| 1. Lock and locate the phone | The parent can unlock it calmly; Find My or Find My Device is available; the lock method is supported. | The parent cannot reliably unlock the phone or wants the lock removed. |
| 2. Confirm the wallet can be used | The phone supports Apple Pay or Google Wallet, the account is signed in, and the app is available. | You cannot access the Apple or Google account with the parent present. |
| 3. Confirm the card and issuer | The card issuer participates and the card details match the bank’s records. | The issuer will not approve the card or wants identity steps your parent cannot complete today. |
| 4. Add the card | Use Apple Wallet on iPhone or Google Wallet on Android; enter or scan the card; follow the issuer prompt. | You are tempted to guess passwords, billing addresses, or verification answers. |
| 5. Rehearse one real tap | Your parent unlocks, selects the right card if needed, checks the amount, and taps the terminal. | They cannot verify the charge or become too flustered to complete the purchase. |
| 6. Leave a physical backup card | A card remains available for merchants, restaurants, outages, or failed taps. | The phone wallet is being treated as the only way to pay. |
Lock the phone before you add money to it
This is the part to slow down for. A phone wallet is only as useful as the locked phone your parent can actually operate at the register. A beautifully set up Apple Pay card is not helpful if your parent freezes at Face ID, forgets the passcode, and hears the cashier say, “You can try again.”
Sit at the table and ask your parent to unlock the phone without coaching. Not after you point to the right button. Not after you say the first two digits. Just once, calmly, the way it will happen in a checkout line. If that fails, do not add the card yet. Fixing the unlock routine is not a side issue; it is the condition that makes the wallet usable.
- Use a lock method your parent can repeat. Face ID or Touch ID may be easier than typing a code, but keep a passcode they can remember or that is documented in whatever secure system your family already uses.
- Do not remove the passcode to make the phone “simpler.” On iPhone, turning off the passcode removes Apple Pay cards from the device. [2]
- On Android, avoid changing to a screen lock type Google Wallet does not support. Google says that can remove cards from the wallet. [3]
- Make sure the phone can be found or erased if it is lost. The point is not to monitor your parent; it is to avoid a lost-phone panic becoming a lost-card panic.
- Check that the phone has a current operating system, working cellular or Wi-Fi connection, and enough battery to complete setup and verification.
There is a family dynamics reason to do this first, too. Once the card is halfway added, everyone feels committed. That is when caregivers start saying, “Just tell me the password,” and parents start saying, “Never mind, I don’t need it.” A five-minute unlock test before the bank gets involved saves everyone from that little spiral.
Check the account and issuer before typing card numbers
Next, make sure the phone is signed in to the right Apple or Google account and that your parent can receive any account prompts. If the phone asks for an Apple Account password, Google password, device passcode, text message code, or email confirmation, pause and solve that with your parent present. Do not build a payment tool on an account nobody can access later.
Then check whether the card issuer supports Apple Pay or Google Wallet. “It’s a Visa” or “It’s from a big bank” is not enough. The card must be accepted by the wallet and approved by the issuer. Apple’s setup guidance points users to participating card issuers, and Google makes clear that the card issuer decides whether the card can be added. [2][3]
This is also the moment to confirm the boring details that cause the most maddening stalls: the name on the card, billing address, ZIP code, expiration date, and CVC. Google Wallet Help specifically notes that tokenization can be declined when the entered name, CVC, or billing address does not match the bank’s records, and that Google is not the final approver. [3]
Add the card through the right wallet flow
Once the phone is locked, the account is accessible, and the issuer is plausible, add the card. Keep your parent in the chair for this. It is their card, their phone, and often their bank verification. You can read the screen, steady the phone, or explain the prompt, but do not turn it into a behind-the-scenes setup they cannot repeat or describe.
- For iPhone: open the Wallet app, tap the add button, choose the card type, follow the prompts to scan or enter the card, and complete any issuer verification Apple presents. Apple’s support page is the source to use if the screen sequence changes. [2]
- For Android: open Google Wallet, choose the option to add a payment card, scan or enter the card details, accept the issuer terms if shown, and complete the bank’s verification step. Google’s help page is the better source than a random walkthrough because the issuer can alter the verification path. [3]
If there are multiple cards, do not add all of them just because the app allows it. For many older adults, one familiar card is easier than a carousel of nearly identical rectangles. Choose the card your parent already uses for groceries, pharmacy trips, or the regular errands where tap-to-pay would actually help. If there is a rewards-card argument to be had, have it another day.
When bank verification stalls, treat the issuer as the bottleneck
The most frustrating setup failures look like wallet failures but are really bank-verification failures. The screen may say the card cannot be added, ask for a text code, require a call, or direct the cardholder to the banking app. At that point, Apple or Google is not the person who can override the decision; the issuer has to approve the card for wallet use. [2][3]
| What you see | Likely issue | What to do |
|---|---|---|
| The wallet says the card cannot be added. | The issuer may not support that card, or the details may not match bank records. | Check the cardholder name, CVC, billing address, and ZIP code; then contact the card issuer if needed. |
| A verification code goes to an old phone number or email. | The bank’s contact information is outdated. | Update contact information with the bank through an official channel before trying again. |
| The bank wants a call from the cardholder. | The issuer wants identity confirmation. | Have your parent make the call or give consent while you sit nearby. Do not impersonate them. |
| The banking app times out or asks for a password no one has. | The bank account login is not ready. | Stop the wallet setup and recover the bank login first, using the bank’s official recovery process. |
| Your parent becomes anxious or confused by the verification questions. | The task may be too much for one sitting, or the payment method may not be appropriate. | Stop. A failed setup is better than leaving behind a payment tool they do not understand. |
This is where patience matters most. A caregiver can easily start treating the parent as the obstacle: “Just answer the question,” “Just read me the code,” “Just let me do it.” But verification is not paperwork around the real task. It is part of the safety system. If the bank needs the cardholder to approve the wallet, the cardholder has to be able to participate.
Rehearse one real tap before you leave
Do not stop when the card appears in the wallet. A card sitting inside Apple Pay or Google Wallet is not the same as a parent who can use it at a store. The meaningful test is one calm, real purchase with your parent doing the parts they will have to do alone.
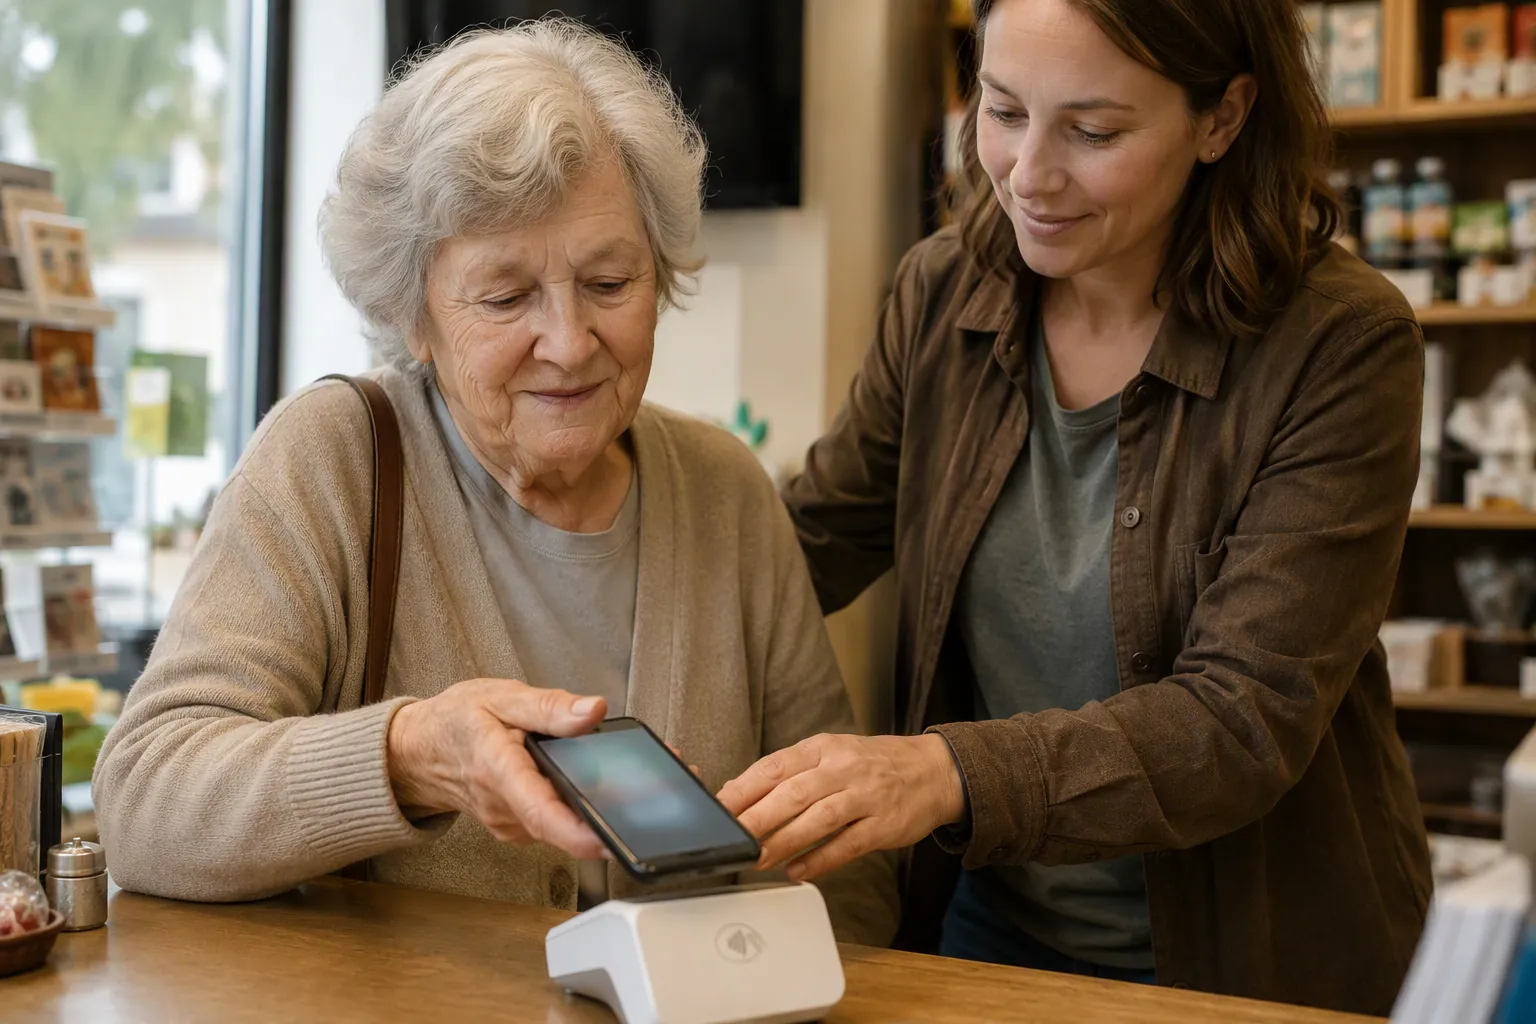
Pick a low-pressure errand: a pharmacy counter that is not crowded, a grocery self-checkout with staff nearby, or a small purchase at a place your parent already knows. The first purchase is not the time to reorganize their whole wallet, add a loyalty app, or teach three new gestures.
- Before entering the line, ask your parent to unlock the phone.
- Have them open the wallet or use the phone’s normal shortcut for payment, depending on the device.
- Ask them to identify the card on the screen if more than one card is visible.
- At the terminal, have them look at the amount before tapping.
- Let them hold the phone near the contactless symbol until the terminal confirms the payment.
- Afterward, ask them what they would do if the tap failed.
That last question matters. The answer should be simple: try once more, ask the cashier whether tap-to-pay is accepted, and then use the physical card if needed. Your parent does not need a lecture on near-field communication. They need a fallback sentence that prevents embarrassment from turning into panic.
If the first tap succeeds but your parent cannot explain what happened, slow down. If they tap before checking the amount, practice again with a smaller, calmer purchase another day. If they cannot find the right card or unlock the phone without prompting, the setup is not finished just because the payment went through once.
Why the phone can be safer than the plastic card
The safety argument for contactless phone payments is not imaginary. Contactless systems use tokenization and transaction-specific data, so the merchant is not simply receiving the static card number the way it appears on the plastic card; Investopedia describes contactless payments as using a one-time code or token for the transaction. [4] Consumer Reports also makes the practical lost-item comparison: a locked phone can be protected and remotely erased, while a lost physical card can be used by whoever finds it until it is reported and blocked. [5]
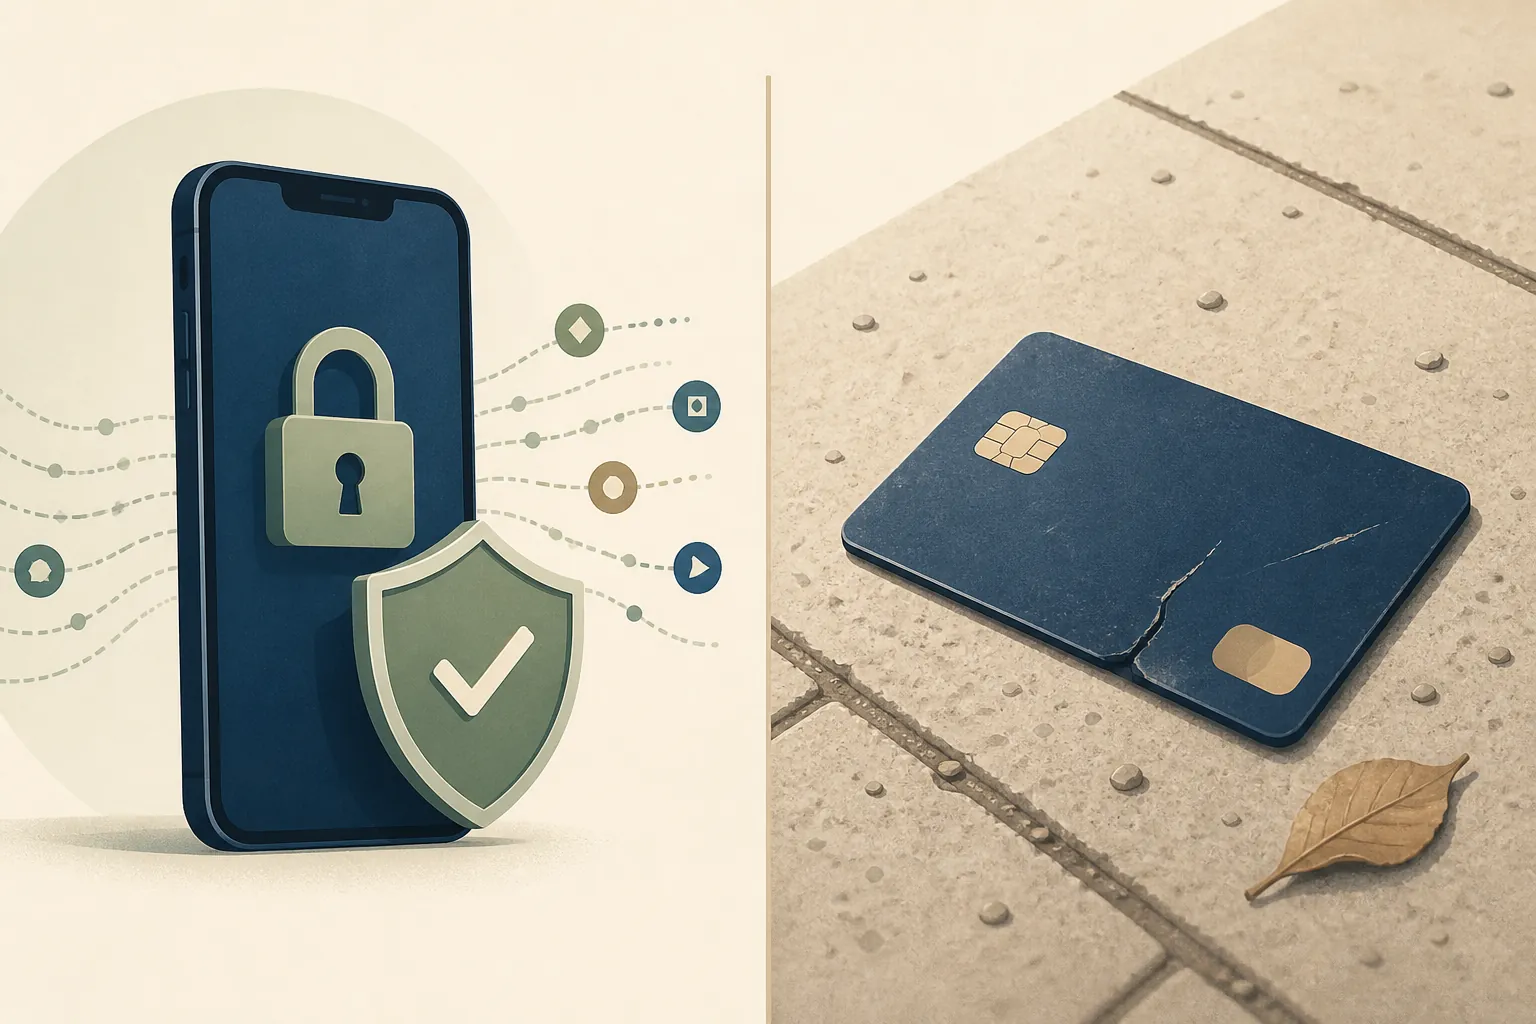
That comparison only holds if the phone stays locked and your parent can use the lock. A phone with the passcode removed is not a safer wallet. A phone that your parent cannot unlock at the register is not a practical wallet. A card the issuer will not approve is not available just because the phone has the right app.
Be careful with blanket promises. Transaction limits, requests for PIN entry, merchant behavior, and fraud-liability handling can vary by issuer, card network, merchant, and jurisdiction. If a specific dollar threshold or protection rule matters for your parent, confirm it with the card issuer instead of relying on a generic article or a cashier’s memory.
Leave the physical card in the wallet
Do not celebrate the first tap by taking away the plastic card. Phone wallets are useful, but merchant acceptance is not universal, and some settings still make a physical card easier. A senior-focused contactless payment guide from Sagewise specifically recommends keeping a backup card for places such as small businesses and sit-down restaurants where phone payment may not be accepted or may be awkward. [6]
The backup card is not a failure of the setup. It is part of the setup. Put the card somewhere familiar, keep the phone charged, and make sure your parent knows which method to try first and what to do if it fails. If the phone is lost, use the device’s official lost-device tools and contact the card issuer. If the card is lost, contact the issuer directly.
This guide is practical setup help, not legal or financial advice. Power of attorney, trusted contacts, joint accounts, fraud liability, card controls, and managed spending tools are separate decisions with legal and financial variation. Handle those through official bank guidance and, when the stakes are high, qualified legal or financial help.
For today, the stopping point is much simpler: the phone is locked, the card is approved, your parent has made one real tap while checking the amount, and a physical backup card is still available. That is when contactless payment becomes a useful safety upgrade instead of one more thing waiting to fail at the register.
References
- Managing Money Problems for People With Dementia — National Institute on Aging
- Set up Apple Pay — Apple Support
- Add a debit or credit card to the Google Wallet app — Google Wallet Help
- Contactless Payment Explained — Investopedia
- Using Contactless Payments on Your Phone? Protect Yourself. — Consumer Reports
- Is Apple Pay Safer Than a Physical Card? A Senior's Guide to Contactless Payments — Sagewise
Questions to bring to a clinician or OT
This is not medical, legal, or a family's final decision — only a framework. Bring these questions to a clinician, occupational therapist, or your local Area Agency on Aging.
Find Local HelpRelated reading
Noticed something outdated or inaccurate on this page? Flag a correction. We review every report against CDC, NIA, and AARP HomeFit guidance before updating a page.