
STEADI: screen-assess-intervene
How Older Hikers Can Prevent Falls on National Park Trails
Falls are the most common hiking emergency for older adults, and the same risk factors that cause home falls — balance, footwear, medications, hydration, fatigue, and vision — are amplified on uneven trails. Older hikers who plan ahead can cut that risk by screening their fall risk before the trip, choosing gear and trails to match, and knowing the right response if a fall does happen.
The most useful national park trail safety tips for older hikers begin before the trailhead, with one plain question: what could make me fall on this trail today? Not on a sidewalk, not in a gym, not on the easy neighborhood loop, but on this uneven surface, with this weather, these shoes, these medications, this eyesight, and the amount of energy I actually have.
That question deserves the front seat because falls are the most common hiking emergency described among hikers ages 50 to 70 in Gasser’s 2019 review of hiking injuries in that age group.[1] The reasons are not mysterious. The same fall-risk factors that matter at home — balance, footwear, medications, hydration, fatigue, and vision — become less forgiving when the ground tilts, gravel rolls, roots cross the tread, and the return trip is still miles away.

A good hiking plan for an older adult is therefore a fall-prevention plan adapted to the trail. The CDC’s STEADI approach is built around screening fall risk, assessing modifiable factors, and intervening with practical changes.[2] On a national park trail, that means noticing the risks before departure, matching the route and gear to current ability, and making on-trail decisions early enough that fatigue, heat, poor footing, or dizziness do not make the decision for you.
Start with a fall-risk screen, not a packing list
Packing matters, but it should come after the risk screen. A daypack can be perfectly stocked and still belong to a hiker who chose the wrong trail for a day when their balance is off or a medication is making them lightheaded.
Before choosing the final route, run through the questions that change the hike itself:
- Have I fallen, stumbled, or had a near fall recently?
- Do I feel less steady than usual when turning, stepping down, or looking from near ground to distant view?
- Have I started, stopped, or changed the timing of any medication that could affect alertness, blood pressure, urination, or dizziness?
- Will this trail require long descents, rock steps, loose gravel, stream crossings, snow patches, exposed ledges, or walking in glare?
- Do my shoes still grip on wet stone, dust over hardpack, and downhill dirt?
- Do I have enough water, food, sun protection, layers, navigation, and communication options for a slower-than-planned return?
The National Park Service’s hiking safety guidance emphasizes planning ahead, knowing the route, checking conditions, carrying appropriate gear, and being prepared for emergencies.[3] For an older hiker, those basics are not separate from fall prevention. Trail condition, weather, water availability, daylight, and emergency access all decide how serious a stumble can become.
| Fall-prevention step | Trail version of the step |
|---|---|
| Screen the risk | Notice recent falls, balance changes, medication effects, vision limits, poor footwear, heat exposure, fatigue, and trail features that will tax them. |
| Assess what can be changed | Decide whether the risk can be reduced by shoes, poles, water, timing, route choice, a companion, a shorter distance, or a different surface. |
| Intervene before the risk grows | Change the plan early: start earlier, slow the pace, turn around, skip the side route, avoid the loose descent, or call for help after a fall instead of trying to walk it off. |
Balance: choose the terrain your body can handle after the overlook
Balance on a national park trail is not just the ability to stand on one foot in a living room. It is the ability to step down from an uneven rock while a pack shifts slightly, the trail narrows, the light changes, and someone behind you is waiting. A hiker can feel entirely capable at the trailhead and still be overmatched by a steep descent after two hours of walking.
The useful test is not pride; it is repeatability. If a route includes rock steps, loose scree, or rooty downhill sections, ask whether you can manage that footing late in the hike, not only at the beginning. If the answer is uncertain, the safer choice may be a shorter version of the route, an out-and-back with a firm turnaround point, or a trail with fewer forced step-downs.
Trekking poles help some hikers because they add contact points and can make downhill walking more deliberate. They also require practice. Poles that are too long, too short, or first used on a difficult trail can create their own confusion. Practice on ordinary uneven ground before expecting them to solve a steep national park descent.
A practical balance rule: the harder trail has to fit your current balance, not your memory of past balance. There is no insult in saving the steeper overlook for a day when sleep, weather, medication timing, and footing all line up better.
Footwear: inspect the sole, then match it to the surface
Shoes become a fall-prevention decision the moment the trail changes surface. A shoe that feels fine on packed dirt can slide on dust over rock, wet boardwalk, loose gravel, or pine needles on a slope. Older hikers often notice the slip only after they have already committed weight to the step.
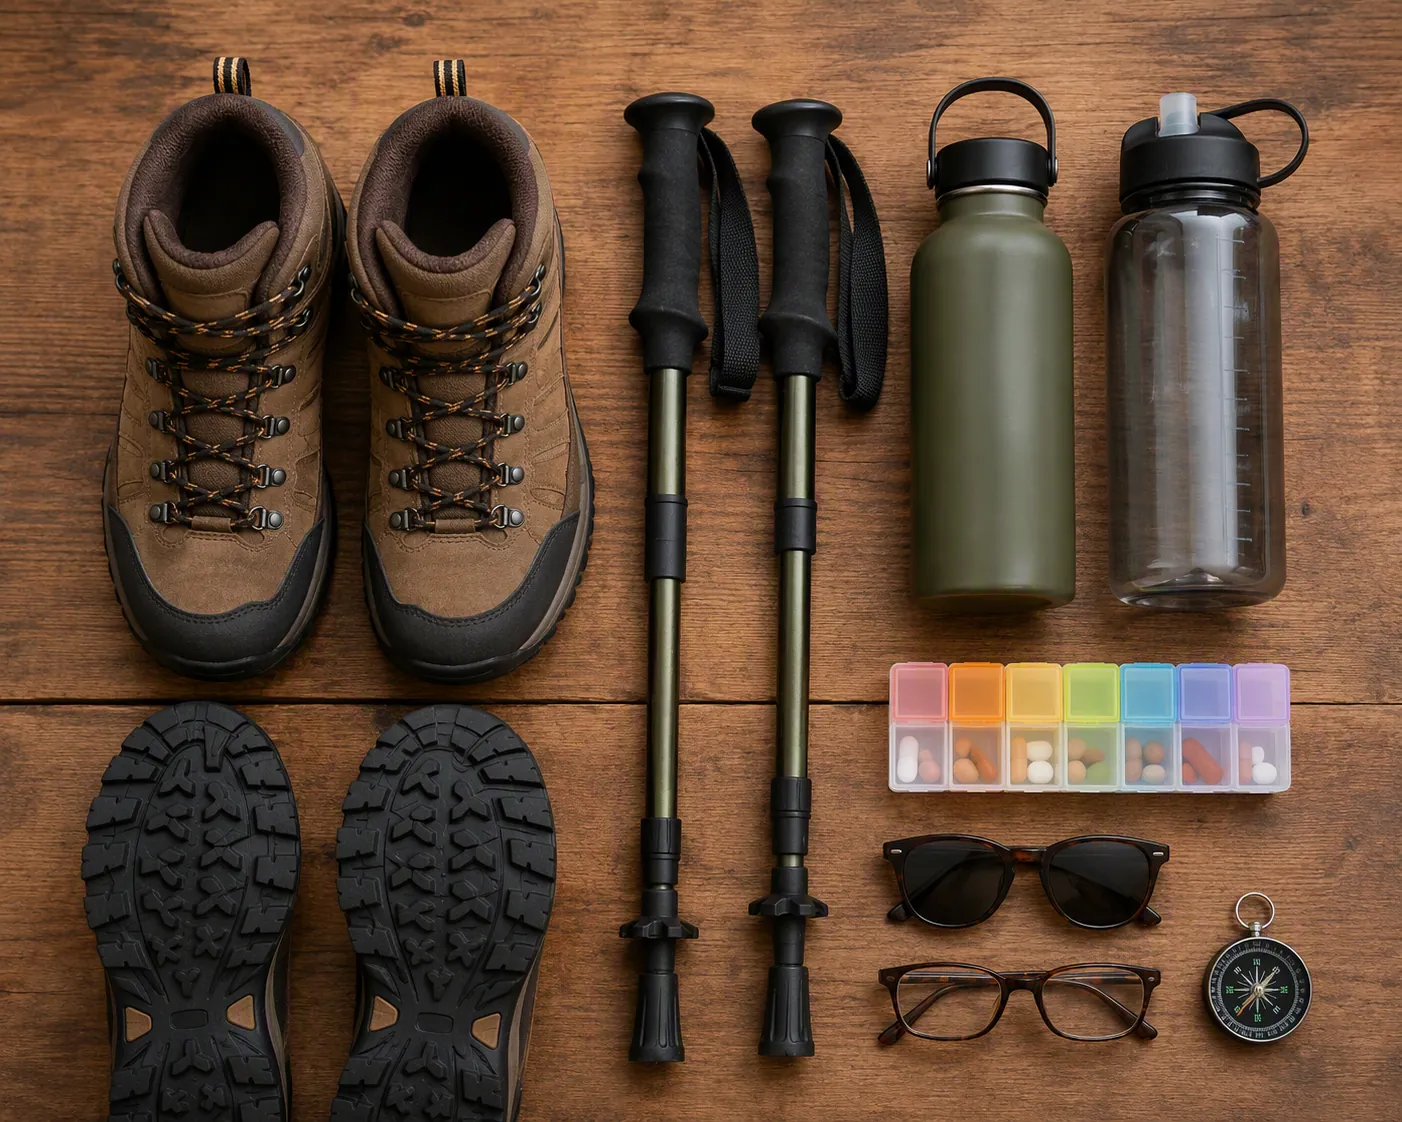
Before the trip, look at the tread instead of only the shoe label. Worn-down lugs, smooth heel edges, compressed cushioning, and soles that have hardened with age all matter on descents. If the route is rocky, dusty, wet, or steep, casual walking shoes deserve skepticism even if they are comfortable in town.
New boots are not automatically safer. A stiff new boot can change your stride, create blisters, and make you place your foot awkwardly. Break in footwear before the park trip, and test it on slopes, not just flat pavement. If you use orthotics or braces, test the whole system together: sock, insert, boot, brace, and pack.
For many trails, the best footwear choice is the one that gives secure traction, enough support for the surface, and familiar movement. The brand matters much less than whether the sole grips when the trail stops behaving like a path.
Medications: plan for effects that become larger outdoors
Medication effects that are manageable at home can become consequential on a trail. Drowsiness, dizziness, lower blood pressure, slower reaction time, more frequent urination, or dehydration risk may not feel dramatic at breakfast. Add sun, elevation change, exertion, and uneven footing, and the margin narrows.
Do not stop or change prescribed medication on your own for a hike. The safer pre-trip move is to ask a clinician or pharmacist whether any current medication could affect balance, alertness, hydration, or heat tolerance during sustained outdoor activity. That conversation is especially worthwhile after a recent medication change or if a past hike ended with unusual dizziness or weakness.
On the practical side, carry medication in a way that still works if the hike runs long. Know what must be taken with food or water. Keep rescue or time-sensitive medication accessible rather than buried under layers. If a medication makes frequent bathroom stops likely, that also affects route choice; rushing over uneven ground because the next restroom is far away is a real fall setup.
Hydration and fatigue: do not wait until tiredness becomes clumsiness
Thirst is easy to misread as ordinary trail fatigue. So is early heat strain. A hiker may simply feel slower, less patient, or less precise with foot placement. Those small changes matter because falls often happen when the body is still moving but attention and coordination have started to fade.
Build water and rest into the route rather than treating them as rewards after the hardest section. Drink before the climb feels punishing. Eat before legs feel hollow. Stop in shade before a rocky descent if your attention is drifting. If you are hiking with a parent, spouse, or friend, make rest stops ordinary and scheduled so no one has to confess that they are struggling.
The turnaround decision belongs here. A trail that is safe while fresh can become a bad bargain when the return includes downhill footing after heat, missed water, or an overlong side trip. Decide before leaving what signs will trigger turning back: stumbling twice, dizziness, cramps, new confusion, worsening joint pain, darkening weather, or reaching a set time without having arrived at the intended point.
Vision: glare, bifocals, shadows, and depth perception all count
Vision on trail is more complicated than reading the signboard. Bright glare can hide loose gravel. Deep shade can flatten rocks and roots into one dark surface. Moving between sun and forest can make the first few steps less certain. Bifocals or progressive lenses may also change how the ground appears when looking down through the lower part of the lens.
Bring the glasses you actually need for walking, not only the pair that works for driving or reading. Sunglasses should reduce glare without making shaded rocks disappear. If you use separate reading glasses, keep them for maps and labels, but do not walk technical ground while looking through lenses that distort distance.
Trail timing can also reduce vision strain. Starting early may avoid heat, but it can add low-angle glare or long shadows depending on the route. Late afternoon can make a familiar trail harder just when fatigue is rising. If the trail has ledges, uneven rock, or a descent through patchy shade, consider when the light will make foot placement easiest.
Pick the trail by surface, descent, and escape options — not only distance
Mileage is a poor stand-in for fall risk. A short trail with polished rock steps and a steep return may be harder on balance than a longer, smoother path. Elevation gain matters, but descent often deserves even more attention because tired legs, forward momentum, and loose footing meet there.
When reviewing a national park trail, look for the details that change fall consequences:
- Surface: packed dirt, sand, talus, wet rock, boardwalk, roots, snow, ice, or loose gravel.
- Grade: long climbs, steep descents, switchbacks, stairs, or step-downs.
- Exposure: ledges, drop-offs, narrow paths, stream crossings, or places where a stumble has higher consequences.
- Shade and heat: long open stretches, reflected heat from rock, or limited rest spots.
- Water and restrooms: availability before, during, and after the walk.
- Communication and exit: cell coverage, ranger presence, junctions, shuttle access, and how long help may take.
- Crowding: pressure to move faster, step aside quickly, or navigate around people on narrow tread.
For an adult child planning with a parent, this is the point to offer choices rather than take over. “Do you want the shaded trail with the uneven steps, or the longer overlook path with better footing?” preserves control while making the safety trade-off visible. The goal is not to downgrade the trip automatically. It is to choose the harder option only when the actual risks have been named.
On the trail, manage the risks you already identified
Once walking, fall prevention becomes less about advice and more about timing. The moment to shorten your stride is before the gravel steepens. The moment to drink is before your steps get sloppy. The moment to put poles in hand is before the descent, not halfway down after a slide.
Use shorter steps on uneven or descending ground. Keep your eyes moving between the next foot placement and the trail ahead, rather than staring only at your boots or only at the view. Step over obstacles deliberately; catching a toe on a root is easier when attention has already moved to the next conversation or photograph.
On descents, slow down early enough that you are not braking with every step. If using poles, plant them securely before committing weight. On rock or loose dirt, test questionable footholds before transferring fully. If the trail is crowded, step aside only where the footing is stable. Let faster hikers wait a few seconds rather than hurrying onto a sloped edge.
A companion can help without hovering. Walk close enough to notice changes in pace, stumbling, confusion, or unusual silence, but do not grab an older hiker unless there is an immediate hazard; a sudden pull can make balance worse. Better support is often a calm pause, a reminder to drink, a route check, or agreement that the side trail is no longer worth the added descent.
Carry gear that changes fall risk or fall consequences
A broad gear list can become endless. For fall prevention, give priority to items that either reduce the chance of falling or improve the outcome if a fall happens.
- Footwear with reliable tread for the expected surface.
- Trekking poles, if practiced and appropriate for the terrain.
- Enough water and food for a slower return.
- Glasses or sunglasses suited to walking the trail, not just reading signs.
- Medications that may be needed if the hike takes longer than planned.
- A map or offline navigation, because a wrong turn can turn fatigue into a fall risk.
- Layers and sun protection, because cold, heat, and rushing both affect judgment.
- A charged phone, and where appropriate, a satellite messenger or emergency beacon.
- A small first-aid kit that is easy to reach.
The heavier the pack, the more it can affect balance. Carry what the route requires, but distribute weight well, tighten straps enough that the pack does not swing, and avoid hanging loose bottles or gear where they can shift while stepping down.
If a fall happens, the response plan starts before the hike
A fall plan is not pessimism. It is part of deciding whether the hike is reasonable. Before setting out, know how you would describe your location, who has your route plan, whether there is cell service, how to contact park staff or emergency services, and what you would do if walking out becomes unsafe.
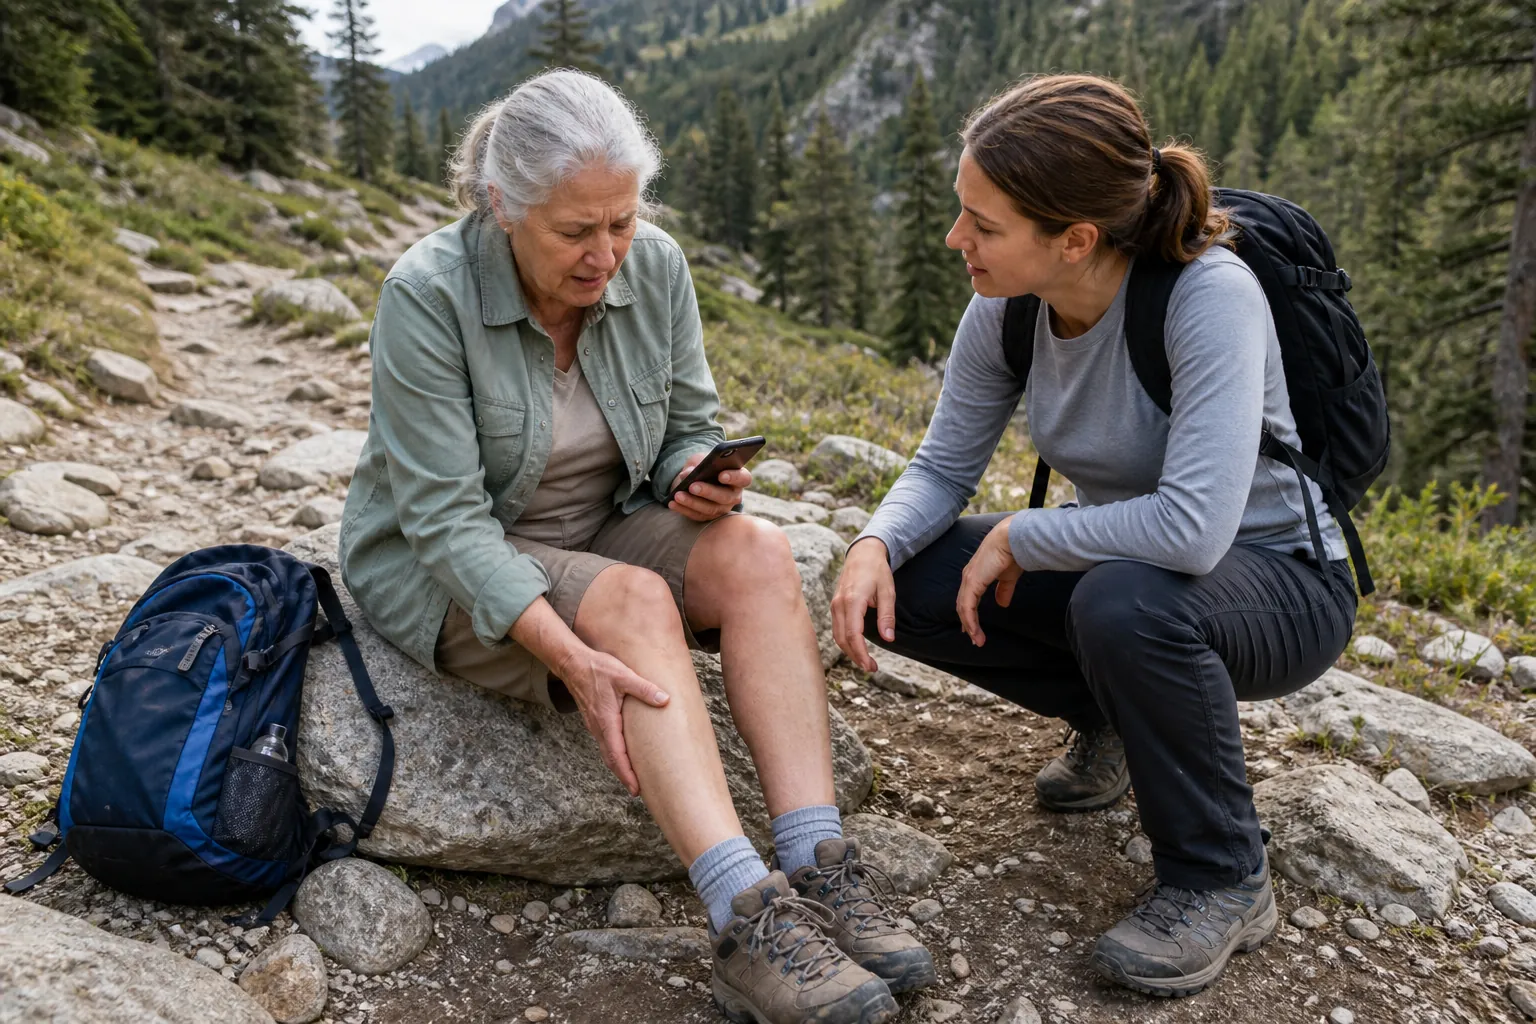
After a fall, do not rush to stand. Pause and check for head impact, neck or back pain, bleeding, deformity, severe pain, dizziness, confusion, weakness, chest symptoms, or any injury that makes weight-bearing uncertain. If any of those are present, treat the situation as potentially serious and seek emergency help rather than trying to prove you can continue.
If the fall seems minor, still take time. Sit, drink if appropriate, check the injured area, and decide whether the safest choice is to turn around. A second fall after pain, embarrassment, or adrenaline can be worse than the first. A companion should help assess, communicate, and keep the person warm or shaded, but should not force them up quickly.
This guidance is educational and cannot replace medical care. Older hikers with medical conditions, recent falls, new symptoms, or medication concerns should discuss hiking plans with a qualified clinician. On the trail, when symptoms or injuries are serious or uncertain, use emergency services or park assistance.
A national park outing is safer when the hiker screens the risks that are already present, chooses equipment and terrain that match current ability, manages fatigue and changing conditions before they build, and has a response plan ready. Preparation does not remove every danger from rock, weather, distance, or health. It does give independence a better footing.
References
- Injuries in Hikers at Age 50 to 70, German Journal of Sports Medicine, 2019.
- STEADI - Older Adult Fall Prevention, Centers for Disease Control and Prevention.
- Hiking Safety, National Park Service.
Related reading
Noticed something outdated or inaccurate on this page? Flag a correction. We review every report against CDC, NIA, and AARP HomeFit guidance before updating a page.
Part of the Fall Prevention section.