
Room checklist
Cold Weather Safety Checklist for Seniors at Home
A plan-ahead cold weather safety checklist for seniors at home: thermostat at 68–70°F, smoke and CO detectors tested monthly with CO monitors near every sleeping area, space heaters 3+ feet from anything that can burn, and a 3-day to 2-week emergency kit. Pairs each prevention step with cold-related warning signs and when to call 911.
- Room
- whole-home
- Modification type
- winterization
- Cost range
- low-cost
- Reviewed by
- Editorial Team
A room can look cozy, feel tolerable, and still be too cold for an older adult. The National Institute on Aging warns that a home kept at 60–65°F may be too cold for some older adults, and it recommends setting the heat to 68–70°F in cold weather [1]. That is the correction to make before the first hard freeze: do not judge winter safety by a throw blanket, a hand on the radiator, or someone saying, “I’m fine.” Measure it.
This cold weather safety checklist for seniors at home is built for one practical walkthrough. Start in the room where the older adult actually spends time, then move through heating equipment, smoke and carbon monoxide alarms, space heaters, weatherproofing, water lines, emergency supplies, and warning signs. Most items are low-cost. Several are already in the house. The work is checking that they are in the right place, working, and ready before cold weather traps anyone into improvising.
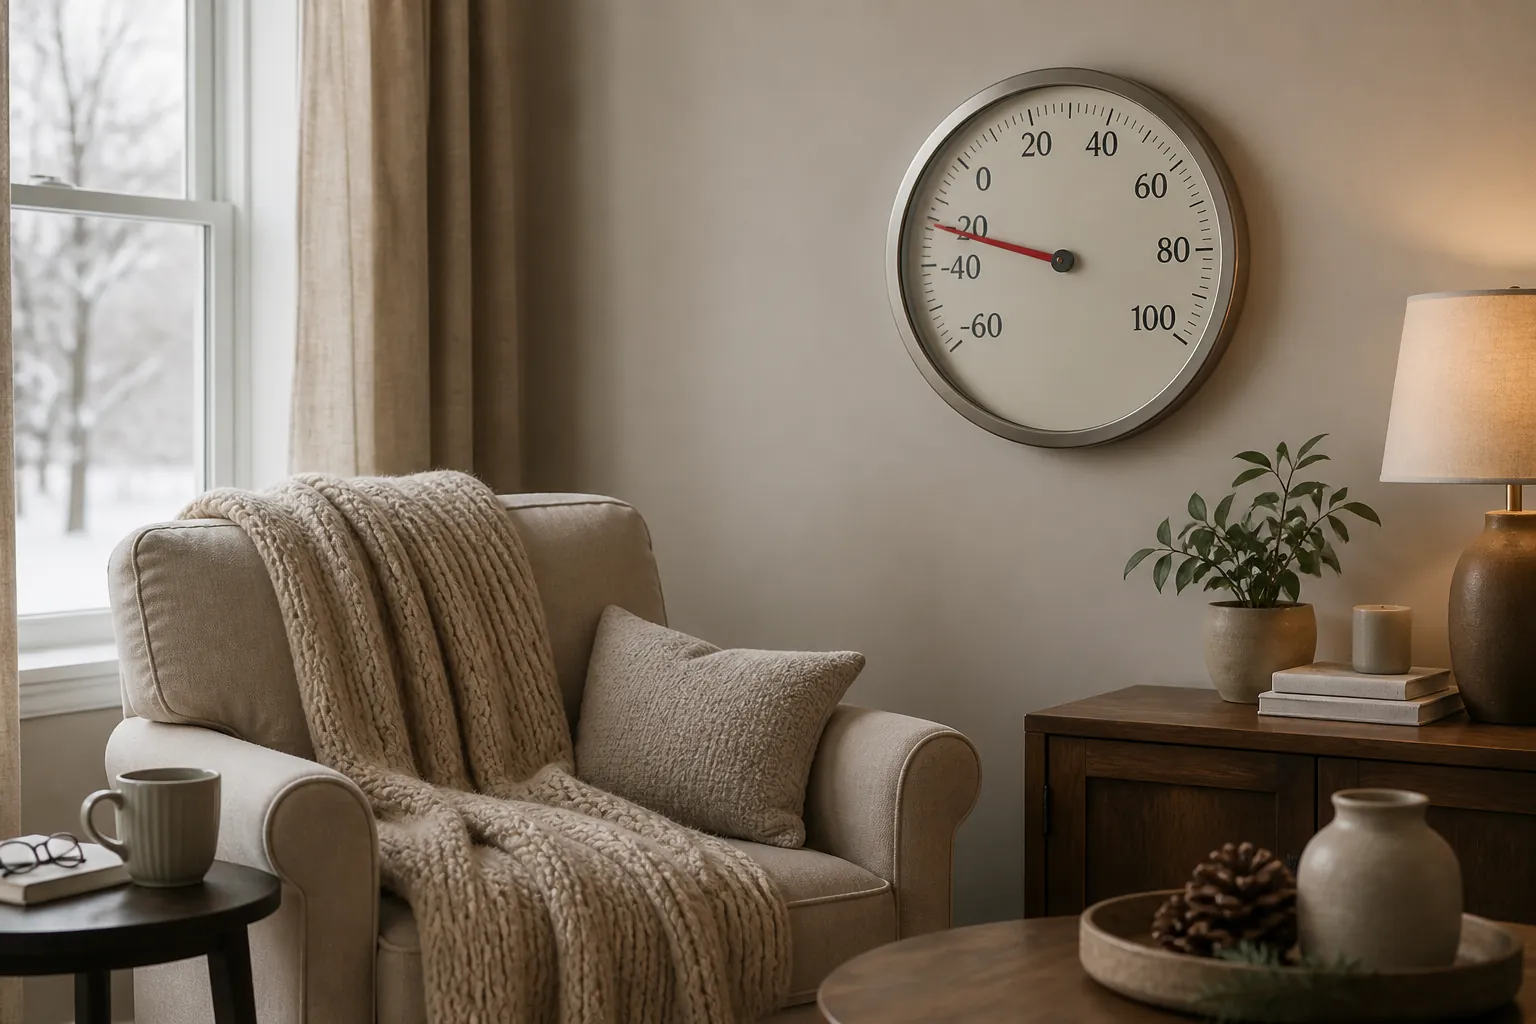
This is not overcaution dressed up as housekeeping. CDC data counted 1,024 deaths from excessive cold or hypothermia in 2023, with most occurring in January and February [2]. A 2024 analysis also found cold-related death rates were highest among adults age 75 and older [3]. The point is not to turn a home visit into a weather lecture. It is to catch the fixable risks while there is still time to fix them.
The pre-winter walkthrough, in the order to do it
| Walkthrough stop | What to verify |
|---|---|
| Main living area and bedroom | Thermostat set to 68–70°F, plus an easy-to-read indoor thermometer in the room used most often [1] |
| Heating system | Furnace, chimney, and flue inspection scheduled or completed before regular winter use [4] |
| Smoke and CO detection | Alarms tested monthly; batteries changed twice a year; CO alarms placed near sleeping areas [4][5] |
| Space heaters | At least 3 feet from anything that can burn; plugged directly into a wall outlet; turned off when unattended [6][7] |
| Kitchen and backup heat | Oven never used for heat; generators and grills kept outside and away from openings [4][5] |
| Weatherproofing and pipes | Caulk, weather-stripping, insulated water lines, and protected plumbing checked before freezing weather [4] |
| Emergency supplies | 3-day go-kit, up to 2-week stay-at-home kit, 1 gallon of water per person per day, and a 1-month medication supply [8] |
| Emergency response | Hypothermia, carbon monoxide symptoms, and fire response reviewed before anyone has to decide under stress |
Start with temperature, not comfort
Begin at the thermostat, then check the room where the older adult spends the longest stretch of the day. Those are not always the same place. A hallway thermostat may read acceptably while a recliner near a drafty window sits several degrees colder. A bedroom can drop overnight. A back room that “hardly gets used” can still become the place someone sits during a phone call, folds laundry, or sorts medications.
Use 68–70°F as the working target for this walkthrough [1]. You may see some winter-safety materials describe 65°F or warmer as a minimum, and that range is one reason caregivers get stuck. For an older adult’s home, especially before you know where the cold spots are, the safer working habit is simple: set the heat to 68–70°F, place a thermometer where the person actually lives, and adjust upward if a clinician has recommended it or if the room still runs cold.
An easy-to-read indoor thermometer belongs in the main sitting area and, if possible, in the bedroom. Put it where it can be read without bending, climbing, or moving furniture. Large digital numbers are usually easier than a decorative dial. The thermometer should answer the question everyone otherwise guesses at: what temperature is this person sitting in right now?
- Check the thermostat setting, then check the actual room temperature after the heating system has been running.
- Measure the main chair area, the bedside area, and any bathroom that tends to run cold.
- Look for blocked vents, closed interior doors, heavy curtains covering radiators, and furniture pushed over baseboard heat.
- Confirm the older adult can read and adjust the thermostat, or that a trusted person can help before weather changes.
- If heating cost is the barrier, check current local utility assistance, weatherization, or emergency heating programs and verify the page is current for this season before relying on it.
Do not let “I don’t feel cold” end the check. Older adults may not sense temperature changes as quickly, and some medications, health conditions, limited movement, alcohol use, and fatigue can make cold exposure more dangerous. The home does not have to feel icy to create a problem. That is exactly why the thermometer matters.
Check the furnace, chimney, and anything that burns fuel
Before winter use becomes daily use, confirm that the heating system has been inspected. The CDC includes furnace and chimney checks among winter-weather safety steps, along with making sure heating equipment is used correctly and ventilated properly [4]. If there is a gas furnace, oil furnace, fireplace, wood stove, or any other fuel-burning appliance, this is not the place for guesswork.
- Find the most recent service date for the furnace or boiler.
- Schedule annual service if no one can confirm it was done before the heating season.
- Ask whether the chimney, fireplace, wood stove, or flue has been inspected and cleaned.
- Look for stored boxes, paper, laundry, paint, or cleaning supplies crowded around heating equipment.
- Confirm that exterior vents are not blocked by leaves, storage bins, snow piles, or shrubs.
If an older adult has been “getting by” with a weak furnace, a smoky fireplace, or a heater that trips the breaker, write down the problem and decide who is calling for service. A vague plan to “keep an eye on it” usually means the first truly cold night becomes the repair deadline.
Test smoke alarms and carbon monoxide alarms while you are standing there
Do not ask whether the alarms work. Test them. The CDC recommends testing smoke and carbon monoxide detectors monthly and replacing batteries twice a year [4]. Carbon monoxide alarms should be placed near sleeping areas, because a sleeping person cannot notice a problem early enough to make a careful decision [5].
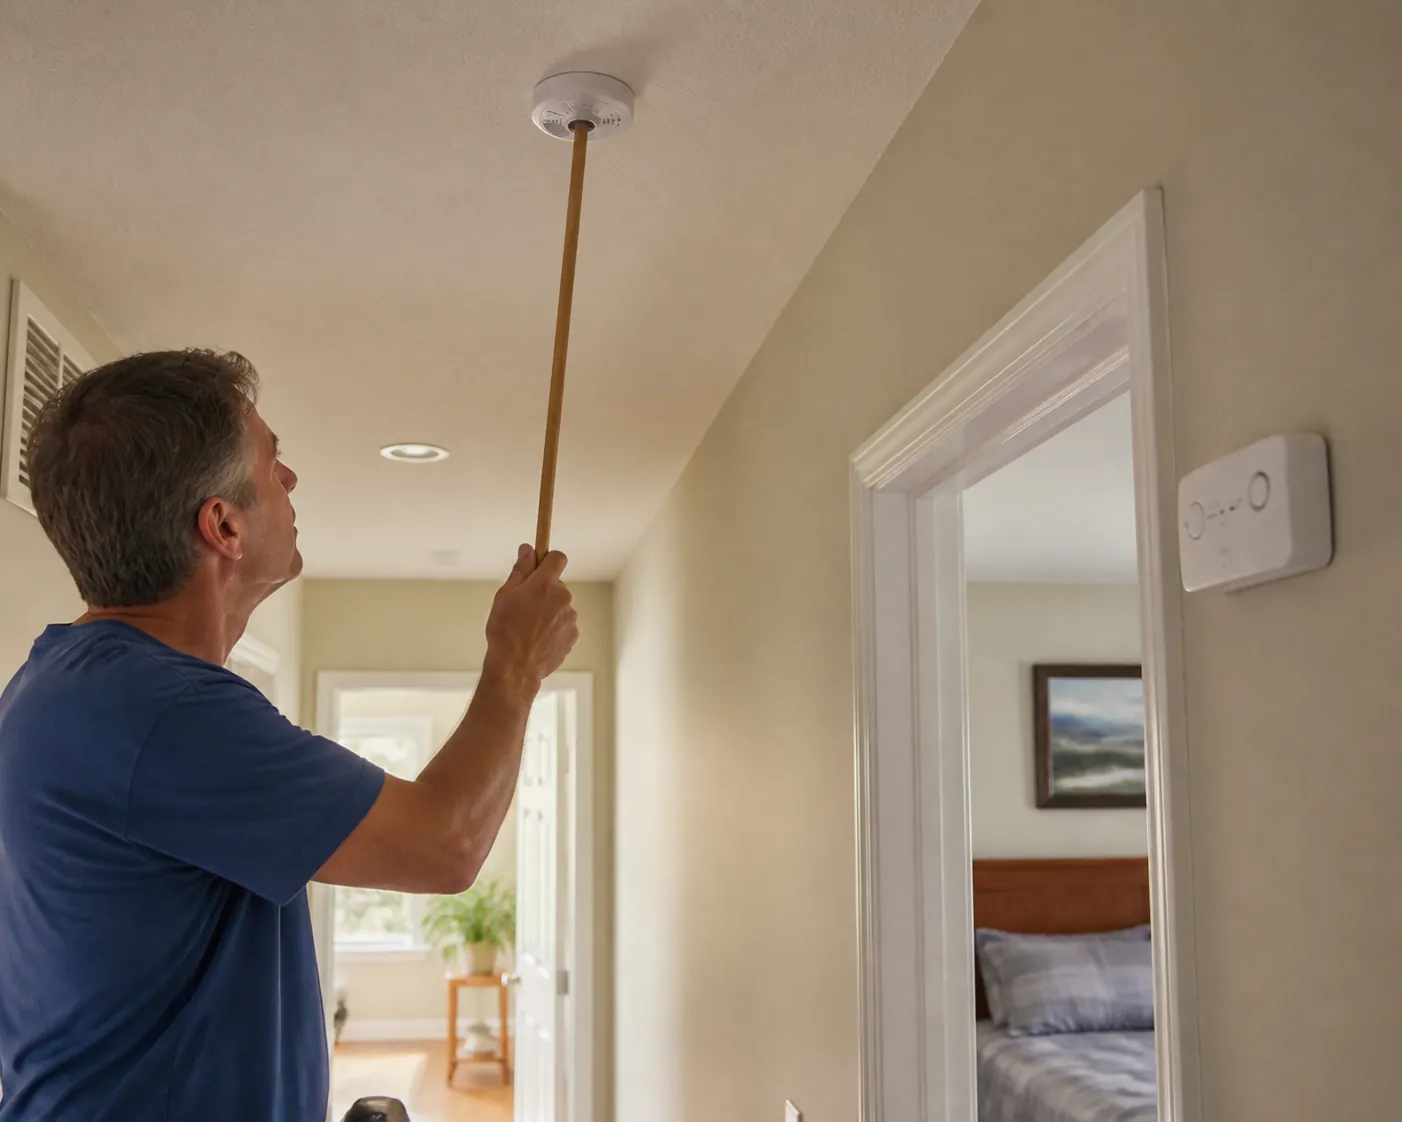
A detector with a dead battery is wall decoration. A detector sitting in a drawer because it chirped all night is not a detector. If the home has fuel-burning heat, an attached garage, a fireplace, or a gas appliance, carbon monoxide detection is part of the winter setup, not an optional upgrade.
- Press the test button on every smoke alarm and carbon monoxide alarm.
- Replace batteries if the test fails, the alarm chirps, or the replacement date is unknown.
- Write battery-change months on the calendar twice a year.
- Make sure at least one carbon monoxide alarm is near each sleeping area.
- Check manufacturer dates and replace expired alarms according to the label.
- Confirm the alarm can be heard from the bedroom with the door closed.
Carbon monoxide is especially unforgiving because it cannot be seen or smelled, and people who are sleeping or intoxicated may die from carbon monoxide poisoning before having symptoms [5]. If an alarm is missing, expired, disabled, or too far from the sleeping area, fix that before regular winter heating begins.
Space heaters: clear space, direct outlet, no exceptions
A space heater is often the object people defend because it solves an immediate discomfort. Fine. Then make it follow the rules every time. The Electrical Safety Foundation International says space heaters should be kept at least 3 feet from anything that can burn and plugged directly into a wall outlet, not an extension cord or power strip [6]. NFPA winter-fire guidance also emphasizes keeping heating equipment away from anything that can burn and turning portable heaters off when leaving the room or going to bed [7].
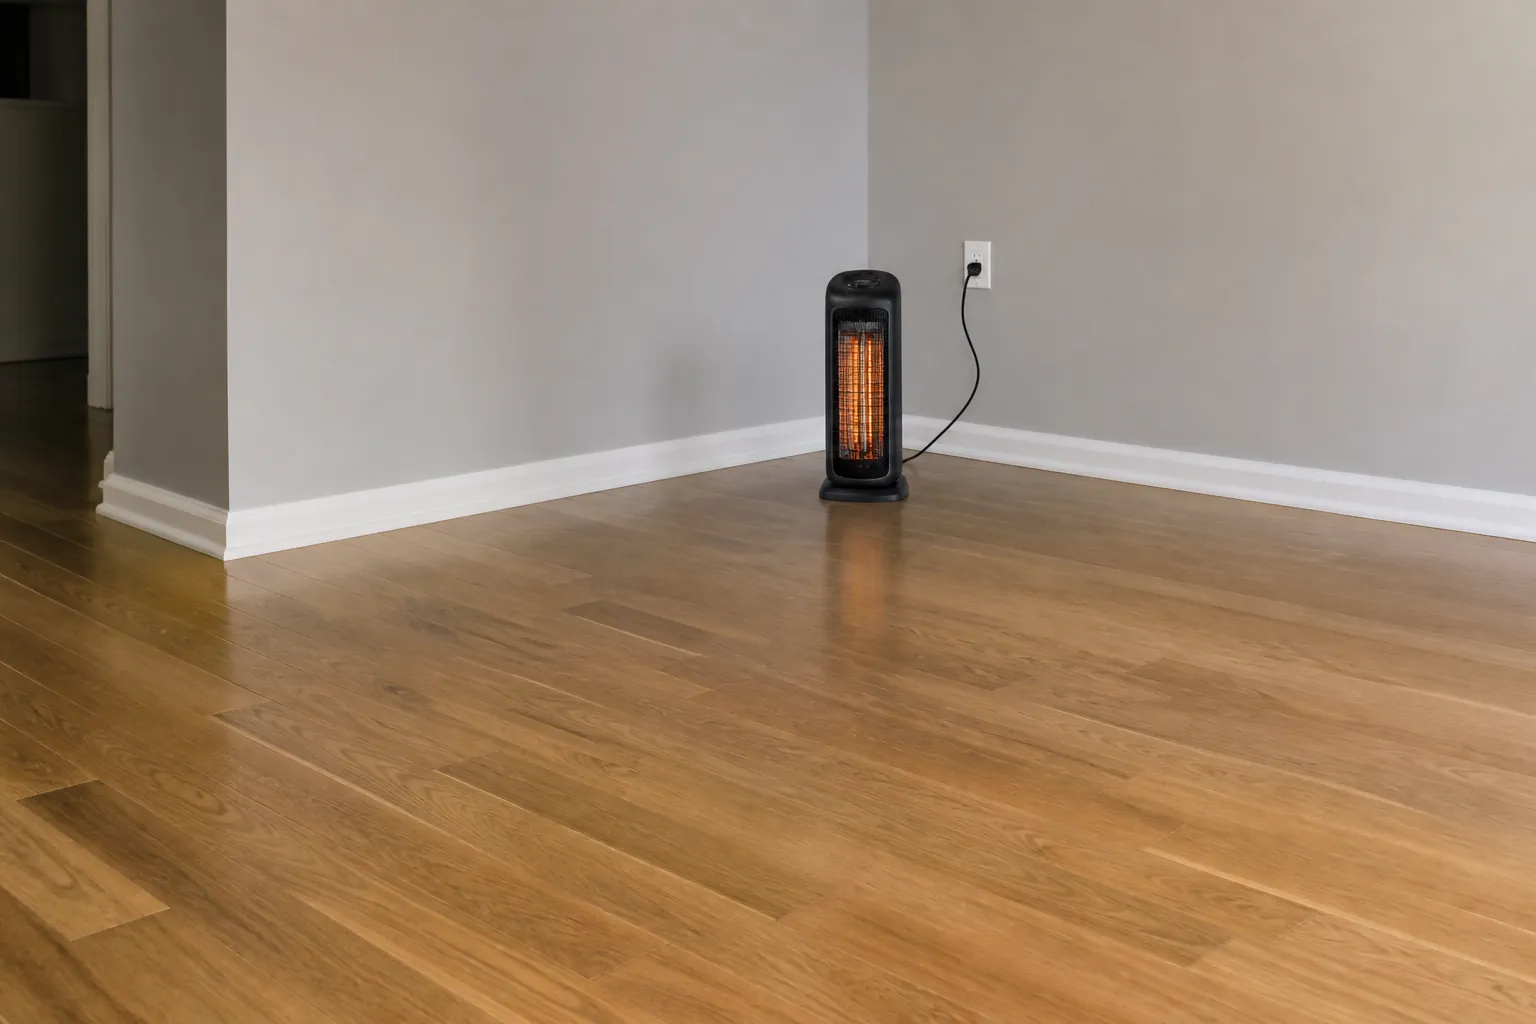
Walk the heater area the way a fire would. What is within 3 feet: curtains, newspapers, bedding, oxygen tubing, a walker basket full of tissues, a throw rug, a dog bed, a laundry pile? Move those items, or move the heater. A heater that is safe only when nobody bumps the chair or drops the blanket is not set up safely.
- Keep at least 3 feet of clearance on all sides from anything that can burn.
- Plug the heater directly into a wall outlet.
- Do not use extension cords, power strips, or adapters with the heater.
- Place the heater on a flat, stable surface where feet, walkers, pets, and blankets will not tip it.
- Turn it off before leaving the room or going to sleep.
- Replace any heater with a damaged cord, scorch marks, a loose plug, or unreliable shutoff.
The oven is not a backup heater. The CDC warns against using a gas oven or stove to heat the home [4]. The same practical rule applies to grills, camp stoves, and generators: they do not come indoors, and they do not sit in the garage, basement, or near open windows where fumes can enter [4][5].
Seal the obvious drafts and protect the water lines
Weatherproofing does not need to become a renovation project during this walkthrough. You are looking for the simple failures that make a room colder, push the heating system harder, or freeze a pipe on the wrong weekend. The CDC’s winter preparation guidance includes insulating water lines, weather-stripping doors and windows, caulking, and checking chimneys and flues [4].
- Feel around exterior doors and windows for drafts.
- Replace missing or loose weather-stripping where cold air is obvious.
- Caulk gaps that are letting cold air or moisture in.
- Insulate exposed water lines in garages, crawl spaces, basements, and exterior walls.
- Disconnect outdoor hoses and know where the main water shutoff is.
- Keep cabinet doors open during severe cold if plumbing runs through a cold exterior wall, unless that creates a tripping or access problem.
If the house has rooms that are intentionally kept closed to save heat, check what is inside them before winter. A closed-off bathroom, laundry room, or back bedroom with plumbing can become the room everyone forgot until a pipe breaks.
Stock the emergency kit without turning it into a garage project
The emergency kit has two jobs: help someone leave quickly if the home is unsafe, and help someone stay put safely during a winter storm or power outage. The American Red Cross recommends a 3-day supply for evacuation and up to a 2-week supply for staying at home, including 1 gallon of water per person per day and a 1-month supply of medications [8].
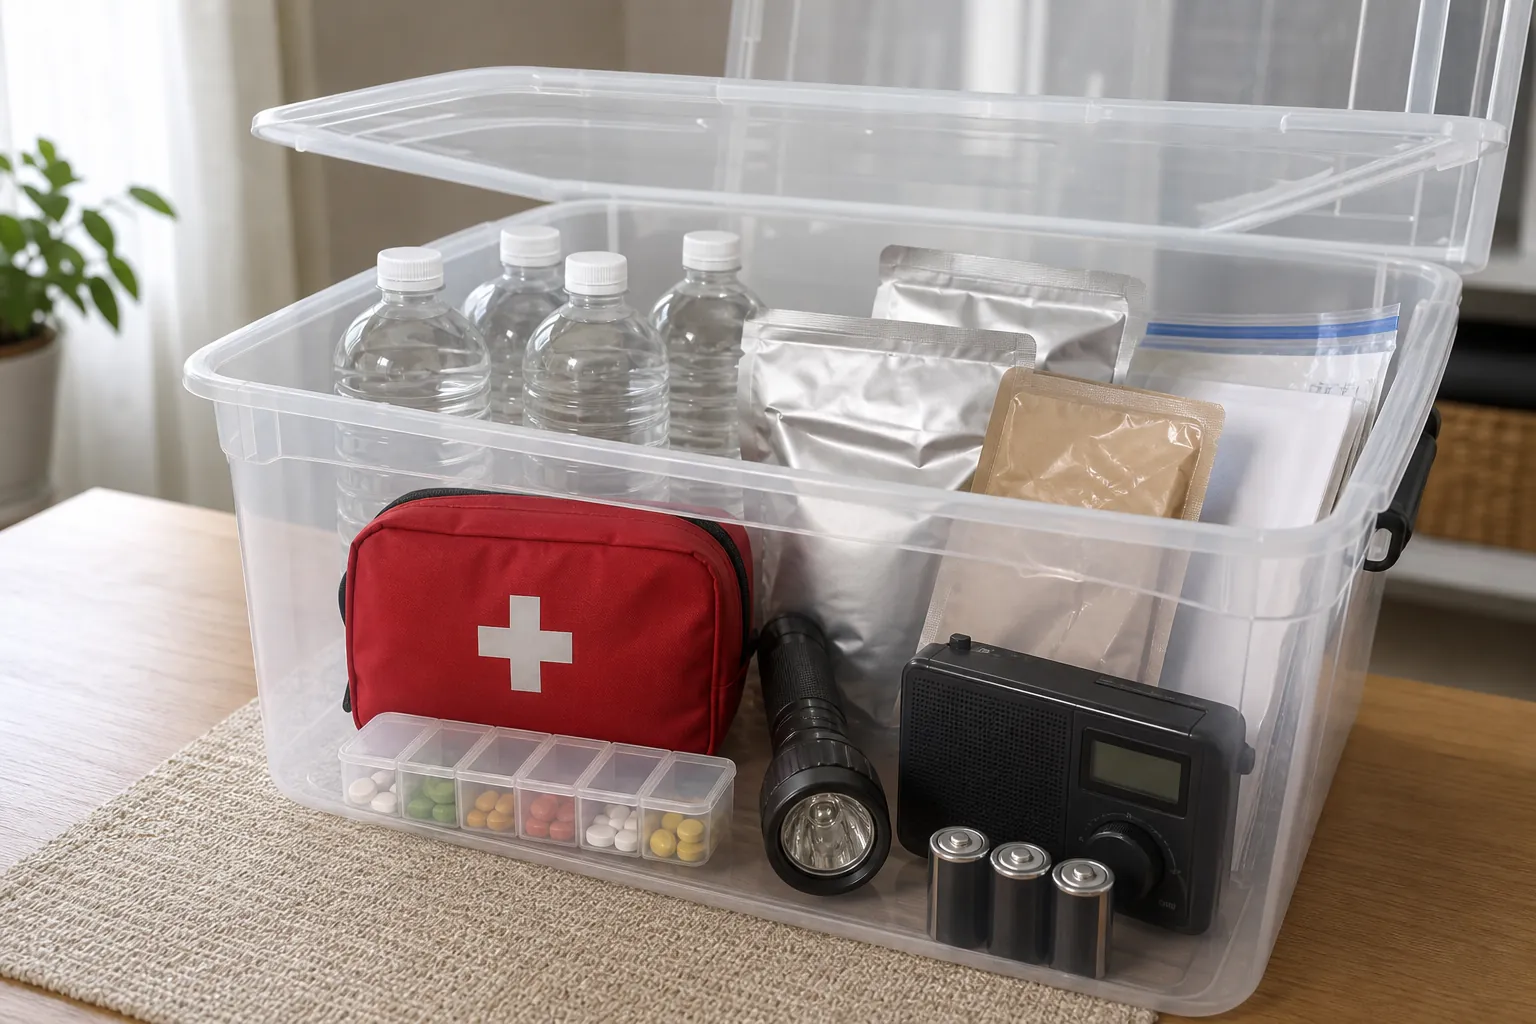
For an older adult living alone, the kit also needs to be reachable. Supplies on a high garage shelf do not count for someone who cannot safely climb. Put the stay-at-home supplies where they can be reached without a ladder, and keep a smaller go-kit near the main exit.
| Kit item | Practical check |
|---|---|
| Water | 1 gallon per person per day; plan for 3 days if leaving and up to 2 weeks if staying home [8] |
| Medication | 1-month supply when possible, plus a current medication list [8] |
| Food | Non-perishable foods the older adult can open and safely eat |
| Lighting | Flashlight or lantern with spare batteries; avoid relying on candles |
| Communication | Charged phone, backup power bank, radio, and written phone numbers |
| Documents | Copies of key medical, insurance, identification, and emergency contact information in a sealed bag |
| Comfort and function | Glasses, hearing-aid batteries, incontinence supplies, mobility-device needs, and warm layers |
Check expiration dates while you are there. Replace food the person will never eat, batteries that have corroded, and medications that are not current. If refrigerated medication, oxygen, dialysis, powered mobility equipment, or a medical device depends on electricity, the emergency plan needs a power-outage contact and a place to go before the outage becomes urgent.
Warning signs: when the checklist becomes a 911 call
This checklist is for home safety planning and is not medical advice. If symptoms are severe, sudden, worsening, or feel like an emergency, call 911. It is better to have emergency services assess a false alarm than to wait through a true one.
Possible hypothermia
Take hypothermia seriously even indoors. The National Institute on Aging lists warning signs including cold feet and hands, puffy or swollen face, pale skin, shivering, slower or slurred speech, sleepiness, confusion, anger, and trouble walking [1]. If you suspect hypothermia, call 911 first. Move the person to a warmer place if you can do that safely, remove wet clothing, and use blankets, but do not delay emergency help to try home treatment.
Possible carbon monoxide exposure
Carbon monoxide symptoms can look like the flu: headache, dizziness, weakness, upset stomach, vomiting, chest pain, and confusion [5]. If a carbon monoxide alarm sounds, or if symptoms appear in more than one person or improve after leaving the home, get outside immediately and call 911. Do not re-enter until emergency responders say it is safe.
Fire, smoke, or a heater problem
If there is fire, smoke, a burning smell from wiring, sparks, or a heater that has scorched the wall or outlet, leave and call 911. Do not ask an older adult to investigate, move a burning heater, or save belongings. The winter plan should make escape easier, not turn anyone into a firefighter.
What to write down before you leave
A useful walkthrough ends with proof, not a general feeling that the house seems ready. Leave one page on the refrigerator, inside a cabinet door, or wherever the older adult keeps important numbers. Keep a copy for the person who will get the phone call during the first storm.
- Thermostat setting and actual room temperature in the main sitting area and bedroom
- Date smoke alarms and carbon monoxide alarms were tested
- Battery replacement months
- Location of carbon monoxide alarms near sleeping areas
- Furnace, chimney, or flue inspection date, or the appointment date
- Space-heater location and confirmation of 3-foot clearance
- Main water shutoff location
- Emergency kit location and last restock date
- Medication supply status and pharmacy contact
- Who to call for heat failure, power outage, transportation, and medical concerns
Winter safety for seniors at home is not about making the house look cozy. It is about making invisible risks measurable: thermostat read, detectors tested, heater clearance checked, furnace inspection confirmed or scheduled, pipes protected, supplies stocked, and emergency signs understood before cold weather arrives.
References
- Cold Weather Safety for Older Adults — National Institute on Aging
- QuickStats: Number of Deaths from Excessive Cold or Hypothermia, by Month — National Vital Statistics System, United States, 2023 — CDC MMWR
- Cold-Related Deaths in the US — JAMA Network Open — 2024
- Winter Weather — CDC
- Carbon Monoxide Poisoning Basics — CDC
- Home Heating Safety Tips for Older Adults — Electrical Safety Foundation International
- Older Adults — NFPA
- Winter Storm Preparedness — American Red Cross
Related reading
Need a professional assessment?
Find a CAPS-credentialed professional or local aging services through our outbound resource list — we never name or rank individual contractors.
Find Local HelpNoticed something outdated or inaccurate on this page? Flag a correction. We review every report against CDC, NIA, and AARP HomeFit guidance before updating a page.