
Caregiver decision guide
How Seniors Can Start Strength Training Safely at Home
Seniors can strength train at home safely by following a short checklist before and during exercise: medical clearance, a sturdy chair, controlled breathing, a conservative starting weight, and rest days between sessions. This guide explains the stop-signals that mean the body needs a break and gives a simple first-week starter routine that requires no gym equipment.
Yes, older adults can start strength training safely at home. The safe version starts before the first repetition: check whether medical clearance is needed, choose a chair that will not slide or roll, breathe instead of holding your breath, begin with light resistance, and leave rest days between sessions. The CDC’s general destination for adults 65 and older includes muscle-strengthening activities on 2 or more days per week for all major muscle groups, along with aerobic and balance activity, but a beginner does not have to reach the whole guideline on the first Tuesday morning. Some physical activity is better than none, and careful counts. [1]
This is educational guidance, not a diagnosis or a personalized rehabilitation plan. If you have osteoporosis, a recent joint replacement, uncontrolled blood pressure, a balance disorder, new chest symptoms, cancer treatment-related weakness, or another condition that changes how you move, get clinician guidance before using a home routine. The American Academy of Orthopaedic Surgeons advises older adults to have a physical exam and discuss medical problems with a doctor before starting an exercise program. [2]
Start with the room, the chair, and your breathing
A safe home strength session does not need a gym corner. It does need a small clear space, shoes or stable footing, and something solid nearby. Move throw rugs, cords, pet toys, and low tables out of the path. Put the phone where you can reach it. If someone is nearby the first time, lovely; if not, the setup should still be sensible enough that you are not depending on luck.
For chair exercises, use a chair with a firm seat and back. No wheels. No rocking chair. No soft cushion that makes you sink and fight your way out. Cleveland Clinic’s chair-exercise guidance points to a sturdy chair with a firm bottom and back, no wheels, and preferably no arms so movement is not blocked. [3]
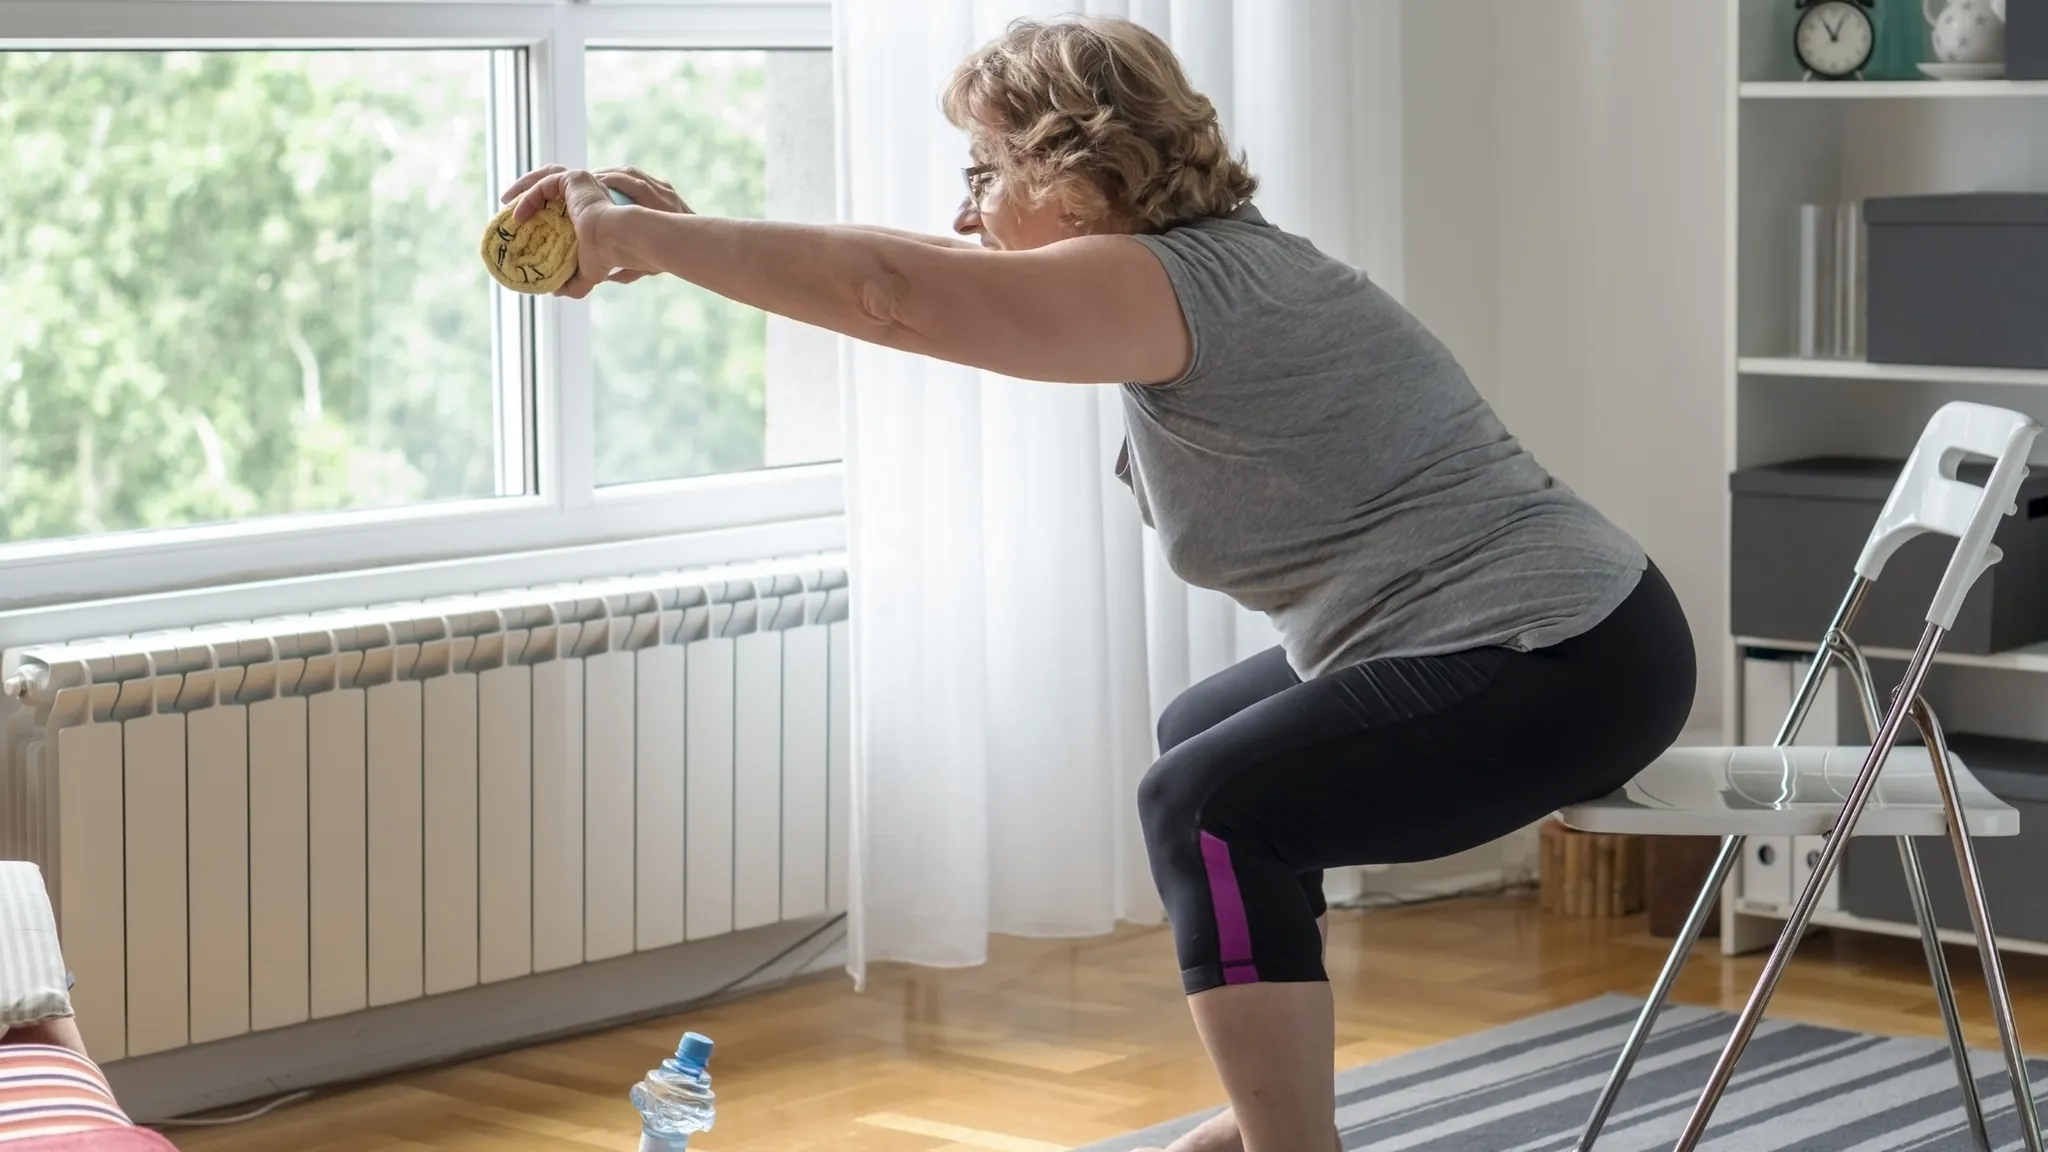
Breathing is part of the safety setup, not decoration. Harvard Health advises exhaling while lifting, pushing, or pulling and never holding your breath while straining, because breath-holding during effort can raise blood pressure and may be risky for people with cardiovascular disease. [4] The easy cue is: exhale on the hard part. Standing up from a chair? Breathe out as you rise. Pushing away from the wall? Breathe out as you push.
The stop-signals matter more than the exercise list
A person can do the “right” exercise the wrong way by ignoring warning signs. The point is not to be timid; it is to know which signals mean ordinary effort and which ones mean stop, back off, or ask for help.
| What you notice | What to do | Why it matters |
|---|---|---|
| Significant pain during an exercise | Stop that exercise for the day. Do not push through it. | Harvard Health advises stopping if an exercise causes significant pain. [4] |
| Joint pain or joint aches after exercise | Back off, reduce range of motion or resistance, and consider checking in with a clinician if it persists. | Cleveland Clinic describes joint pain as the body’s signal to back off; Harvard also lists joint aches as a reason to cut back. [3][4] |
| Mild muscle soreness later that day or the next day | Usually rest, hydrate, and wait before training the same muscles again. | Cleveland Clinic distinguishes mild muscle soreness from joint pain. [3] |
| Feeling faint, dizzy, or unsteady | Stop, sit down, and do not restart that session. Seek medical help if symptoms are severe, new, or do not resolve. | Harvard Health lists feeling faint as a sign to cut back. [4] |
| You cannot talk while exercising | Pause and reduce the effort. For a beginner strength session, this is too hard. | Harvard Health includes inability to talk while exercising among signs to cut back. [4] |
| You cannot finish the session even with good form | Shorten the session next time. Use fewer repetitions, less resistance, or fewer exercises. | Harvard Health recommends cutting back if you cannot finish a session. [4] |
| Chest pressure, severe shortness of breath, sudden weakness, or symptoms that feel urgent | Stop immediately and seek urgent medical help. | These symptoms go beyond routine exercise coaching and need medical evaluation. |
Adult children helping a parent can use this table without hovering. Put it on the counter, agree ahead of time what “stop” means, and resist the urge to turn the first session into a performance. If fall risk is already a concern, a clinician or physical therapist can help decide whether home exercise should begin with supervision; this site’s fall-risk assessment guidance is a useful companion to that clearance conversation.
How hard should the first strength session feel?
Use ranges as ranges. Harvard Health suggests choosing a weight where the last 1 or 2 repetitions of an 8-to-12-repetition set feel hard. [4] Mayo Clinic says one set of 12 to 15 repetitions with proper form can build muscle efficiently for most people, with a weight that tires the muscles by the last repetitions. [5] Those two instructions are close enough to be useful, but they are not the same magic number.
For a cautious beginner at home, start below your pride. Stop the set while your form is still tidy. If you could do only 5 good sit-to-stands today, that is not a failure; it is a clean starting measurement. You can build from a clean measurement. You cannot build safely from wobbling, breath-holding, and pretending pain is character.
Household items are fine when they are easy to grip and not breakable. Mayo Clinic notes that light household items such as water bottles can be used when weights are not available, and Cleveland Clinic also mentions soup cans or wrist weights for chair exercises. [5][3] A half-full water bottle you can hold securely beats an awkward jug that pulls your shoulder forward.
Your first-week starter session
Do this session once in the first week if you are very deconditioned or nervous. If it feels comfortable and you have no warning signs, you may repeat it after at least 48 hours of rest for the same muscles. Harvard Health recommends resting at least 48 hours between strength sessions, and Mayo Clinic says muscles need at least one full rest day between sessions for the same muscle group. [4][5]
| Exercise | How to do it | Beginner amount |
|---|---|---|
| Sit-to-stand | Sit near the front of a sturdy chair. Feet flat. Lean slightly forward, exhale, and stand. Sit back down with control. | 1 set of 5 to 8 careful repetitions, or fewer if form changes |
| Wall push-up | Stand facing a wall, hands on the wall at chest height. Bend elbows to bring your chest toward the wall, then exhale and push away. | 1 set of 6 to 10 repetitions |
| Heel raises | Stand behind the chair with fingertips on the chair back or counter. Rise onto the balls of your feet, pause, and lower slowly. | 1 set of 6 to 10 repetitions |
| Seated bicep curl | Sit tall. Hold light water bottles or soup cans. Curl toward the shoulders while exhaling, then lower slowly. | 1 set of 8 to 12 repetitions |
| Marching | Stand near a counter or sturdy chair, or sit if standing feels unsafe. Lift one knee, lower it, then switch sides. | 20 to 30 seconds, easy enough that you can talk |
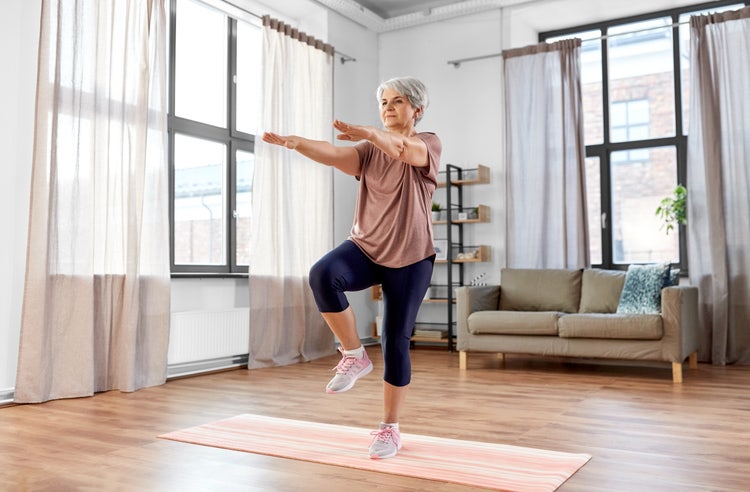
Move slowly enough that you can notice what is happening. The lowering part counts. Plopping into the chair is not the same as sitting down with control. Dropping the water bottles to your thighs is not the same as lowering them. If the last repetitions make you hold your breath, twist, shrug your shoulders, or grip the chair like a lifeline, the set is done.
Sit-to-stand: the home strength test that tells the truth
The sit-to-stand is where many beginners learn the difference between effort and rushing. Put the chair against a wall if it slides. Keep both feet under you, not tucked so far back that you have to launch yourself. If you need your hands on the chair seat or thighs at first, use them lightly and consistently. Over time, the goal may be to use less hand help, but today’s job is to stand and sit without tipping, twisting, or holding your breath.
Wall push-up: choose the distance that keeps your shoulders calm
The farther your feet are from the wall, the harder the wall push-up becomes. Start close enough that you can keep your body in one long line and your shoulders away from your ears. If your wrists complain, try placing the hands a little higher or shortening the motion. If the wall push-up causes significant pain, stop it rather than searching for a heroic version.
Heel raises and marching: strength with balance common sense
Heel raises and marching can challenge the lower legs and hips, but they also ask for balance. That is why the chair or counter is there. Fingertips on a stable surface are not cheating; they are good setup. If standing marching makes you feel unsteady, do it seated and keep the movement small. Balance work is part of the CDC’s activity guidance for older adults, but a balance challenge should not turn your kitchen into an obstacle course. [1]
Seated bicep curl: light resistance is still resistance
Sit tall enough that your back is not collapsed into the chair. Keep elbows near your sides. Curl the bottles or cans up, exhale, and lower them slowly. If you find yourself swinging the weight, the item is too heavy or the set is too long. A small bottle moved well is more useful than a heavy object moved badly.
A simple first-week plan
Here is a conservative first week for someone new to strength training at home. It is intentionally plain.
- Day 1: Do the starter session. Write down what you actually completed with good form.
- Day 2: Rest from strength training. Take an easy walk or do normal daily movement if that is comfortable.
- Day 3: If you feel well and have no concerning pain, repeat the starter session or do only the exercises that felt steady on Day 1.
- Day 4: Rest from strength training.
- Day 5 or 6: Optional third light practice only if the first two sessions were easy, your joints feel fine, and at least 48 hours have passed since training the same muscles.
- Day 7: Look at your notes. Keep the version that produced steady movement and no stop-signals.
If you are also trying to maintain muscle with nutrition, remember that protein advice belongs with strength training, not instead of it. For more on that pairing, see protein needs and fall prevention.
How to progress without getting clever
Progress one thing at a time. Add 1 or 2 controlled repetitions before you choose a heavier bottle. Move the wall push-up feet a small step farther from the wall before adding another set. Try a slightly slower lowering phase before chasing fatigue. When in doubt, make the movement cleaner rather than making it larger.
Only add another strength-training day when the previous sessions left you feeling steady, not punished, and when the same muscles have had adequate rest. The CDC’s 2-or-more-days-per-week strengthening guideline is a destination for the week, not a reason to ignore soreness, joint pain, faintness, or poor form. [1]
The safest home routine is not the fanciest one. It is the one done with a stable chair, clear stop-signals, steady breathing, reasonable resistance, and enough rest that you can come back and do it again.
References
- Older Adult Activity: An Overview, CDC, https://www.cdc.gov/physical-activity-basics/guidelines/older-adults.html
- Tips To Help Seniors Start An Exercise Program, OrthoInfo / American Academy of Orthopaedic Surgeons, https://www.orthoinfo.org/staying-healthy/seniors-and-exercise-starting-an-exercise-program
- Chair Exercises for Seniors: 11 Moves to Try, Cleveland Clinic, https://health.clevelandclinic.org/chair-exercises-for-seniors
- 8 tips for safe and effective strength training, Harvard Health, https://www.health.harvard.edu/healthy-aging-and-longevity/8-tips-for-safe-and-effective-strength-training
- Strength training: Get stronger, leaner, healthier, Mayo Clinic, https://www.mayoclinic.org/healthy-lifestyle/fitness/in-depth/strength-training/art-20046670
Questions to bring to a clinician or OT
This is not medical, legal, or a family's final decision — only a framework. Bring these questions to a clinician, occupational therapist, or your local Area Agency on Aging.
Find Local HelpRelated reading
Noticed something outdated or inaccurate on this page? Flag a correction. We review every report against CDC, NIA, and AARP HomeFit guidance before updating a page.