
STEADI: Intervene
One-Weekend Earthquake Safety Checklist for Elderly Parents
An ordered one-weekend plan to get an elderly parent earthquake-ready: Day 1/2/3 tasks that cover a 72-hour bedside kit, a 30-day medication and equipment backup, extra walking aids in each room, a two-person check-in network, and a rehearsed mobility-aware evacuation drill. It gives adult-child and long-distance caregivers the highest-impact steps first, based on Red Cross, Ready.gov, and state agency disaster guidance.
If you are standing in your parent’s bedroom on a Friday evening, the useful question is not whether the whole house is perfectly earthquake-ready. It is what you can finish before you leave Sunday night that would still matter if the power is out, the hallway has shifted furniture in it, the phone network is unreliable, and your parent is alone for a while.
For an elderly parent, the highest-value weekend work is a small set of systems: reachable supplies for the first 72 hours, at least 30 days of medication where possible, backup plans for medical equipment and transportation, extra walking aids in more than one room, two named check-in people, and a practiced route out of the home. Those pieces line up with Red Cross guidance for older adults, California aging-agency disaster tip sheets, and Ready.gov guidance for people with disabilities and access or functional needs. [1][2][3]
This earthquake safety checklist for elderly parents is written for adult children, long-distance caregivers, and relatives trying to make one visit count. The Day 1, Day 2, and Day 3 order is a practical sequencing of official preparedness tasks; it is not a schedule issued by one agency. If you live in a higher-risk earthquake region, the urgency is obvious. If you do not, the same setup still helps in the more ordinary disaster pattern: power out, roads blocked, help delayed, and an older adult needing water, medication, light, glasses, and a way to move safely.
The one-weekend plan at a glance
Do the work in the order that reduces the most immediate failure points first. A parent who cannot reach shoes, glasses, water, a flashlight, or a cane after shaking stops is in trouble long before anyone gets to the larger retrofit conversation.
| When | What to finish | What this protects against |
|---|---|---|
| Day 1: Bedroom, bathroom, walking paths | Build a 72-hour bedside kit, place sturdy shoes and a flashlight by the bed, put extra walking aids in different rooms, and do a lean hazard sweep. | Broken glass, darkness, misplaced glasses or hearing aids, blocked hallways, and being stranded away from the usual cane or walker. |
| Day 2: Medication, equipment, power, transportation | Set up a 30-day medication plan, document equipment needs, plan backup power where needed, address oxygen or life-support equipment, and store supplies where helpers can find them. | Missed medication, dead device batteries, oxygen or medical-device hazards, inaccessible evacuation options, and helpers not knowing what is where. |
| Day 3: People and practice | Name two check-in people, tell them the parent’s needs and supply locations, and rehearse the evacuation route with the actual mobility aid or device setup. | A plan that exists only in someone’s head, a route that does not work with a walker or wheelchair, and delayed help because nobody knows the parent’s real needs. |
One safety note belongs here before the weekend work starts: do not build the plan around old earthquake folklore. Current earthquake safety guidance centers on Drop, Cover, and Hold On; it does not tell people to run outside during shaking, rely on a doorway as the safe place, or use the discredited “triangle of life” idea. [4]
Day 1: Make the bedroom and walking paths work without help
Start where your parent will probably be when the quake happens: bed, favorite chair, bathroom, kitchen table. The first day is not for buying every emergency item in the store. It is for making sure the things your parent already depends on are reachable after shaking, in the dark, with glass on the floor and furniture out of place.
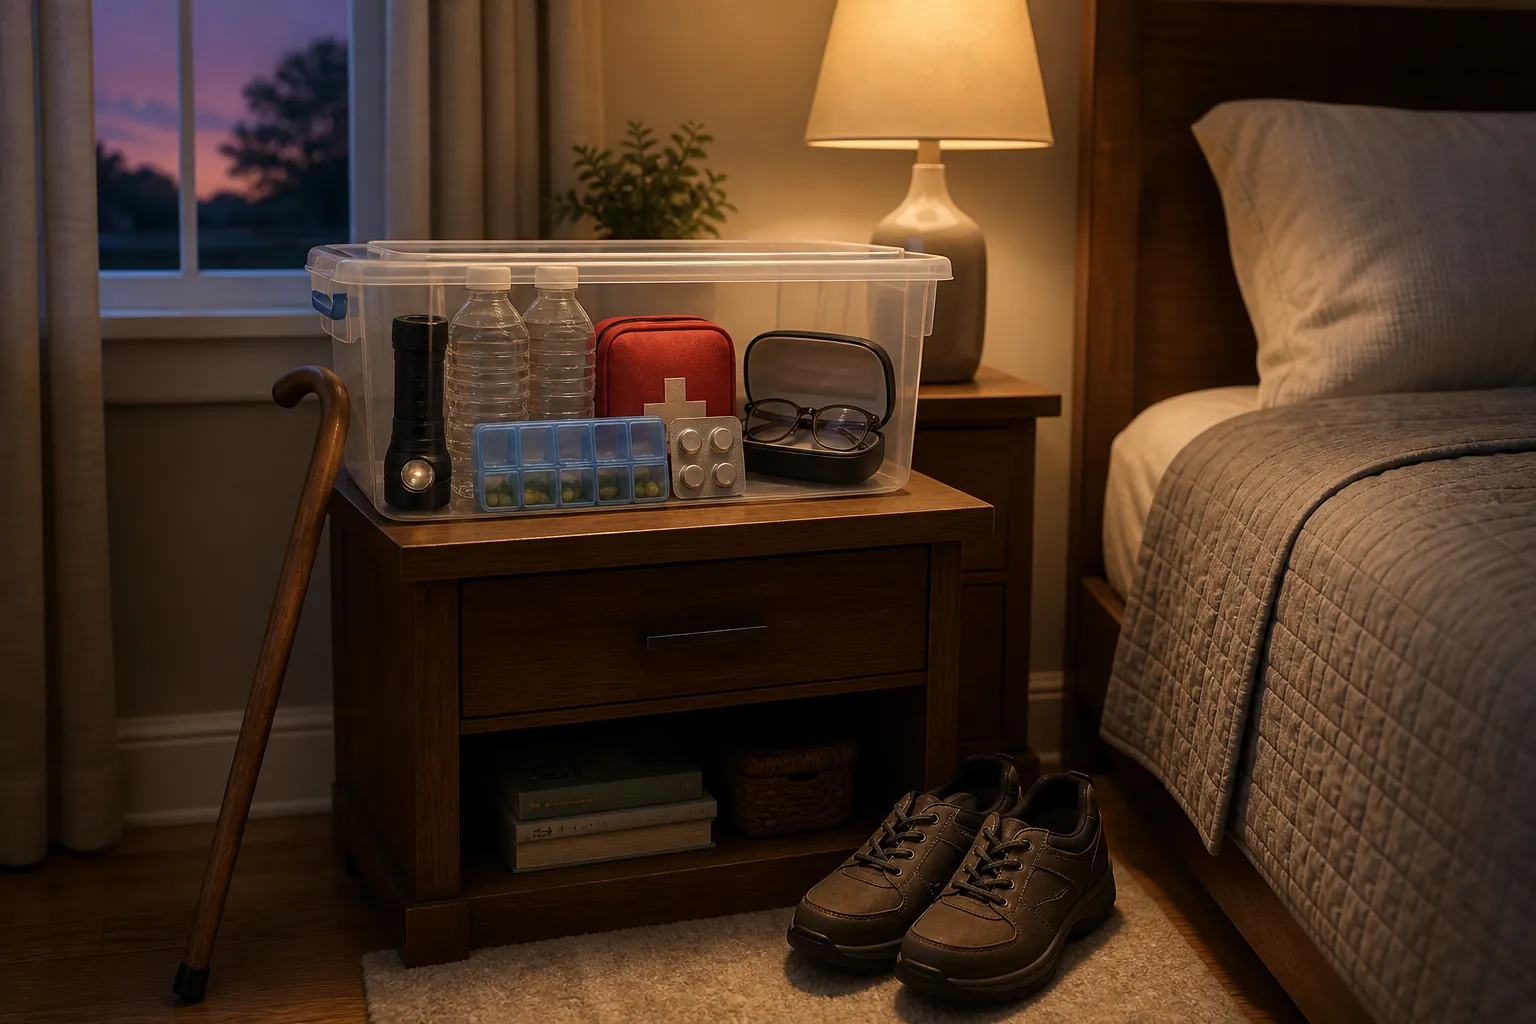
Build the bedside 72-hour kit first
California aging-agency disaster tip sheets tell older adults to prepare to be self-sufficient for three days, and the Red Cross tells older adults to plan for both sheltering at home and evacuating if needed. [1][2] For a parent, that three-day idea should begin at the bedside, not in a garage bin they cannot lift.
- Water within reach, preferably in bottles your parent can open without a tool.
- A flashlight or headlamp that stays in the same place every night, plus spare batteries if it uses them.
- Sturdy closed-toe shoes next to the bed. The California Earthquake Authority specifically calls out sturdy shoes near the bed because broken glass is among the most frequent earthquake injuries. [5]
- Spare eyeglasses, if available, in a hard case.
- Hearing-aid batteries or charging accessories. California aging-agency tip sheets also advise replacing hearing-aid batteries annually. [2]
- A small first-aid pouch, whistle, and written emergency contacts.
- A written note that says where the larger medication supply, equipment chargers, oxygen supplies, and evacuation bag are stored.
Put the kit on the side of the bed your parent actually uses. If they sleep with a walker parked across the room because it “looks neater,” move it. Earthquake preparedness does not care how tidy the bedroom photograph looks; it cares whether someone can stand up safely at 2 a.m.
Place walking aids in more than one room
This is one of the easiest tasks to underestimate. California aging-agency tip sheets advise keeping extra walking aids in different rooms. [2] That matters because a quake does not politely leave the cane beside the recliner, the walker beside the bed, and the hallway open.
- Keep the primary walker or cane where your parent starts and ends the day.
- Put a backup cane, walker, or transfer aid near the favorite chair if your parent spends hours there.
- Place another aid near the bathroom or just outside it if bathroom trips are already a fall-risk moment.
- Do not store the only walker behind a closet door, in the garage, or in a hallway that could be blocked by a bookcase or cabinet.
If there is no spare device, put it on the Day 2 purchase or borrowing list. For some parents, an inexpensive backup cane in the right room is more useful than a beautifully packed emergency tote in the laundry room.
Do a lean hazard sweep, not a full renovation
Day 1 should include a fast pass through the rooms your parent uses most: bedroom, bathroom, hallway, kitchen, favorite sitting area, and exit path. Move the obvious things first: glass objects over the bed, heavy items on high shelves, rolling clutter near the walker path, cords across the hallway, and anything that could fall into the route to the front door.
For the detailed room-by-room version, use the Room-by-Room Earthquake Safety Checklist for Elderly Parents. On this weekend plan, keep the sweep narrow: clear the path, reduce bedside hazards, and make the supplies reachable before you start projects that need tools, bids, or a second weekend.
Day 2: Medication, medical equipment, power, and transportation
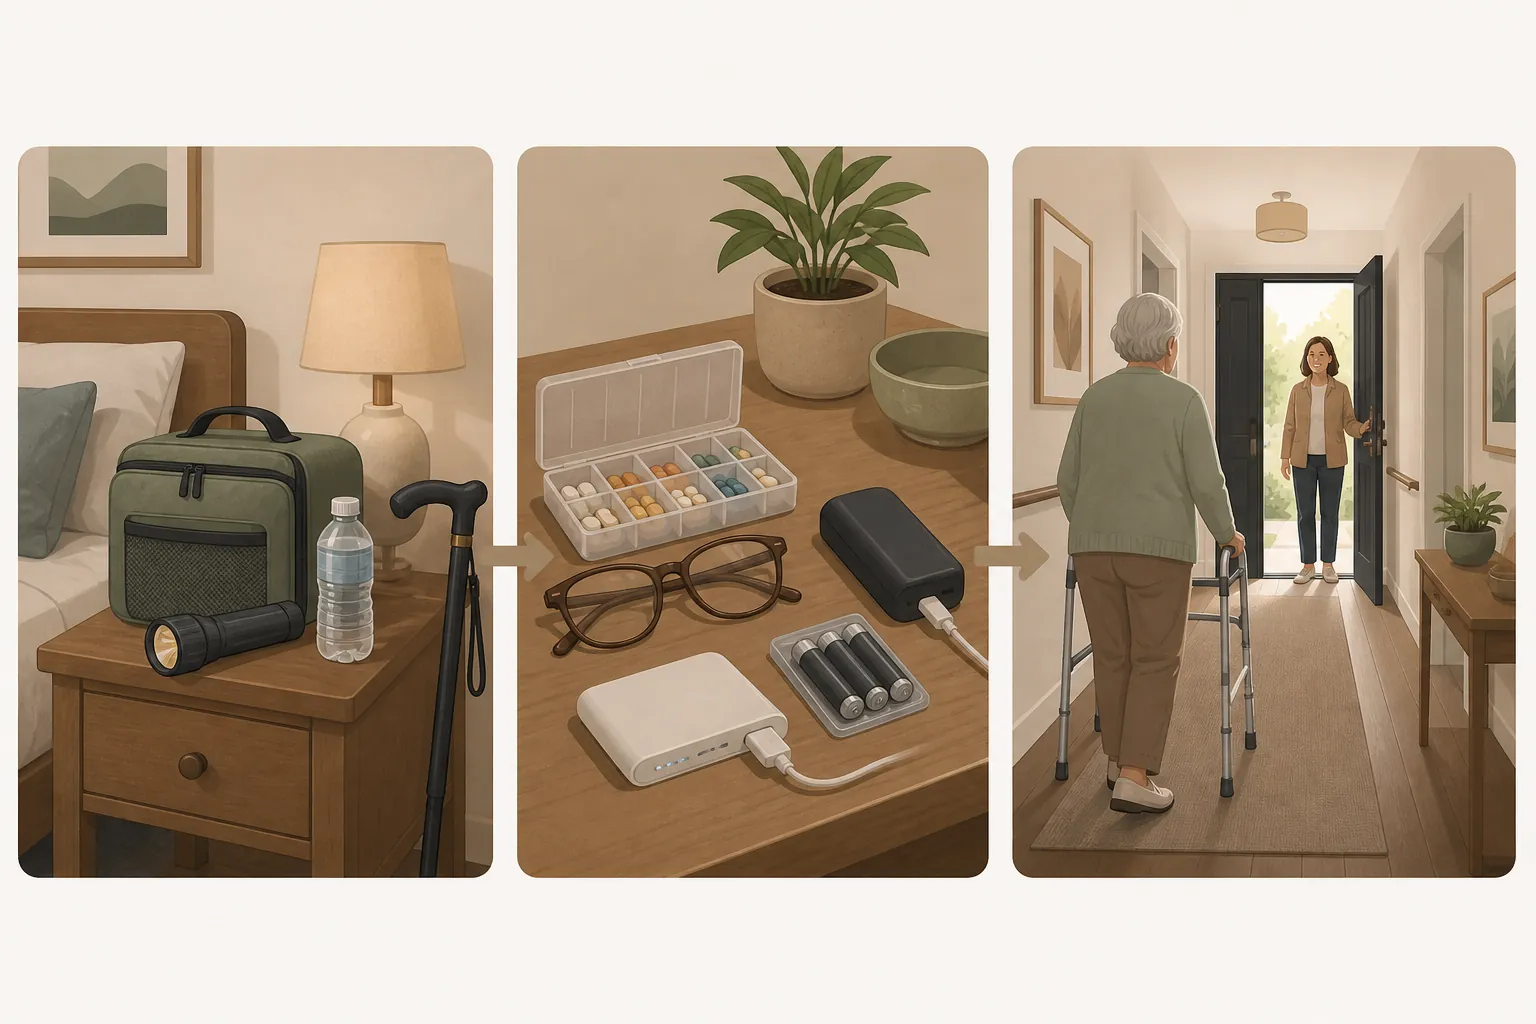
Day 2 is the caregiver day. It involves pharmacy rules, device chargers, oxygen tubing, transportation, phone numbers, and the uncomfortable discovery that the backup battery is missing or the medication list is out of date. It is also where one weekend can prevent the worst Sunday-night feeling: knowing your parent has supplies, but no one can find them or keep the equipment running.
Set up the medication plan around 30 days
The Red Cross advises older adults to keep at least 30 days of medications, along with extra assistive items such as a cane or eyeglasses. [1] That does not mean every insurance plan or pharmacy will hand over a 30-day surplus on Saturday morning. It does mean the weekend task is to find the gap and make a realistic plan for closing it.
- Count what is actually in the house, not what everyone assumes is in the pill organizer.
- Make one current medication list and place a copy with the bedside kit and another with the evacuation supplies.
- Separate daily-use medication from the emergency reserve clearly enough that your parent does not accidentally consume the reserve during a normal week.
- If a 30-day reserve is not possible this weekend, write down exactly which prescriptions are short, who must be called, and what refill date matters.
- Put a calendar reminder to refresh emergency supplies. The Red Cross advises refreshing supplies every six months. [1]
The useful standard is not a perfect pharmacy drawer. It is that a sibling, neighbor, paramedic, or your parent can identify the medication supply quickly and understand what is daily use, what is reserve, and what is still unresolved.
Make every medical device answer three questions
For each device your parent depends on, ask three plain questions: What powers it? What happens when power is out? Who needs to know about it before an evacuation or welfare check?
| Device or need | Weekend action | Where to leave the answer |
|---|---|---|
| Powered medical equipment | Identify the plug, charger, battery, backup battery, and expected charging routine. Ready.gov tells people who use medical equipment to plan for power needs and look into priority power restoration where available. [3] | Tape a short instruction note near the device and put a copy with emergency contacts. |
| Life-support equipment | Treat backup power as a serious planning item, not a convenience. Illinois emergency management guidance for seniors specifically mentions an emergency generator for life-support equipment. [6] | Keep generator or backup-power instructions where a helper can find them; do not rely on one person knowing the setup. |
| Oxygen | Identify the main supply, backup supply, tubing, and safe storage location. Third-party operational advice from Midnight Sun Home Care recommends securing oxygen tanks with two straps; use that as practical handling guidance, secondary to the official planning requirement to account for medical equipment and power needs. [3][7] | Label the oxygen area and include it in the notes given to check-in people. |
| Hearing difficulty | Check hearing-aid batteries or charging accessories. If smoke alarms are hard to hear, note that Illinois guidance mentions smoke detectors with flashing strobes for people with hearing difficulty. [2][6] | Put battery or charging information with the bedside kit and emergency contact sheet. |
| Mobility device | Confirm whether the walker, wheelchair, rollator, scooter, or transfer aid can move through the planned exit route. Charge powered devices before bed if that is part of normal use. | Write the device location and any lifting or transfer cautions on the check-in sheet. |
If your parent uses equipment that cannot be interrupted safely, do not leave Day 2 with a vague “we should ask someone.” Put the responsible call on paper: utility, durable medical equipment supplier, clinician, local emergency management office, or transportation provider. Ready.gov tells people with disabilities to consider accessible transportation, voluntary registries, and priority power restoration for home medical equipment. [3]
Plan accessible transportation before it is needed
A parent who can ride in any car needs one kind of plan. A parent who needs a wheelchair-accessible vehicle, oxygen during travel, a transfer board, or help down steps needs a different one. Ready.gov includes accessible transportation as part of planning for people with disabilities and access or functional needs. [3]
- Write down who can transport your parent in an ordinary car, if that is safe.
- Write down who can transport them if they must remain in a wheelchair or cannot manage stairs.
- If they use paratransit or another accessible service, record the phone number, eligibility details, and any disaster instructions the service provides.
- If your area offers a voluntary registry for people who may need help in an emergency, decide with your parent whether registration makes sense. Ready.gov points people toward voluntary registries as one possible preparedness step. [3]
Registration, transportation lists, and priority-power programs are not magic guarantees. They are ways to reduce the number of decisions someone has to make after the shaking, when the elevator may be out, the garage door may not open, and the person with the right vehicle may not be reachable.
Store supplies for the helper who arrives second
Do not design the storage system for yourself at your most rested. Design it for the neighbor, sibling, home-care aide, or firefighter who walks in after cabinets have opened and your parent is rattled. California aging-agency tip sheets tell older adults to identify two people who will check on them, tell those people their special needs, and tell them where emergency supplies are kept. [2]
- Use one obvious supply location for the main emergency bin or bag.
- Keep the bedside kit separate because it has to be reachable without walking across the house.
- Tape a simple supply-location note inside a kitchen cabinet, on the refrigerator, or another place helpers are likely to check.
- Put copies of contacts, medication information, device instructions, and transportation notes in the same folder or envelope.
- Show your parent where everything is, then ask them to show it back to you. If they cannot find it, the system is not finished.
Day 3: Name the people and practice the route
Day 3 should be shorter, but it cannot be skipped. A plan that has not been spoken out loud and walked with the real cane, walker, wheelchair, oxygen tubing, hearing limitation, or low-vision problem is still mostly a guess.
Choose two check-in people who know the same facts
California aging-agency tip sheets advise older adults to find two people who will check on them, tell them about special needs, and tell them where supplies are kept. [2] For an adult child, that means naming people, not just assuming “the neighbors will help.”
- Pick the first check-in person: someone close enough or reliable enough to act quickly.
- Pick the second check-in person: a backup if the first person is unreachable or affected by the same outage.
- Tell both people the parent’s mobility limits, hearing or vision needs, medication and equipment issues, pet needs if relevant, and supply locations.
- Agree on the first communication method: call, text, voicemail, or an out-of-area family contact if local lines are congested.
- Give both people written access instructions if your parent agrees: gate code, lockbox location, building entry process, or who has a key.
This is also the moment to respect your parent’s independence by being specific instead of dramatic. “If there is a quake, Maria checks on you first, Tom is backup, and both know the emergency supplies are in the hall closet” is easier to accept than a lecture about being helpless.

Walk the evacuation route with the actual mobility setup
Do not practice the route with your parent empty-handed if the real emergency involves a walker, wheelchair, oxygen tubing, low vision, hearing aids, or a caregiver carrying supplies. Use the real setup, at the real pace, from the places your parent actually spends time.
- Start at the bed. Have your parent put on the sturdy shoes, reach the flashlight, and get to the walking aid.
- Start again from the favorite chair. Check whether the route is still clear from that position.
- Practice the bathroom route if that is where falls are most likely.
- Walk to the safest exit or meeting point. Notice thresholds, rugs, tight turns, heavy doors, stairs, ramps, and places where a walker or wheelchair catches.
- If oxygen, a wheelchair, or another device is involved, practice with the tubing, charger, bag, or transfer setup that would actually be present.
- Time is less important than whether the route works without improvising.
For the during-shaking part of the drill, use the adapted guidance in Earthquake Safety for Seniors Who Can’t Drop to the Floor. The short version for this weekend is simple: decide in advance how your parent will protect their head and neck from their actual starting position, then move only after shaking stops and the path is checked.
If a wheelchair user would need to be moved after the quake, remember that third-party operational guidance from Midnight Sun Home Care says moving a wheelchair user typically takes two people and that helpers should take cover themselves before assisting others. [7] Treat that as practical caution, not a substitute for local emergency or medical advice.
What waits until after this weekend
Structural and anchoring work matters. Some homes need professional retrofit advice, furniture anchoring, water-heater bracing, appliance securing, or repairs that cannot be judged safely in one visit. Put those on a follow-up list instead of pretending they are irrelevant.
They should not, however, crowd out the weekend systems your parent may need first: light, shoes, water, glasses, hearing support, medication, walking aids, device power, transportation information, and people who know what to do. If you have extra time after the core plan is done, return to the detailed room-by-room earthquake checklist and start ranking the larger home projects.
The Sunday-night standard
Before you leave, ask your parent to show you the plan without coaching. They should be able to reach the bedside kit, put on sturdy shoes, find a flashlight, reach water, locate glasses and hearing-aid supplies, get to a walking aid from more than one room, explain where the medication and equipment notes are stored, and name the two people who will check on them.
Then walk the route once more with the actual cane, walker, wheelchair, oxygen setup, or other device. If the supplies are reachable, the medication and equipment backup is documented, the walking aids are placed where a blocked path is less likely to trap your parent, two people know the plan, and the route has been practiced, the weekend has done its job.
References
- Older Adults — American Red Cross
- Disaster Tip Sheets — California Department of Aging
- People with Disabilities — Ready.gov
- Earthquake Safety Checklist — FEMA
- How to Make an Earthquake Emergency Kit — California Earthquake Authority
- Planning Guide for Seniors — Illinois Emergency Management Agency and Office of Homeland Security
- Earthquake Safety with Reduced Mobility — Midnight Sun Home Care
Related reading
Noticed something outdated or inaccurate on this page? Flag a correction. We review every report against CDC, NIA, and AARP HomeFit guidance before updating a page.
Part of the Fall Prevention section.