
STEADI: Intervene
Emergency Evacuation Checklist for Seniors Living Alone
Generic emergency checklists assume an able-bodied household with help nearby — yet seniors living alone are measurably less likely to have a stocked kit or a plan. This printable, hazard-agnostic evacuation checklist stages the go-bag and home prep around one senior's mobility level and medication supply, so it works when no one else is there to help.
An emergency evacuation checklist for seniors living alone has to solve a different problem than a family checklist. There is no second person in the house to lift the water, find the glasses, remember the medication list, move the walker, grab the charger, unlock the back door, or drive when the primary exit is blocked. If the plan assumes that person will appear at the right moment, it is not a plan yet.
That gap shows up in preparedness data, not just in family stories. In a nationally representative study of U.S. adults ages 50 to 80, published in 2020, living alone was associated with lower odds of having a stocked emergency kit and lower odds of having discussed evacuation plans with family: adjusted odds ratio 0.64 for a stocked kit and 0.59 for family evacuation discussion. [1]
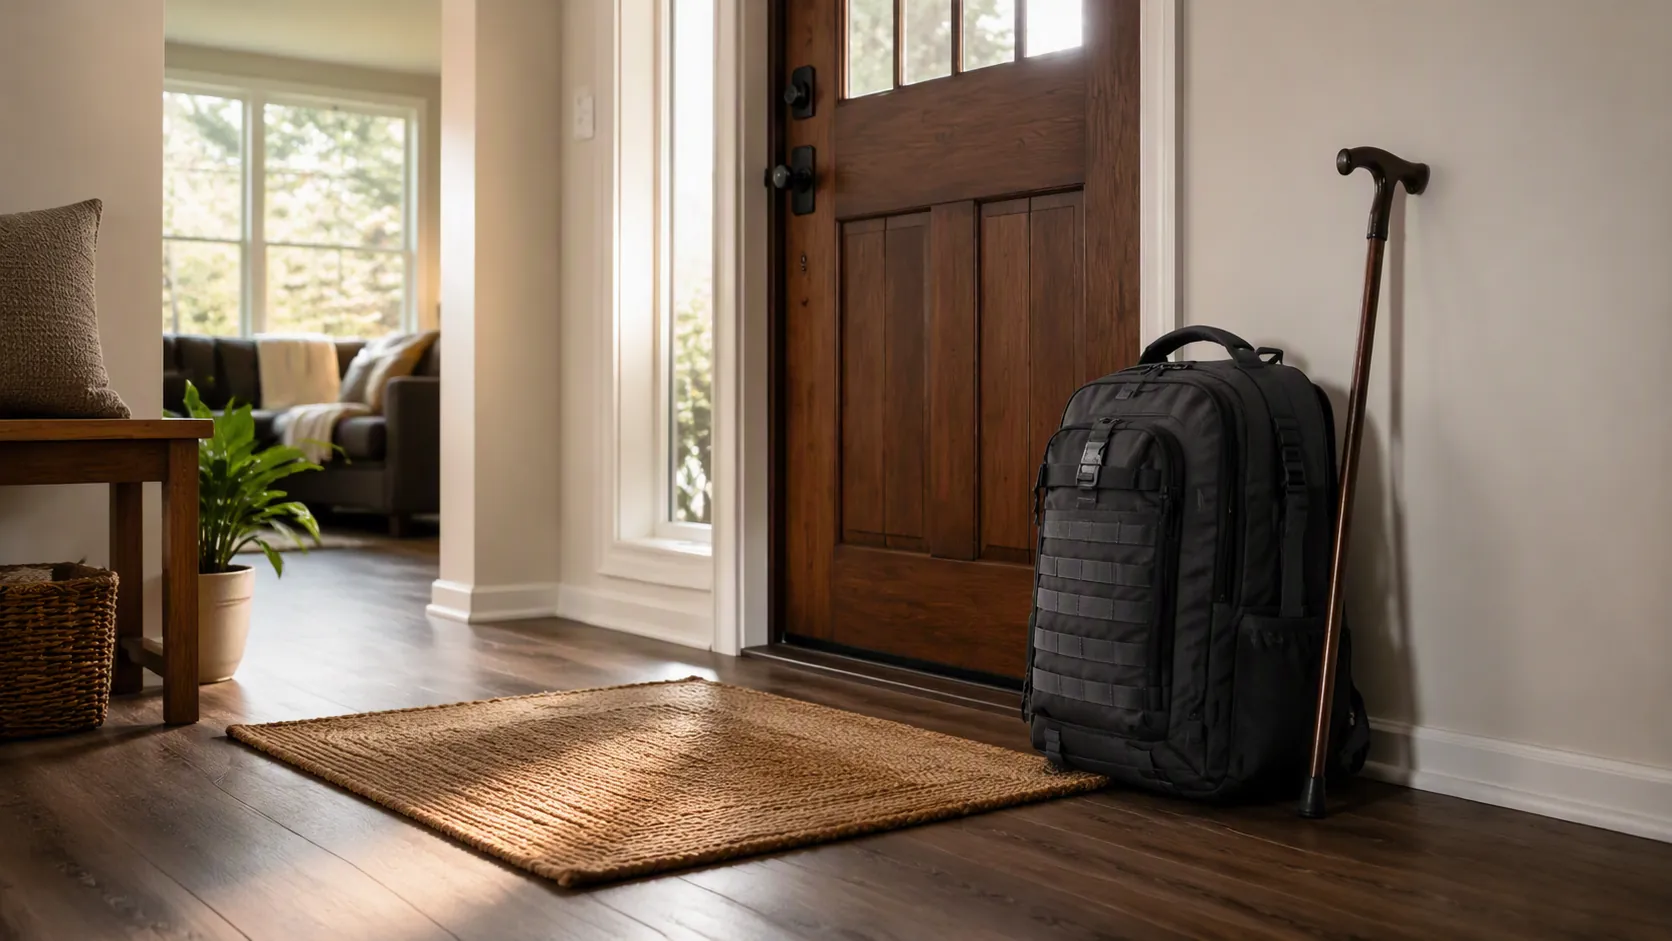
The correction is physical and plain: build the checklist around one person’s mobility level, medications, equipment, and usable exit path. Then put the go-bag near the primary exit, not in a closet, guest room, basement, or “emergency shelf” across the house.
Printable evacuation checklist for a senior living alone
Use this as the working checklist. The point is not to own every emergency item somewhere in the home. The point is to know what must be carried, what must be staged beside the bag, what must be documented, and what must be arranged before an evacuation.
| Category | Checklist items |
|---|---|
| Must be in the go-bag | Medication list; copies of key medical information; emergency contacts; small first-aid kit; flashlight; whistle; spare eyeglasses if available; hearing-aid batteries; phone charger and power bank; compact hygiene supplies; incontinence supplies if used; mask; gloves; small snacks; lightweight water container; cash; spare keys; written evacuation address options. |
| Must be beside the go-bag | Shoes that can be put on quickly; coat or weather layer; cane, walker, rollator, wheelchair, or transfer aid used to leave the home; labeled medication supply or medication grab-box; oxygen or CPAP travel items if used; pet carrier and leash if needed; water that is too heavy to keep in the bag. |
| Must be staged at home | Water and nonperishable food supply; sanitation supplies; backup lighting; extra batteries; medical-equipment supplies; extra chargers; copies of documents in a waterproof container; clear path from bed or main chair to the primary exit. |
| Must be documented | Current medication list with dose and timing; allergies; diagnoses that matter in an emergency; doctors and pharmacy; durable medical equipment details; insurance cards; power of attorney and advance directive copies if applicable; neighbor, family, and transportation contacts. |
| Must be checked or arranged | Medication reserve approved by clinician or pharmacist; oxygen or powered-equipment plan; utility or emergency-service registration where available; transportation plan if the senior does not drive; doorway clearance for walker or wheelchair; two ways out of sleeping and living areas; smoke alarms and alerting devices. |
Ready.gov’s baseline kit guidance includes one gallon of water per person per day for drinking and sanitation and a several-day supply of nonperishable food. [2] For many older adults, that water cannot all live in the go-bag because it makes the bag uncarryable. Put a small, manageable water container in the bag and stage the heavier water near the exit or in the shelter-in-place supply area.
Start with the body that has to leave the house
Before packing supplies, decide which mobility version of the checklist applies on a bad day. Use the senior’s real nighttime ability, not the best version on a good afternoon. A person who walks independently at the grocery store may still need a cane, glasses, shoes, and a lighted path to leave at 2 a.m.
| Mobility level | How the checklist changes |
|---|---|
| Independent walker | Keep shoes, glasses, keys, phone, charger, and go-bag together at the primary exit. Do a timed walk from bed or main chair to that exit with the lights low. Remove rugs, cords, and furniture that narrow the route. |
| Cane or walker user | Stage the cane or walker where it cannot be separated from the bag. Confirm the walker fits through the exit doorway without angling. Keep both hands as free as possible by using a backpack, crossbody bag, or rollator basket rather than a hand-carried tote. |
| Wheelchair or power-chair user | Check doorway width and turning space along the actual exit route. Keep charger, extra batteries where applicable, transfer supplies, and a manual backup plan. Ready.gov advises keeping a lightweight manual wheelchair as backup for a power chair when possible. |
| Bedbound or unable to self-transfer | Do not write a checklist that quietly depends on self-evacuation. Document who physically gets the person out, how they enter the home, what equipment travels, and what emergency service or transportation support must be contacted before a crisis. |
Ready.gov’s older-adult and disability preparedness guidance emphasizes planning around support needs, mobility equipment, extra batteries, and backup equipment. [5][6] The U.S. Fire Administration also tells older adults to make sure doors and windows open easily and that escape routes can be used. [7] That is not paperwork. It is a doorway test.
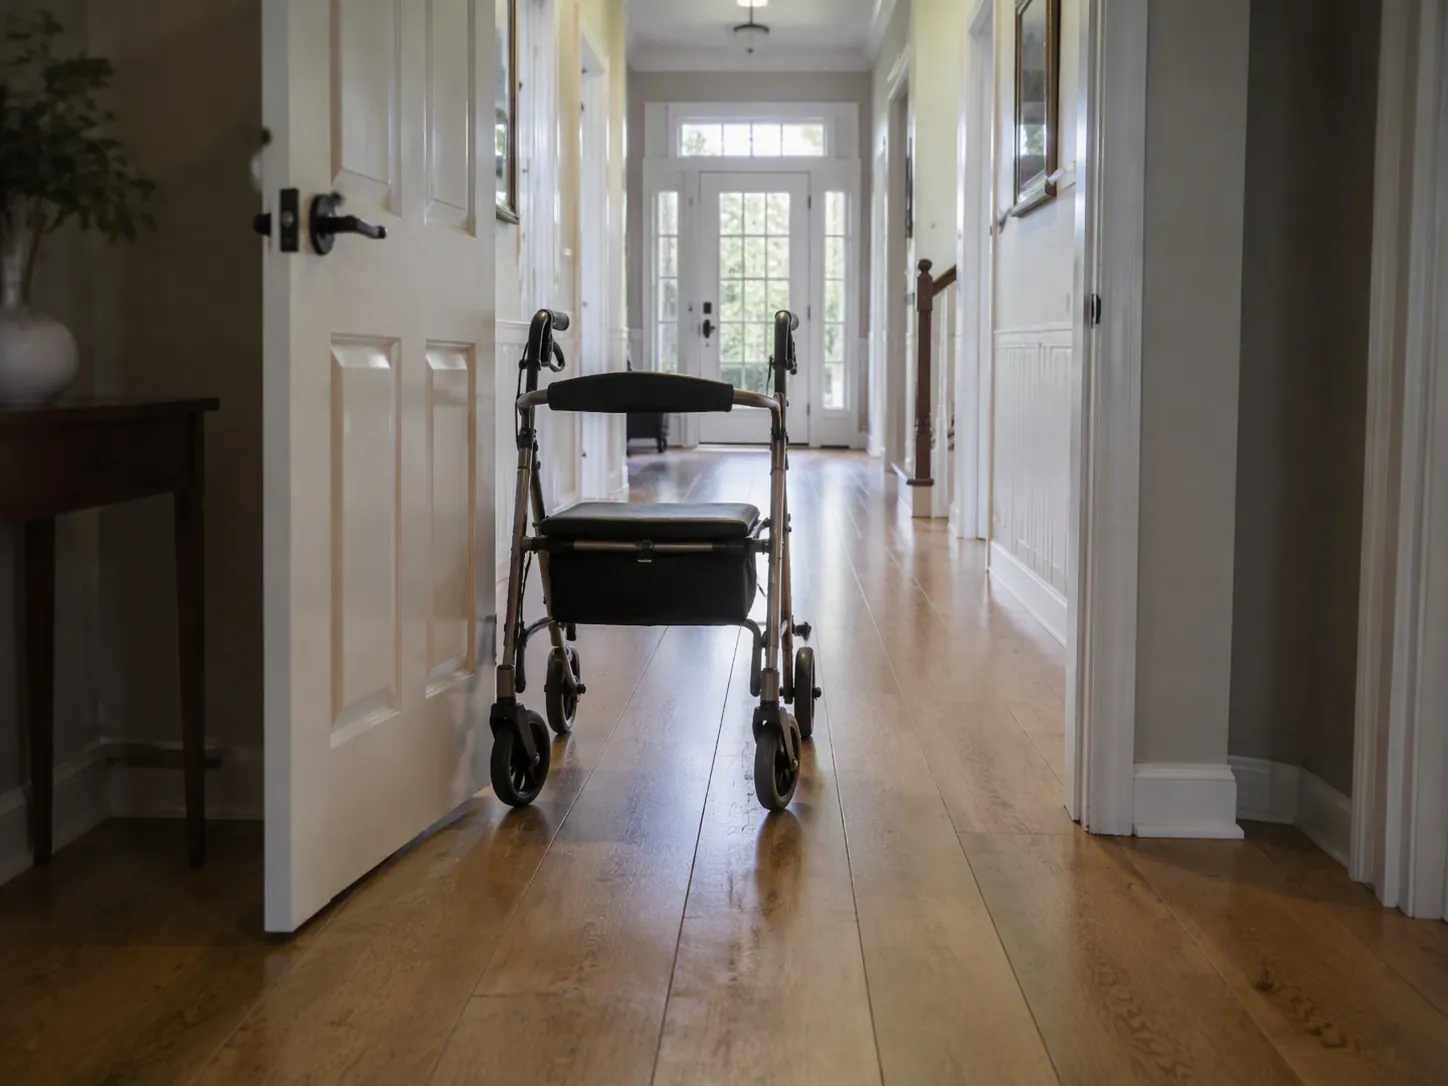
If a walker catches on the bedroom rug, if the wheelchair cannot clear the bathroom doorway, or if the rollator basket is expected to carry more than it can hold, fix that before adding more items to the list. The exit route is part of the kit.
Pack the go-bag for the first hour, not the whole disaster
The go-bag should be light enough for the senior to move with the mobility aid they actually use. A perfect bag that is too heavy to lift is storage, not evacuation equipment.
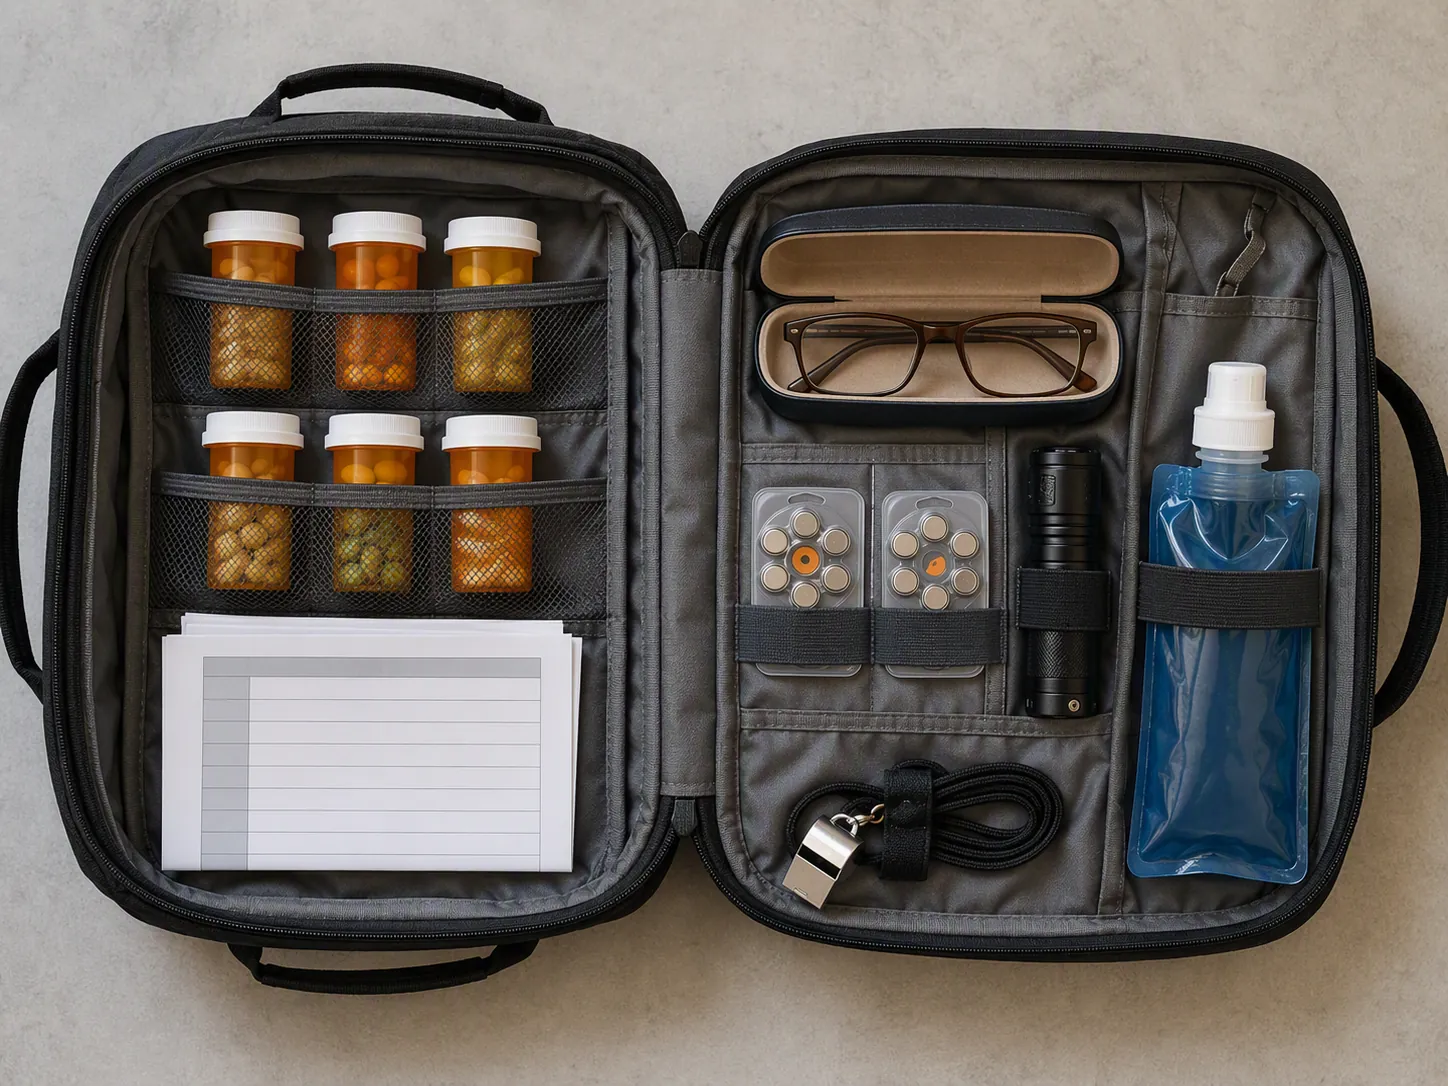
Put these in the bag first:
- A readable medication list: drug name, dose, timing, prescribing clinician, pharmacy, allergies, and what the medication is for.
- Emergency contacts on paper, including at least one local contact and one out-of-area family contact.
- Copies of insurance cards, ID, Medicare or plan information, power of attorney, and advance directive if applicable, sealed in a waterproof bag.
- Phone charger, labeled charging cord, and a charged power bank.
- Flashlight or headlamp, plus spare batteries if the device uses them.
- Whistle, visual alert card, or other simple signaling tool.
- Spare eyeglasses if available, hearing-aid batteries, and any small assistive item that would make communication or movement possible.
- Compact hygiene supplies, including incontinence products if used.
- Small snacks that match dietary restrictions.
- A small amount of cash and spare keys.
- A written destination card: nearby shelter option, family address, hotel option, or prearranged pickup location.
AgingCare’s senior emergency-kit guidance specifically calls out durable medical equipment needs such as oxygen, CPAP, and blood-sugar monitoring supplies; visual aids with a whistle; incontinence and sanitation supplies; hearing-aid batteries; a full medication list; and power-of-attorney or advance-directive copies. [4] Those are not optional extras for many older adults. They are the difference between leaving with a plan and leaving with a bag of generic supplies.
For the document layer, do not make the go-bag carry the only copy. Keep a waterproof set in the bag, a fuller home set in an emergency contact binder, and a secure digital copy available to the adult child or trusted contact who may be coordinating from another state.
Handle medications as a medical problem, not a packing problem
Medication is where many senior evacuation kits fail. The American Red Cross tells older adults to keep at least 30 days of medications and extra assistive items such as a cane or eyeglasses. [3] Some emergency checklists use shorter medication reserves, including 7 days, so treat 30 days as the Red Cross planning target rather than a rule to improvise around. Some prescriptions are controlled, expensive, refrigerated, frequently adjusted, or limited by insurance refill rules.
Use this order:
- Ask the prescribing clinician or pharmacist what emergency reserve is safe and realistic for each medication.
- Create a labeled medication grab-box or pouch if keeping actual medication in the go-bag is unsafe because of heat, cold, humidity, or changing doses.
- Keep the medication list in the go-bag even if the pills themselves stay elsewhere.
- Add pharmacy contact information and prescription numbers if available.
- Put refill dates on the six-month review calendar, and update the list immediately after any medication change.
Do not borrow pills from the next refill, split medication into unlabeled containers without pharmacist guidance, or leave temperature-sensitive medication in a hot entryway because a checklist said “pack medications.” The bag needs enough information for someone else to help safely when the senior cannot explain the full regimen.
The weak spots are common enough to be worth naming. In a 2023 AARP survey of adults 50 and older, 36% reported lacking extra prescription medications for emergencies, and 56% had not saved vital documents digitally. [9] That does not prove what any one parent has or has not done. It does explain why the medication list and document copies should be checked, not assumed.
Stage the items that are too bulky or too important to bury in the bag
Some items should not be inside the go-bag. They should be beside it, labeled, visible, and easy to grab without walking back through the house.
| Staging spot | What belongs there | Why it is not buried in the bag |
|---|---|---|
| On or beside the go-bag | Keys, wallet, phone charger, power bank, destination card, emergency contacts | These are the items most likely to be needed before the senior reaches the car, neighbor, lobby, or first responder. |
| Next to the primary exit | Shoes, coat, cane or walker, pet leash or carrier, light water container | They must be reachable while leaving, not after a trip back to the bedroom. |
| Low shelf or rolling bin near exit | Heavier water, nonperishable food, sanitation supplies, extra incontinence products | Useful for evacuation or sheltering in place, but too heavy for many seniors to carry. |
| Clearly labeled equipment area | CPAP travel bag, oxygen information, blood-glucose supplies, extra tubing, batteries, device manuals if needed | Medical equipment often has parts that are forgotten unless they are grouped together. |
| Home binder and waterproof copy pouch | Medical, legal, insurance, and contact documents | The bag needs quick copies; the fuller file needs to be available to a helper. |
For powered medical equipment, the checklist should name the device, the power need, the battery life if known, the supplier, and who to call if power fails. A separate medical-equipment power outage plan can hold the details without overloading the evacuation checklist.
Make the exit route part of the checklist
A checklist that lives on paper can miss the most ordinary failure point: the route out of the home. Walk it. Roll it. Try it with the walker. Try it with the lights dimmed. Try it while carrying the actual bag.
- Primary exit opens easily.
- Secondary exit is identified and usable.
- Two ways out of sleeping and main living areas are known.
- Walker, rollator, or wheelchair fits through the necessary doors.
- Rugs, cords, plant stands, shoe racks, and narrow furniture are removed from the route.
- Night-light or flashlight is available along the path.
- Smoke alarms work, and alerting devices match hearing or vision needs.
- Door locks can be opened by the senior under stress.
- Trusted local helper knows how to enter if invited or if emergency access has been arranged.
The Red Cross includes identifying two ways out of every room in its older-adult emergency preparedness guidance. [3] Adults 65 and older also had 2.5 times the relative risk of dying in a home fire in 2023, rising to 3.4 times for adults 85 and older. [8] That does not turn this into a fire-safety article; it is the reason not to let the exit route stay theoretical. For a fuller home-fire escape layout, use the separate guide to build an emergency evacuation plan for elderly parents.
Add the missing helper to the plan before the emergency
A senior who lives alone may still have help. The difference is that the help is not standing in the hallway when the alarm sounds. Put that reality into the checklist.
| If this is true | Write this into the plan |
|---|---|
| The senior does not drive | Who provides transportation, how they are contacted, and the backup if they are unavailable. |
| The adult child lives far away | Which local person checks the home first, and what information the distant caregiver can access by phone. |
| The senior uses oxygen, CPAP, dialysis-related supplies, insulin, or other critical equipment | Supplier contact, backup power plan, travel supplies, and whether local emergency or utility registration is available. |
| The senior cannot lift the go-bag | A lighter bag, rolling option, or staged pouch system; do not leave the plan dependent on lifting. |
| The senior has memory changes | A one-page exit card at the door, labeled supplies, large-print contact list, and a practiced call sequence. |
| The senior has a pet | Carrier, leash, food, medication, vaccination record, and where the pet can go. |
For a wheelchair user or someone who cannot walk, the most important line may be the one that names who physically helps the person leave. The equipment and transportation details can be expanded in a wildfire evacuation plan for a senior who can’t walk or a flood evacuation checklist for older adults, but the basic evacuation checklist should still say who is coming, how they get in, and what they bring.
Where to put the checklist and the bag
The bag belongs at the primary exit the senior can actually use. If the front door has steps and the garage exit is the accessible route, the garage exit is the primary evacuation station. If the senior sleeps in a back bedroom and cannot reach the front door quickly, the plan needs a staged item set near the bedroom plus a tested route to the safest exit.
- Attach a large-print one-page checklist to the bag or wall hook.
- Label the bag with the senior’s name and emergency contact.
- Keep the medication list in the same pocket every time.
- Place shoes, mobility aid, and weather layer where they are reached before the door, not after it.
- Do not store the bag behind boxes, under coats, or inside a room that may be hard to reach.
- If there are two common exits, keep a small duplicate pouch at the secondary exit.
For broader weather planning, a separate severe-weather emergency checklist for seniors can hold longer shelter-in-place supplies. This evacuation checklist should stay lean enough to use under pressure.
Review it every six months, and sooner after any change
A stale checklist is especially risky for someone living alone because no one else in the home is there to notice that the phone number changed, the walker was replaced, or the medication list is wrong. Put the review on a calendar every six months. Pick dates that are easy to remember, such as the first weekends after daylight saving time changes or the senior’s birthday and half-birthday.
| At every six-month review | Also review immediately when |
|---|---|
| Replace expired food, water, batteries, and first-aid items. | A medication is added, stopped, or changed. |
| Recharge power banks and test flashlights. | The senior starts using a cane, walker, wheelchair, oxygen, CPAP, or other equipment. |
| Update medication list, doctors, pharmacy, and emergency contacts. | A caregiver, neighbor, pharmacy, doctor, or transportation contact changes. |
| Check document copies for current insurance, ID, advance directives, and power of attorney. | There is a hospitalization, new diagnosis, fall, surgery, or major mobility change. |
| Walk or roll the exit route and confirm the bag is still reachable. | Furniture is moved, rugs are added, locks are changed, or construction affects an exit. |
| Confirm the senior can still lift, roll, or otherwise move the bag. | The packed bag gets heavier or the senior’s strength changes. |
For a senior living alone, preparedness is not owning supplies somewhere in the home. It is having the right supplies in the right place, matched to the person’s actual body, medications, equipment, and way out.
References
- Predictors of Emergency Preparedness among Older Adults in the United States, PMC
- Build A Kit, Ready.gov
- Older Adults Emergency Preparedness, American Red Cross
- 10 Things to Include in a Senior Emergency Kit, AgingCare
- Older Adults, Ready.gov
- People with Disabilities, Ready.gov
- Fire Safety for Older Adults, U.S. Fire Administration
- Older Adult Fire Death Risk, U.S. Fire Administration
- AARP Survey Reveals Opportunities for Older Adults to Increase Disaster Preparedness and Stay Actively Informed During an Emergency, AARP, 2023
Related reading
Noticed something outdated or inaccurate on this page? Flag a correction. We review every report against CDC, NIA, and AARP HomeFit guidance before updating a page.
Part of the Fall Prevention section.