
STEADI: Intervene
Wildfire evacuation checklist for seniors by mobility device
A wildfire evacuation checklist organized by the mobility or medical device a senior depends on — what to pack, charge, label, and practice for walkers and canes, manual and power wheelchairs, scooters, and oxygen or CPAP equipment. Includes the shared two-kit, transfer-and-lift, backup-power, and N95 smoke-protection steps that keep the device from being the last thing to fail.
For a senior who depends on a walker, wheelchair, scooter, oxygen equipment, or CPAP, a wildfire evacuation checklist is not finished when the go-bag is zipped. The device has to leave too, and it has to work when it gets there. That means the charger is labeled, the spare battery is charged, the cane is not across the house, the wheelchair cushion is packed, and the person helping knows how the transfer into the car actually happens.
The urgency is not theoretical. LA County Aging & Disabilities reported that 26 of the 31 people killed in the January 2025 Los Angeles wildfires were over 65 or living with a disability.[1] Nationally, the U.S. Fire Administration reported that adults 65 and older had 2.5 times the fire death risk of the general population in 2023, rising to 3.4 times for adults 85 and older.[2] Those numbers are enough reason to stop treating mobility equipment as an afterthought.
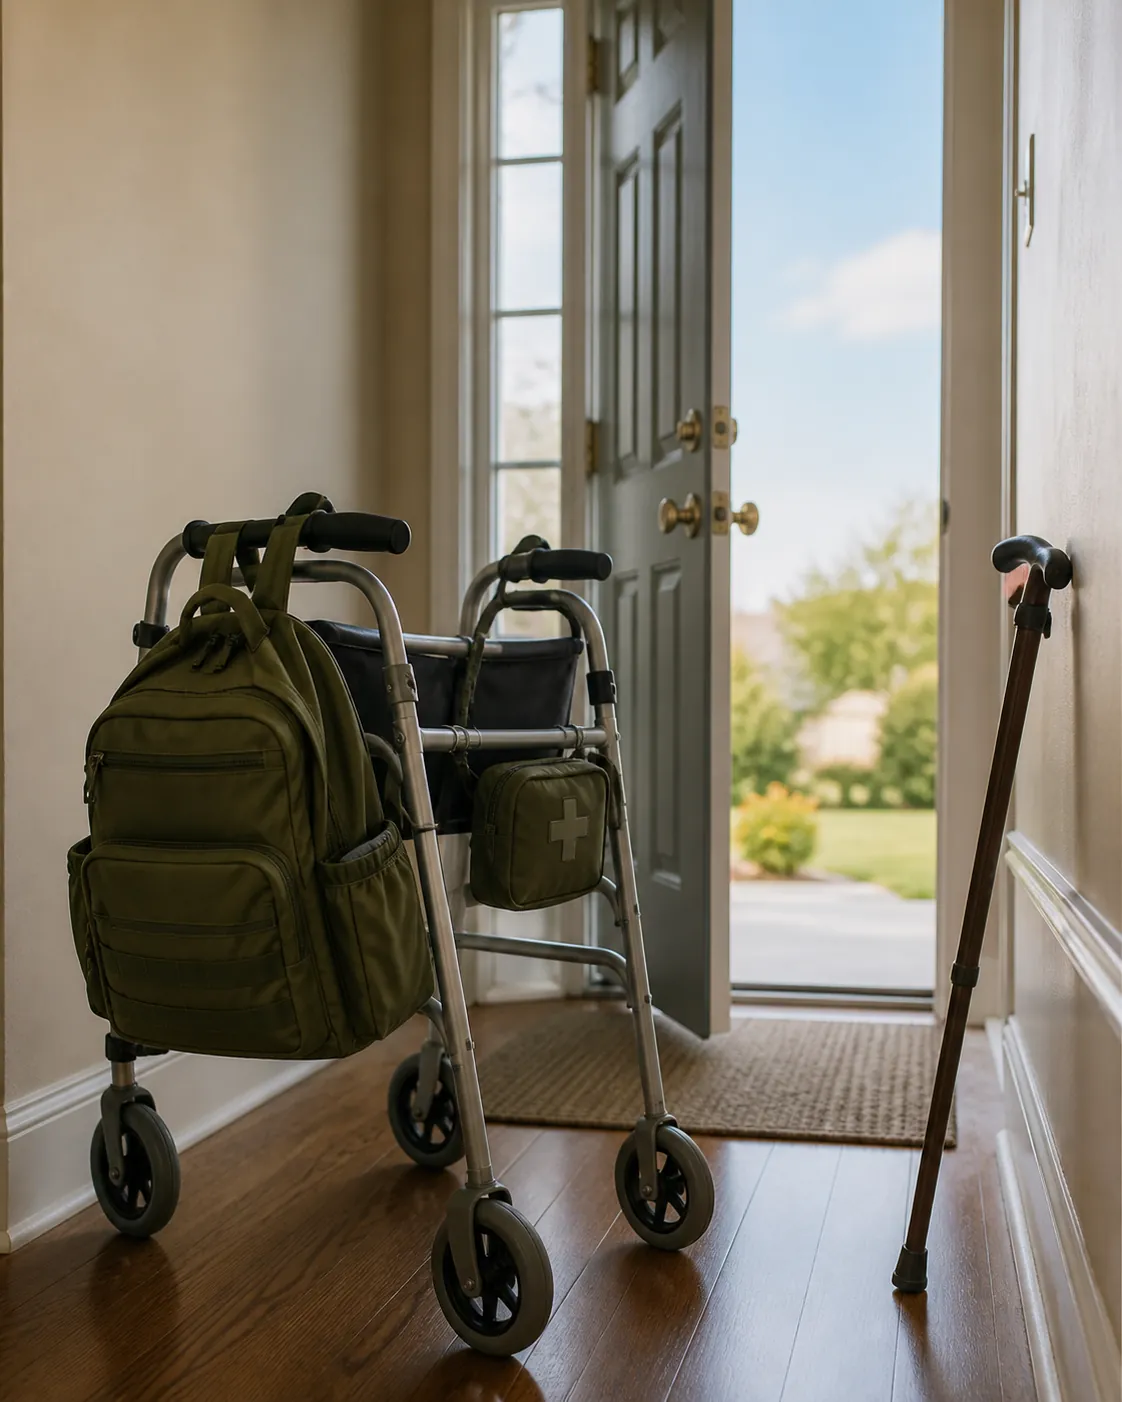
Start with the device, then build the bag around it
Generic wildfire planning still matters: evacuation routes, medications, pet supplies, copies of documents, and deciding when to leave. If you need that broader planning layer, use the general senior wildfire evacuation checklist, the stage-by-stage wildfire evacuation checklist for elderly parents, and the guide to setting an elderly parent’s wildfire evacuation trigger. This article is narrower on purpose: it is about the equipment that lets the senior stand, breathe, transfer, sleep, and move.
Do the first pass at home, with the actual device in front of you. Ask: What has to be charged? What part breaks or gets lost? What can be carried by one person? What can fold into the car? What must never be packed in the trunk because it may be needed before the next stop?
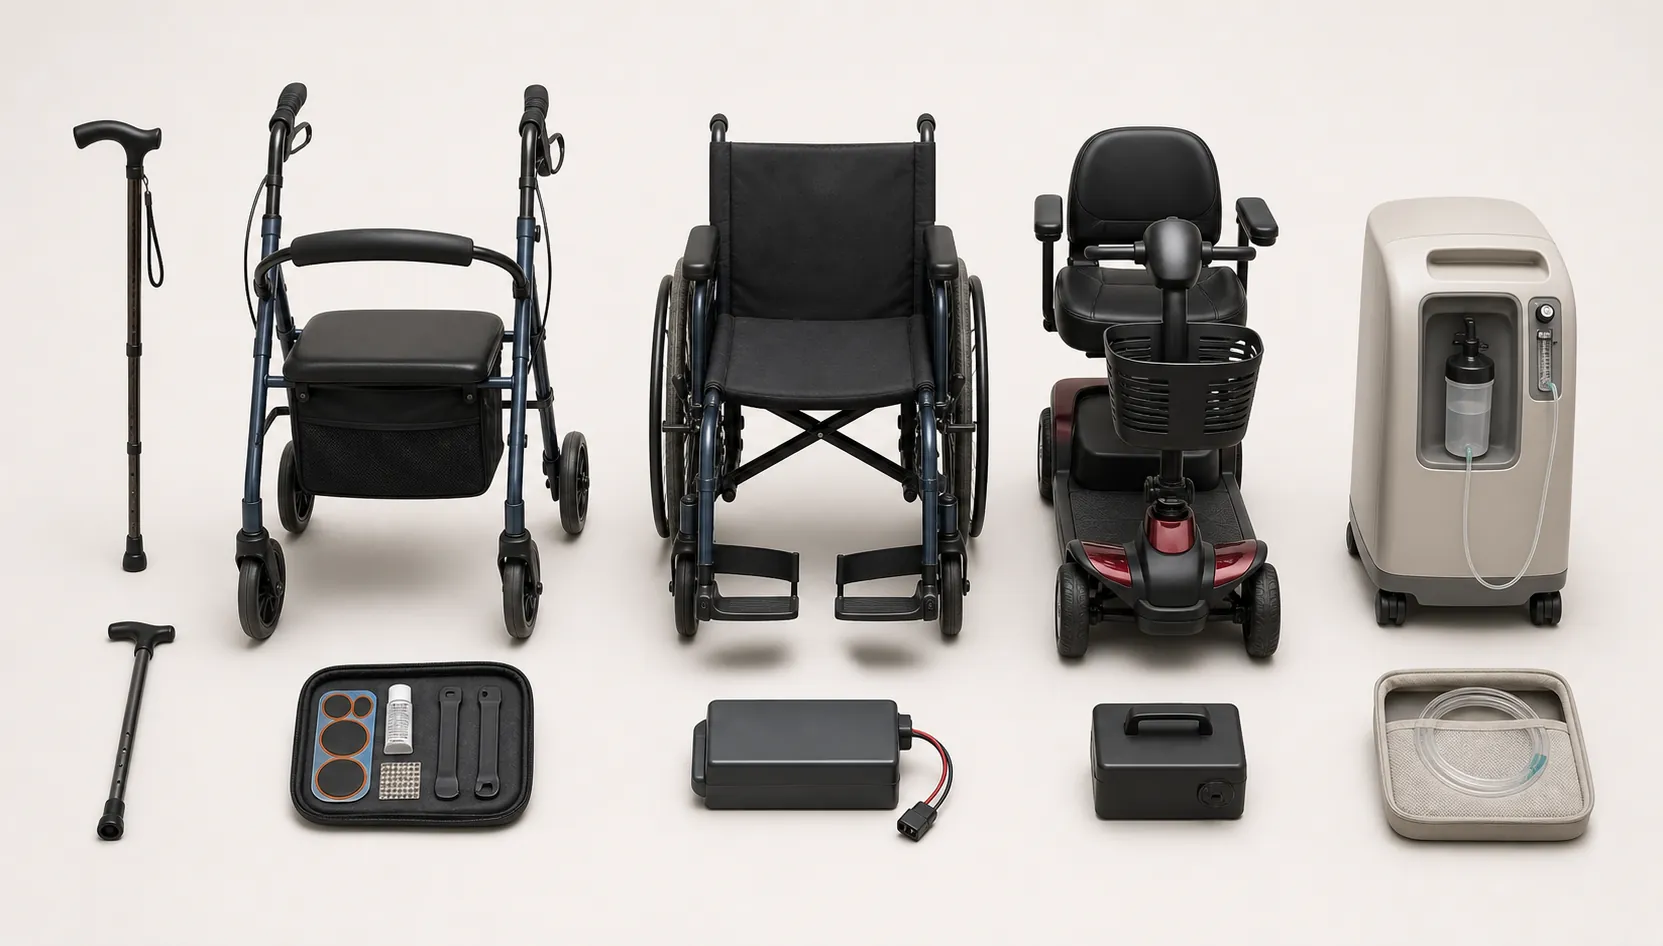
| Device or equipment | Doorway failure to prevent | Prep that matters most |
|---|---|---|
| Walker, rollator, or cane | Aid is in another room, tips are worn, rollator brakes do not hold, or the spare cane was never packed | Keep the main aid within reach, place extras in different rooms, label them, and check fit in the vehicle |
| Manual wheelchair | Chair cannot be folded quickly, tire goes flat, cushion is missing, or helper cannot manage the transfer | Pack tire repair supplies, cushion, transfer aid if used, and practice loading the chair |
| Power wheelchair or scooter | Battery is low, charger is missing, device is too heavy for the vehicle, or the user has no backup if the chair cannot leave | Keep extra charged battery or backup power where feasible, label chargers, plan vehicle charging, and consider a manual backup |
| Oxygen or CPAP | Tubing, mask, power cord, prescription details, or supplier contact is missing | Label equipment, pack supplies and documents, plan backup power, and confirm the emergency plan with the clinician or equipment provider |
Walker, rollator, and cane checklist
A cane or walker looks simple until it is on the wrong side of the bed, wedged behind a closet door, or too bulky for the packed car. California Department of Aging disaster tip sheets advise people to keep walking aids near them at all times and keep extra aids in different rooms.[3] That is one of the easiest redundancies to create before fire season.
- Keep the primary cane, walker, or rollator where the senior can reach it from the bed, favorite chair, and bathroom path.
- Place a spare cane or folding walker in a different part of the home, not next to the original. A spare in the same closet does not help if smoke, darkness, or clutter blocks that room.
- Label each aid with the senior’s name, phone number, emergency contact, and any important fit note, such as right-hand cane or adjusted handle height.
- Check rubber tips, walker glides, wheels, and rollator brakes. Replace worn tips before they become slick on tile, pavement, or ash-dusted walkways.
- If the rollator has a seat, confirm whether the senior can safely sit and stand from it while wearing shoes and outdoor clothing. Do not assume the rollator seat replaces a real rest plan.
- Practice folding the walker or rollator and loading it into the vehicle that would actually be used. If it only fits diagonally across the back seat, decide now where the senior will sit.
- Attach a small labeled pouch only if it does not affect balance or folding. Good contents include an ID card copy, emergency contact card, small flashlight, and spare rubber tips if they are used.
The fall risk is highest when a familiar routine changes: leaving in the dark, stepping over a threshold, turning toward a car door, or trying to move faster than usual. The cane or walker plan should therefore include the route from chair to door to vehicle, not just the equipment itself.
Manual wheelchair checklist
A manual wheelchair plan has two jobs: keep the chair usable and keep the transfer realistic. Ready.gov recommends a patch kit or sealant for non-puncture-proof tires and an extra cushion for wheelchair users.[4] Those are not decorative extras. A missing cushion can become a skin, pain, or positioning problem during a long wait away from home.
- Pack a tire patch kit or sealant if the tires are not puncture-proof, and keep it with the chair or go-kit rather than in a garage drawer.[4]
- Pack an extra wheelchair cushion if the senior depends on one for comfort, pressure relief, posture, or safe sitting.[4]
- Label the chair, cushion, footrests, anti-tippers, and removable parts. Removable footrests are easy to separate from the chair during a hurried vehicle load.
- Keep any needed tools in a labeled pouch: the correct wrench, spare bolts, valve caps, or other small parts the chair actually uses.
- Practice folding the chair, removing footrests, locking brakes, and placing it in the vehicle. Time matters less than knowing who does which part.
- If the senior uses a transfer board, gait belt, slide sheet, or special cushion, store it where it can be grabbed before the chair is folded.
- Plan where the wheelchair will go if the car is also carrying oxygen equipment, pets, a walker, or a second passenger with limited mobility.
There is one hard possibility to discuss in advance: Washington State Department of Health notes that wheelchair users may have to leave their chairs behind to evacuate safely.[5] That does not mean abandoning independence as a plan. It means deciding ahead of time what the backup transfer, carrying method, destination chair, or loaner-equipment plan could be if a stairway, vehicle, or emergency route makes the chair impossible to take.
Power wheelchair and scooter checklist
Power mobility adds one more dependency: electricity. Ready.gov advises keeping a lightweight manual wheelchair as backup, along with an extra charged battery when possible.[4] For many families, the backup manual chair is the difference between leaving immediately and waiting for the one person who knows how to load a heavy scooter.
- Keep the battery charged as part of the daily routine, not only when fire weather appears. A battery that is usually half full is not an evacuation battery.
- Keep an extra charged battery if the device allows it and the equipment provider confirms it is appropriate for that model.[4]
- Label every charger, adapter, battery case, and power cord with the device name. Many households have several black cords that look close enough to cause trouble.
- Confirm whether the scooter or power chair can be charged from a vehicle or substitute car-battery setup. Washington State Department of Health includes vehicle or car-battery substitution as a planning option for device charging.[5]
- Write down the device weight, battery type, turning or freewheel instructions, and whether the battery must be removed before loading.
- Practice disassembly only if disassembly is part of the real evacuation plan. If it takes two strong people on a calm day, it will not become easier in smoke or darkness.
- Keep a lightweight manual wheelchair available as a backup when appropriate and feasible, especially if the power device cannot fit into every likely vehicle.[4]
- For scooters or chairs with air-filled tires, keep the right patch kit or sealant with the device supplies.[4]
The vehicle is part of the device plan. Measure the trunk opening, ramp angle, lift capacity, and turning space. Then try it with the bag, the oxygen tubing, the walker, and the person who will actually help. A scooter that technically fits after ten minutes of rearranging may be a poor wildfire evacuation plan.
Oxygen and CPAP checklist
Oxygen and CPAP planning should stay inside the medical boundary. Do not change oxygen flow, mask type, pressure settings, or equipment use based on an emergency article. The useful work here is labeling, power planning, supply packing, and asking the clinician or equipment provider exactly what the evacuation setup should look like.
- Label the concentrator, portable unit, CPAP machine, battery, tubing bag, mask bag, and power cords with the senior’s name and emergency contact.
- Keep written equipment details in the go-kit: device type, prescribed settings, oxygen supplier or durable medical equipment provider, clinician contact, and backup instructions provided by the care team.
- Pack extra tubing, cannulas, masks, filters, humidifier parts if used, and cleaning supplies recommended by the equipment provider.
- Keep power cords and batteries together in a labeled pouch. If a cord normally lives behind the bed, buy or request a second cord if the provider says that is safe and compatible.
- Ask the oxygen or CPAP provider what can be powered by vehicle outlet, approved battery, or other backup source. Write the answer down in plain language.
- If the senior uses oxygen while walking or transferring, practice how tubing will be managed from chair to door to car so it does not catch on wheels, feet, furniture, or the car door.
- If evacuation may mean a shelter, hotel, or relative’s home, keep a copy of the prescription or medical necessity documentation with the equipment papers.
This is also the place to ask about medication supply, but not to build the whole medication plan from scratch. United Spinal Association and the American Red Cross both point to a stay-at-home supply base and a portable go-kit, and they include maintaining at least a month’s supply of medication as part of older-adult emergency preparedness.[6][7] For prescriptions, refill timing, refrigeration, controlled substances, and oxygen orders, confirm the details with the prescriber, pharmacist, or equipment provider.
The shared layers that keep every device plan working
The device checklist is the center, but it needs a support system. The same few layers show up again and again: two kits, labels, documents, power, smoke protection, transfer practice, and a helper who knows the plan without having to be coached from the doorway.
Use two kits: one to stay, one to leave
United Spinal Association and the American Red Cross recommend a stay-at-home kit with two weeks of supplies and a portable go-kit with three days of supplies for emergency preparedness.[6][7] For a mobility-limited senior, those kits should not be duplicates. The stay-home kit can hold bulky water, food, hygiene supplies, and backup device supplies. The go-kit should hold what must move with the person.
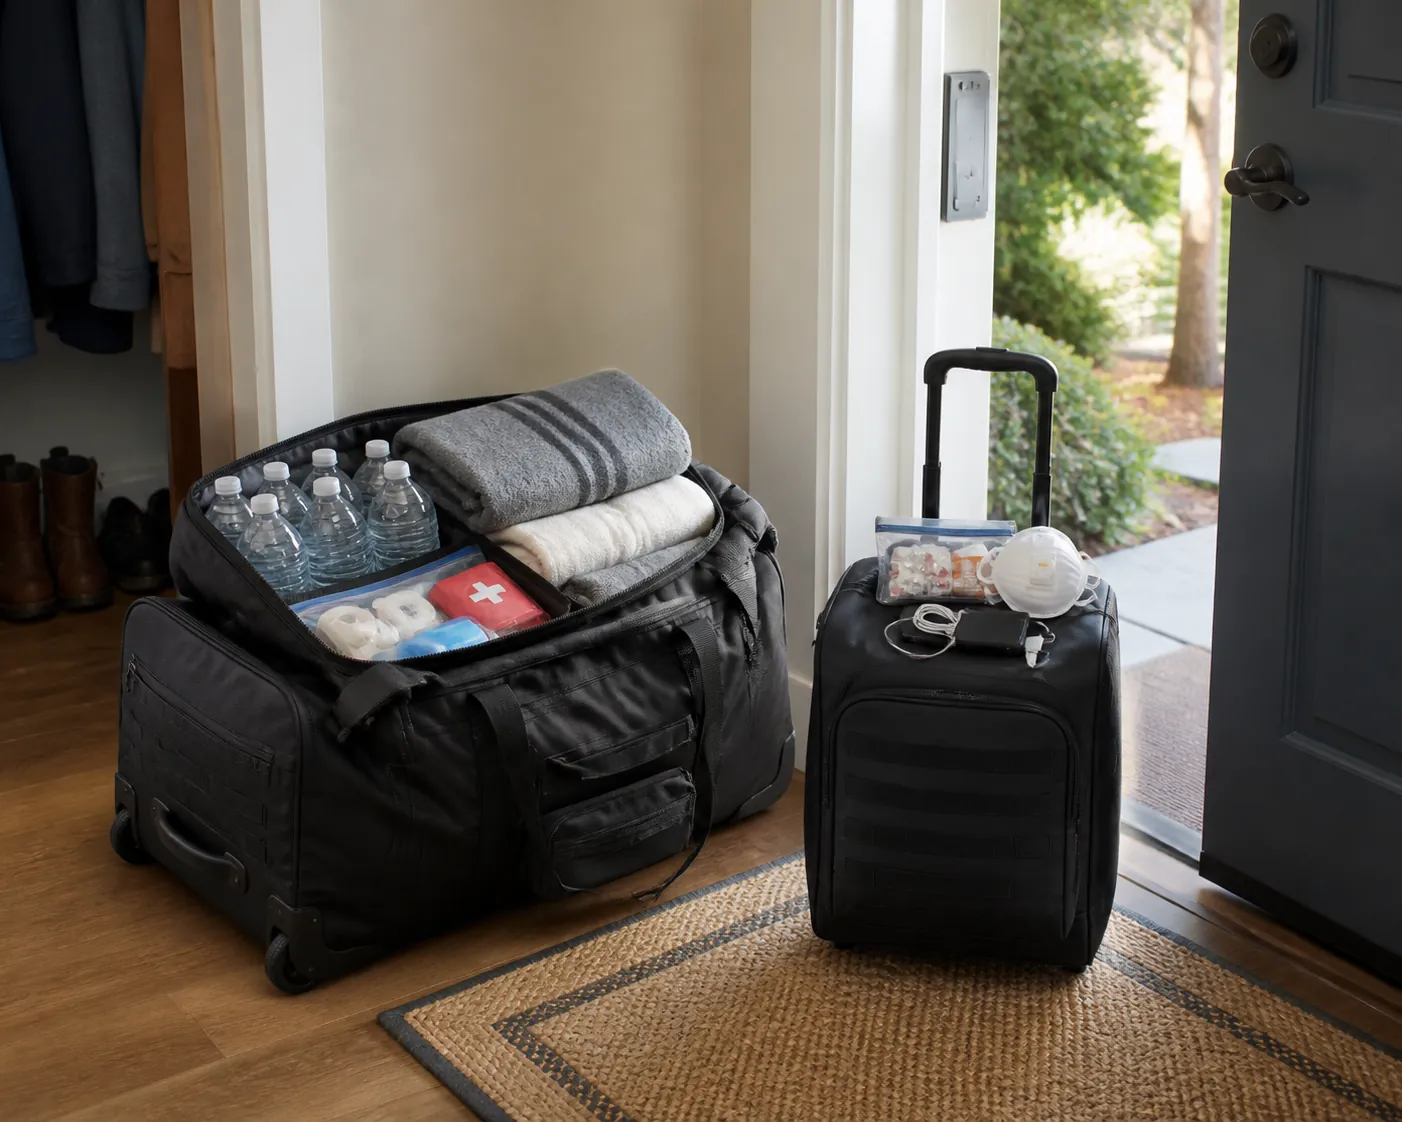
- Stay-home kit: two-week supply base, backup incontinence supplies, extra device parts, water, food, hygiene items, batteries, and larger items that would be difficult to carry.
- Go-kit: three-day portable supply, medication list, device documents, labeled chargers, spare mask or tubing, N95 masks, flashlight, phone charger, and the items needed before the next safe stop.
- Device add-on pouch: the chair cushion, cane tips, wheelchair tool pouch, oxygen tubing, CPAP cord, or scooter charger that should travel with the device rather than disappear into the bottom of a family suitcase.
AARP recommends a wheeled duffel as a practical option when someone cannot carry a heavy bag.[8] That small detail matters. A perfect emergency kit that requires the senior to lift it is not a senior kit.
Label what would be separated
Labels are not only for shelters. They are for the neighbor’s car, the clinic waiting room, the hotel floor, the back seat, and the moment someone unloads the wheelchair but leaves the cushion behind.
- Put name and emergency contact labels on mobility devices, cushions, chargers, batteries, oxygen bags, CPAP bags, and removable wheelchair parts.
- Use large, readable labels for the items a helper may grab: scooter charger, CPAP cord, oxygen tubing, wheelchair cushion, spare cane.
- Keep a one-page device sheet in the go-kit and on the refrigerator: device names, settings if medically relevant, supplier contacts, battery instructions, and what must be taken if there are only a few minutes.
- Add a current photo of the senior with each essential device. This can help if equipment is separated, borrowed, or described to responders.
Plan power without making the house more dangerous
Power planning is not only about keeping devices alive; it is also about preventing falls when lights, chargers, stair lifts, garage doors, and powered recliners fail. For the home-safety side of outages, use the power-outage fall-proofing guide. For this device checklist, the job is more specific: know what needs power, what has backup power, and what will happen if backup power is not available.
- List every powered item: power wheelchair, scooter, lift recliner, stair lift, oxygen concentrator, portable oxygen unit, CPAP, phone, hearing aids, medical alert device, and electric bed if used.
- Put the correct charger with each device or in a clearly labeled charger pouch.
- Ask the equipment provider which batteries, vehicle chargers, or backup systems are approved for the device. Do not substitute random cords or batteries because the plug appears to fit.
- If vehicle charging is part of the plan, test it before wildfire season and write down how long it takes to provide useful charge.
- If the area has medical-baseline, public-safety power shutoff, or disability-related backup-power notification programs, treat them as local options to verify, not universal benefits. Names and eligibility rules vary.
Practice the transfer and lift before anyone is scared
A transfer plan cannot live in someone’s head. The senior, the helper, the device, the car, and any oxygen tubing or walker all need to be in the same practice session. Washington State Department of Health cautions that the traditional firefighter’s carry can be hazardous for people with respiratory weakness and says lifting and carrying techniques should be discussed in advance.[5]
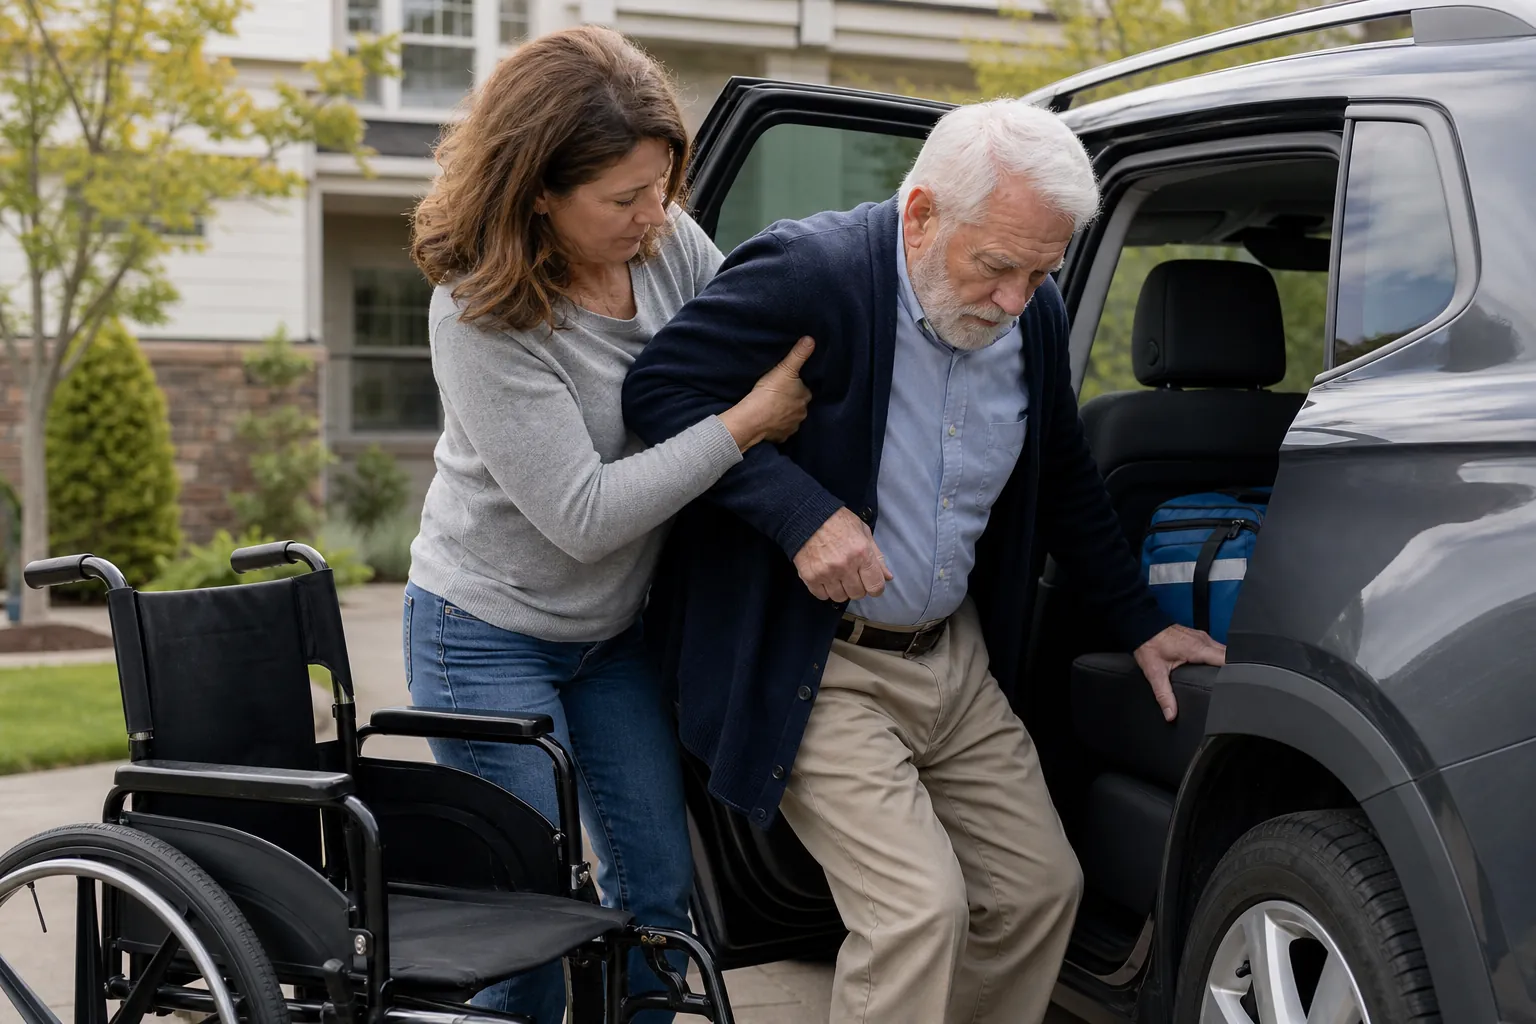
- Practice the exact transfer: bed to wheelchair, chair to walker, wheelchair to car, scooter to car seat, or recliner to standing.
- Use the real shoes, coat, oxygen tubing, cane, transfer board, gait belt, or wheelchair brakes that would be used during evacuation.
- Decide who gives instructions. Two helpers talking at once can make a transfer less safe.
- Ask an occupational therapist, physical therapist, home-health clinician, or other qualified professional to review transfer technique when there is any doubt.
- If the senior cannot transfer into the family vehicle safely, identify the accessible vehicle, neighbor, paratransit option, non-emergency medical transport contact, or county resource before fire season.
Put smoke protection where it will be used
AARP notes that N95 masks filter wildfire particulates.[8] For a senior with mobility limits, the mask belongs with the device path: one in the go-kit, one near the door, and one in the vehicle if possible. If the senior uses oxygen, CPAP, or has breathing difficulty, ask the clinician how and when to use respiratory protection safely.
- Keep N95 masks in a reachable, labeled pouch rather than sealed in a distant storage bin.
- Practice putting the mask on while seated and while wearing glasses, hearing aids, oxygen tubing, or other equipment.
- Do not let mask straps interfere with hearing aids, oxygen tubing, or balance during a transfer.
- If the senior cannot tolerate an N95 or has respiratory disease, get individualized guidance from the clinician rather than improvising during smoke exposure.
Give the support network a real job
A helper list is only useful if the helpers know more than the phone number. FEMA’s Disaster Preparedness Guide for Older Adults says at least one support-network member should have an extra key, know where emergency supplies are kept, and know how to use lifesaving equipment.[9] For a mobility-device evacuation, that means the helper should know where the charger is, how the chair folds, what oxygen bag leaves with the person, and which door has the safest path.
- Choose at least one nearby person who can enter the home if the senior cannot reach the door.
- Show that person the device supplies, go-kit, stay-home kit, medication list, charger pouch, and vehicle-loading plan.
- Give written permission and contact information if the helper may need to speak with a facility, equipment provider, or emergency contact.
- Confirm whether the county emergency management office keeps a voluntary disability registry. Ready.gov notes that many county emergency management agencies keep voluntary registries, but availability and use vary, so the local office must be contacted directly.[4]
- If memory loss or confusion is part of the picture, add identification and tagging steps from the earthquake preparedness guide for dementia caregivers and adapt them for wildfire evacuation.
Run one short drill
A drill does not have to be dramatic. Pick a calm morning. Start where the senior usually sits. Move to the door with the actual walker, chair, scooter, oxygen tubing, CPAP bag, N95 mask, charger pouch, documents, and go-kit. Load the vehicle if that is part of the plan. Notice what takes two hands, what gets forgotten, what catches on furniture, and what the helper does not know.
After the drill, fix only the visible failures: move the spare cane, relabel the charger, put the cushion with the chair, copy the device sheet, charge the battery, or ask the county emergency management office about registry and accessible-evacuation options. The best evacuation plan is the one in which the walker, wheelchair, scooter, oxygen, CPAP, documents, charger, mask, and helper all leave together.
References
- Lessons from the January Wildfires: Why Preparedness Matters — LA County Aging & Disabilities
- Older adults fire death and injury statistics — U.S. Fire Administration
- Disaster Tip Sheets — California Department of Aging
- People with Disabilities — Ready.gov
- Mobility Disabilities: Disaster Tips — Washington State Department of Health
- 9 Wildfire Preparedness Resources for People with Disabilities — United Spinal Association
- Older Adults Emergency Preparedness — American Red Cross
- The New Go Bag — AARP
- Disaster Preparedness Guide for Older Adults — FEMA
Related reading
Noticed something outdated or inaccurate on this page? Flag a correction. We review every report against CDC, NIA, and AARP HomeFit guidance before updating a page.
Part of the Fall Prevention section.