The 5-Step Rollator Fit Test: How to Choose the Right Walker for a Senior — A Caregiver's Decision Framework
A structured, clinically grounded 5-step framework to help adult children and caregivers match a rollator or walker to a senior's specific mobility profile — covering device type, environment, fit measurements, feature matching, and safety verification.
- Device / Aid Type
- rollator, walker
- Functional Need Addressed
- balance instability, mobility limitation, fatigue
- Professional Assessment
- An occupational therapist or physical therapist is recommended for individual device selection and fitting.
- Last Reviewed
- 2026-06-13
- rollator
- walker
- assistive devices
- occupational therapy
- functional assessment
Why Most Buying Guides Miss the Most Important Step
You've just watched your mother stumble in the kitchen for the third time this week. Or maybe your father is recovering from hip surgery and can't navigate the hallway without holding the wall. Your first instinct is to find a walker — fast. You open a browser, search for "best rollator for seniors," and within minutes you're drowning in feature lists: wheel sizes, brake types, seat widths, weight capacities, folding mechanisms. It's overwhelming, and none of it answers the question you actually need answered: What kind of walker does my parent need?
This is the gap most buying guides leave open. They assume you already know which device type is appropriate and jump straight to comparing specifications. But the clinical reality is more nuanced — and getting it wrong has real consequences. The CDC reports that approximately 1 in 4 Americans age 65 and older falls each year, and 37% of those falls result in an injury requiring medical treatment. Choosing the wrong mobility aid doesn't just waste money; it can increase fall risk.
This guide replaces the feature-first approach with a structured 5-step clinical decision framework. Instead of starting with product specs, you'll start with your parent's mobility profile — their weight-bearing ability, balance level, grip strength, endurance, and primary walking environment. Only after that assessment will we match features to their specific needs. Rollators now account for roughly 62.7% of mobility aid purchases, according to Grand View Research data cited by Carex, but the most popular choice isn't always the right one. Here's how to make sure you get it right.

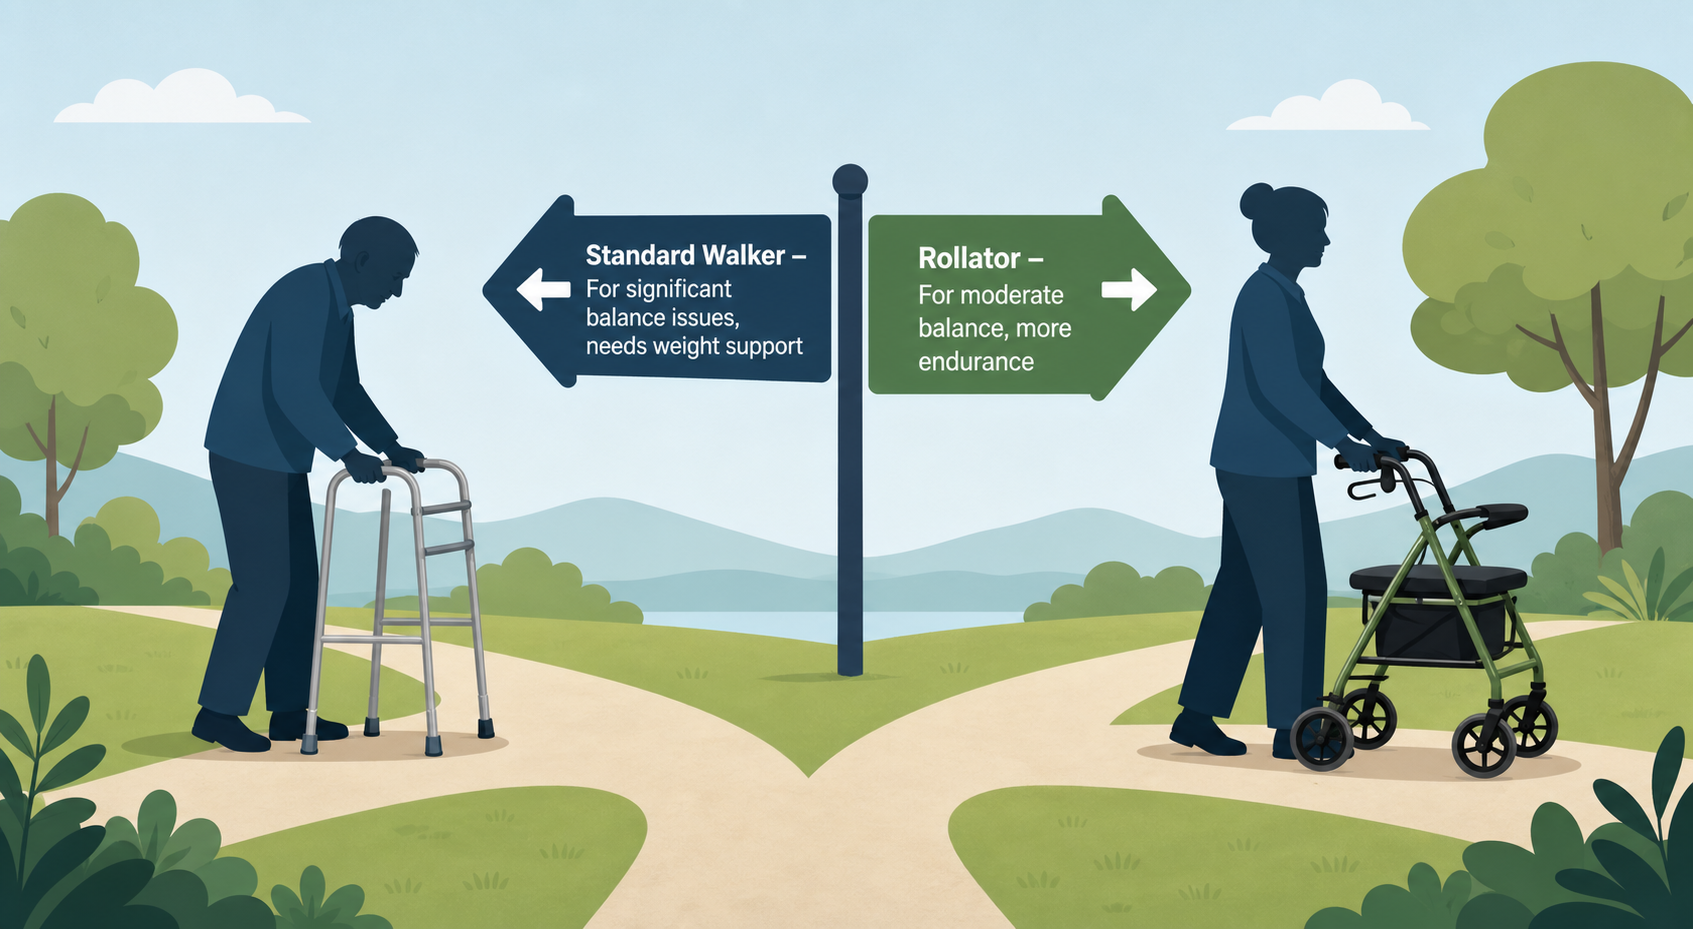
Step 1: Rollator vs. Walker — The Clinical Decision
The first and most consequential decision is not which rollator to buy — it's whether a rollator is the right type of device at all. Many families assume a rollator with a seat is automatically the better choice because it looks more modern and offers a place to rest. But that assumption can be dangerous.
A standard walker (also called a pickup walker or traditional walker) has four legs with no wheels, or two small front wheels. The user must lift it forward with each step. This design provides maximum stability because the walker cannot roll away from the user. A rollator, by contrast, has four larger wheels and is designed to be pushed forward continuously. It offers less inherent stability because the wheels can slide if too much weight is applied.
Trualta explains this distinction clearly: a rollator is best suited for someone who can walk household and community distances but gets fatigued or short of breath and needs a place to sit. Because it has four larger wheels, it is unsafe for people who need to put a lot of upper body weight through the handles — it could slide out from underneath them. A traditional walker provides more support and stability, appropriate for someone with an ankle fracture who needs to keep weight off their leg, or for people with leg weakness, balance issues, or those prone to falling.
| Factor | Standard Walker (Pickup) | Rollator (4-Wheel) |
|---|---|---|
| Weight-bearing need | Can support significant upper body weight; safe for partial or non-weight-bearing | Unsafe if user leans heavily on handles; wheels may slide |
| Balance level | Best for significant balance problems or frequent falls | Suitable for mild to moderate balance issues if user can walk without leaning |
| Grip strength requirement | Requires ability to lift and set down the walker | Requires ability to squeeze and hold brakes while seated |
| Endurance | Best for short indoor distances; lifting can fatigue the user | Better for longer distances; continuous rolling reduces effort |
| Need for a seat | No built-in seat | Built-in seat allows resting during community outings |
| Weight of device | Under 8 pounds typically | 11 to 30 pounds typically |
There is also a middle option: the 3-wheel rollator. These are narrower, lighter, and more maneuverable in tight spaces, but they have no seat and are less stable than 4-wheel models. They work best for seniors who need occasional support indoors but do not require a seat or maximum stability.
Step 2: Indoor vs. Outdoor Assessment
Once you've determined that a rollator is appropriate, the next step is evaluating where it will be used most. A rollator that works beautifully on smooth indoor floors can be frustrating or even dangerous on uneven outdoor terrain — and vice versa.
Start by measuring your parent's primary walking environment. Standard interior doorways in older homes are typically 28 to 32 inches wide. A 4-wheel rollator's overall width ranges from 22 to 31 inches, according to Carex. If the rollator is too wide to clear doorways, your parent will have to turn sideways to pass through — a maneuver that increases fall risk.
- Measure the narrowest doorways in the home (bathroom, bedroom, hallway). Subtract at least 2 inches from the doorway width to determine the maximum rollator width that will fit comfortably.
- Assess floor surfaces: carpet, tile, hardwood, throw rugs. Larger wheels (7–8 inches) roll more easily over carpet and small thresholds. Smaller wheels (5–6 inches) work well on hard floors but can catch on rugs or transitions.
- Evaluate outdoor use: If your parent will use the rollator on sidewalks, gravel paths, or grass, choose larger wheels (8 inches or more) and consider pneumatic tires for shock absorption.
- Consider the 3-wheel vs. 4-wheel tradeoff: 3-wheel rollators are narrower (typically 22–26 inches wide) and more maneuverable in tight indoor spaces, but they lack a seat and are less stable on uneven ground.

Step 3: The Measurement Protocol — Getting the Fit Right
An improperly sized rollator is not just uncomfortable — it's dangerous. A height that is off by as little as 1 to 2 inches can force the user to lean forward or hunch over, worsening back pain, shoulder strain, and fatigue. It can also shift the user's center of gravity forward, increasing fall risk.
The Mayo Clinic describes the clinically recommended fit check: stand inside the walker with shoulders relaxed, place hands on the grips — elbows should bend at a comfortable angle of about 15 degrees, and the top of the walker grip should line up with the crease on the inside of your wrist. This is the gold standard for handle height.
Here is the step-by-step measurement protocol:
- Have your parent stand in their everyday walking shoes on a flat, hard surface.
- Let their arms hang naturally at their sides, shoulders relaxed.
- Measure the distance from the floor to the crease on the inside of their wrist. This is their ideal handle height.
- Adjust the rollator's handle height to match this measurement. Most rollators have push-button or twist-lock height adjustments.
- Verify the fit: with hands on the grips, elbows should be bent approximately 15 degrees. The user should not have to reach down or shrug upward to grip the handles.
| User Height | Recommended Handle Height Range |
|---|---|
| Under 5'2" | 31–33 inches |
| 5'2" to 5'8" | 33–36 inches |
| Over 5'8" | 36–39 inches |
Beyond handle height, three other measurements matter:
- Seat height: The user should be able to sit on the rollator seat with feet flat on the floor and knees bent at approximately 90 degrees. Standard seat heights range from 18 to 22 inches.
- Overall width vs. doorways: Measure the rollator's total width (typically 22–31 inches) and compare it to your narrowest doorway. Remember to account for door handles and trim.
- Weight capacity: Standard rollators support 250–350 pounds. Heavy-duty (bariatric) models support up to 500 pounds. Always choose a model rated for at least 20 pounds above the user's weight to provide a safety margin.

Step 4: Feature Decision Matrix — Matching Features to Symptoms
Now that you know which device type is appropriate and what size is needed, it's time to match specific features to your parent's symptoms and limitations. This is where the feature-by-feature approach becomes useful — but only after the clinical assessment is complete.
The table below maps common senior symptoms to the rollator features that address them. Use it to identify which features are essential for your parent's situation and which are optional.
| Symptom or Limitation | Recommended Feature | Why It Matters |
|---|---|---|
| Arthritis or weak grip | Loop (cable) brakes or large foam grips | Loop brakes require less hand strength than push-down brakes. Foam or gel grips reduce hand pain and improve control. |
| Fatigue or shortness of breath | Padded seat with adequate width (13–18 inches) | A comfortable seat allows resting during community outings. Measure seat height to ensure feet reach the floor. |
| Frequent shopping or carrying items | Storage basket or pouch (front or under-seat) | Hands-free carrying reduces the need to hold items while walking, which can destabilize the user. |
| Limited trunk space or frequent travel | One-hand folding mechanism, lightweight frame (under 15 lbs) | Lightweight aluminum rollators (as low as 11 lbs) are easier to lift into a car. One-hand fold is essential for seniors who cannot coordinate two-handed folding. |
| Tremors or unsteady hands | Push-down brakes (not loop brakes) | Push-down brakes lock when weight is applied, which can be safer for users who may accidentally squeeze loop brakes. |
| Need for maximum stability | 4-wheel rollator with 8-inch wheels, wide base | Larger wheels and a wider wheelbase provide better stability on uneven surfaces. Avoid 3-wheel models. |
Step 5: Safety Verification — Brake Test, Stability Check, and Practice Routine
Before your parent uses the rollator independently, you need to verify that it is safe for their specific abilities. A rollator that passes all the fit checks can still be dangerous if the user cannot operate the brakes reliably or if the device is unstable on their typical walking surface.
Perform these three safety checks before regular use:
- Brake squeeze test: Have your parent sit on the rollator seat and squeeze both brakes simultaneously. Can they fully engage the brakes and hold them? If they have arthritis or weak grip, loop brakes may be easier than push-down brakes. If they cannot reliably stop the rollator, it is not safe.
- Stability check on level ground: Have your parent stand inside the rollator with hands on the grips. Ask them to shift their weight slightly from side to side and forward. Does the rollator feel stable, or does it wobble or slide? If the rollator moves when weight is applied, it may be the wrong device type.
- Supervised practice routine: Have your parent practice walking with the rollator on a flat, clear surface for 10–15 minutes. Observe their posture: are they standing upright or leaning forward? Are they stepping into the rollator or pushing it too far ahead? The Mayo Clinic advises taking small steps when turning and not pushing the rollator too far out in front.
Elenker notes that a rollator is safe for seniors with balance issues when used correctly — the senior must have enough hand strength to squeeze the brakes, be able to walk without leaning full weight onto the rollator, and practice on flat ground first. It is less safe for severe balance problems causing sudden loss of control, weak grip or arthritis making braking difficult, or if relying on the rollator to completely hold up body weight.
Medicare Coverage and Cost Considerations
Medicare Part B covers rollators as durable medical equipment (DME) when prescribed by a Medicare-enrolled doctor and obtained from a Medicare-approved DME supplier. After you meet the Part B deductible, Medicare typically pays 80% of the Medicare-approved amount, and you pay the remaining 20% coinsurance.
Standard rollators typically cost $60 to $200 out-of-pocket. Deluxe and bariatric models can cost up to $350. If Medicare covers the device, your out-of-pocket cost would be 20% of the Medicare-approved amount after the deductible — potentially much less than the retail price.
Important caveat: Medicare covers rollators only when they are medically necessary — meaning the device is needed for a medical condition and is prescribed by a doctor. A rollator purchased without a prescription from a non-Medicare supplier will not be covered. Always confirm that the supplier is Medicare-approved before purchasing.
For families navigating coverage gaps, our article on The Medicare DME Prevention Paradox: What Won't Medicare Pay For and How to Plan for the Gap explains what falls outside standard coverage and how to plan financially.
When to Involve a Physical Therapist — and Your Action Checklist
This framework is designed to help you make an informed decision, but it cannot replace a professional clinical assessment. A physical therapist or occupational therapist can evaluate your parent's specific mobility limitations, recommend the appropriate device type, and provide training on safe use.
You should seek a professional evaluation if any of the following apply:
- Your parent has had two or more falls in the past six months.
- Your parent has recently had hip, knee, or back surgery.
- Your parent has severe balance problems that cause sudden loss of control.
- Your parent has a neurological condition such as Parkinson's disease or stroke-related weakness.
- Your parent cannot safely operate the brakes on any rollator you have tested.
- You are unsure whether a standard walker or rollator is appropriate.
A physical therapist can also teach transfer techniques — how to safely move from sitting to standing and back — which is a natural next step after selecting the right mobility aid. Our guide on Transfer Aids and Techniques for Senior Caregivers covers matching equipment to mobility level and provides step-by-step transfer guidance.
Finally, complement the device selection process with fall prevention exercises. Our Fall Prevention Exercises for Seniors: A 4-Level Balance and Strength Progression Ladder provides a structured program that builds strength and balance alongside the mobility aid.
Your Action Checklist
- Assess your parent's weight-bearing ability, balance level, grip strength, and endurance to determine whether a standard walker or rollator is appropriate (Step 1).
- Measure doorways and evaluate floor surfaces to determine wheel size, 3-wheel vs. 4-wheel configuration, and overall width requirements (Step 2).
- Use the wrist crease measurement method to determine handle height, verify seat height, compare width to doorways, and confirm weight capacity (Step 3).
- Match features to your parent's specific symptoms using the decision matrix — prioritize features that address their limitations (Step 4).
- Perform the brake squeeze test, stability check, and supervised practice routine before regular use (Step 5).
- Obtain a Medicare prescription from a Medicare-enrolled doctor and purchase from a Medicare-approved DME supplier to maximize coverage.
- Schedule a physical therapy evaluation if any red flags appear during the safety checks.
Related Guides
- Wheelchair Safety at Home: A Family Caregiver's Practical Guide
Wheelchair use at home creates a distinct category of injury risk — from transfer failures and pressure injuries to inaccessible rooms and equipment breakdowns — that generic fall-prevention advice doesn't address. This guide gives family caregivers a structured, evidence-grounded resource covering every major safety domain, from brake-locking technique to room-by-room home assessment to when to request an occupational therapist evaluation.
- Manual vs. Power Wheelchair for Elderly Adults: A Stage-Based Decision Guide
Choosing between a manual and power wheelchair for an elderly parent isn't a one-time decision. This guide helps adult children evaluate current upper-body strength, daily independence needs, and the likely trajectory of their parent's condition to make a choice that supports safety and independence now — and plans for what's ahead.
- Step-by-Step Safe Transfer Guide: Gait Belts, Hoyer Lifts, and Sit-to-Stand Techniques for Caregivers
Learn the correct techniques for using gait belts, Hoyer lifts, and sit-to-stand lifts to safely transfer a loved one at home. This guide focuses on body mechanics, sling placement, communication, and fall response to prevent injury to both you and the care recipient.
Comments
Join the discussion with an anonymous comment.