
STEADI: intervene
A Measurable Winter Safety Checklist for Seniors at Home
Prepare an older adult's home for winter with a room-by-room checklist built on measurable checks: thermostat minimums, space-heater clearance, generator distance, and carbon monoxide detector placement. Each item can be verified by a number, so caregivers finish the walk-through knowing the home is actually ready for the first storm.
“Be careful this winter” is not a checklist. It does not tell you whether the thermostat is high enough, whether the space heater is too close to the curtains, whether the carbon monoxide alarm outside the bedroom still has useful life left, or whether the generator plan would keep exhaust away from the house.
A better winter safety checklist for seniors at home starts with things you can verify before you leave: 68–70°F on the thermostat, at least 3 feet of clearance around portable heaters, a generator at least 20 feet from windows, doors, and vents, carbon monoxide detectors near sleeping areas, and a clear emergency line if body temperature drops below 95°F. The National Institute on Aging treats 68–70°F as the safer indoor range for many older adults, and warns that even 60–65°F can lead to hypothermia in older people living in a cold home.[1] The CDC identifies a body temperature below 95°F as a medical emergency.[2]
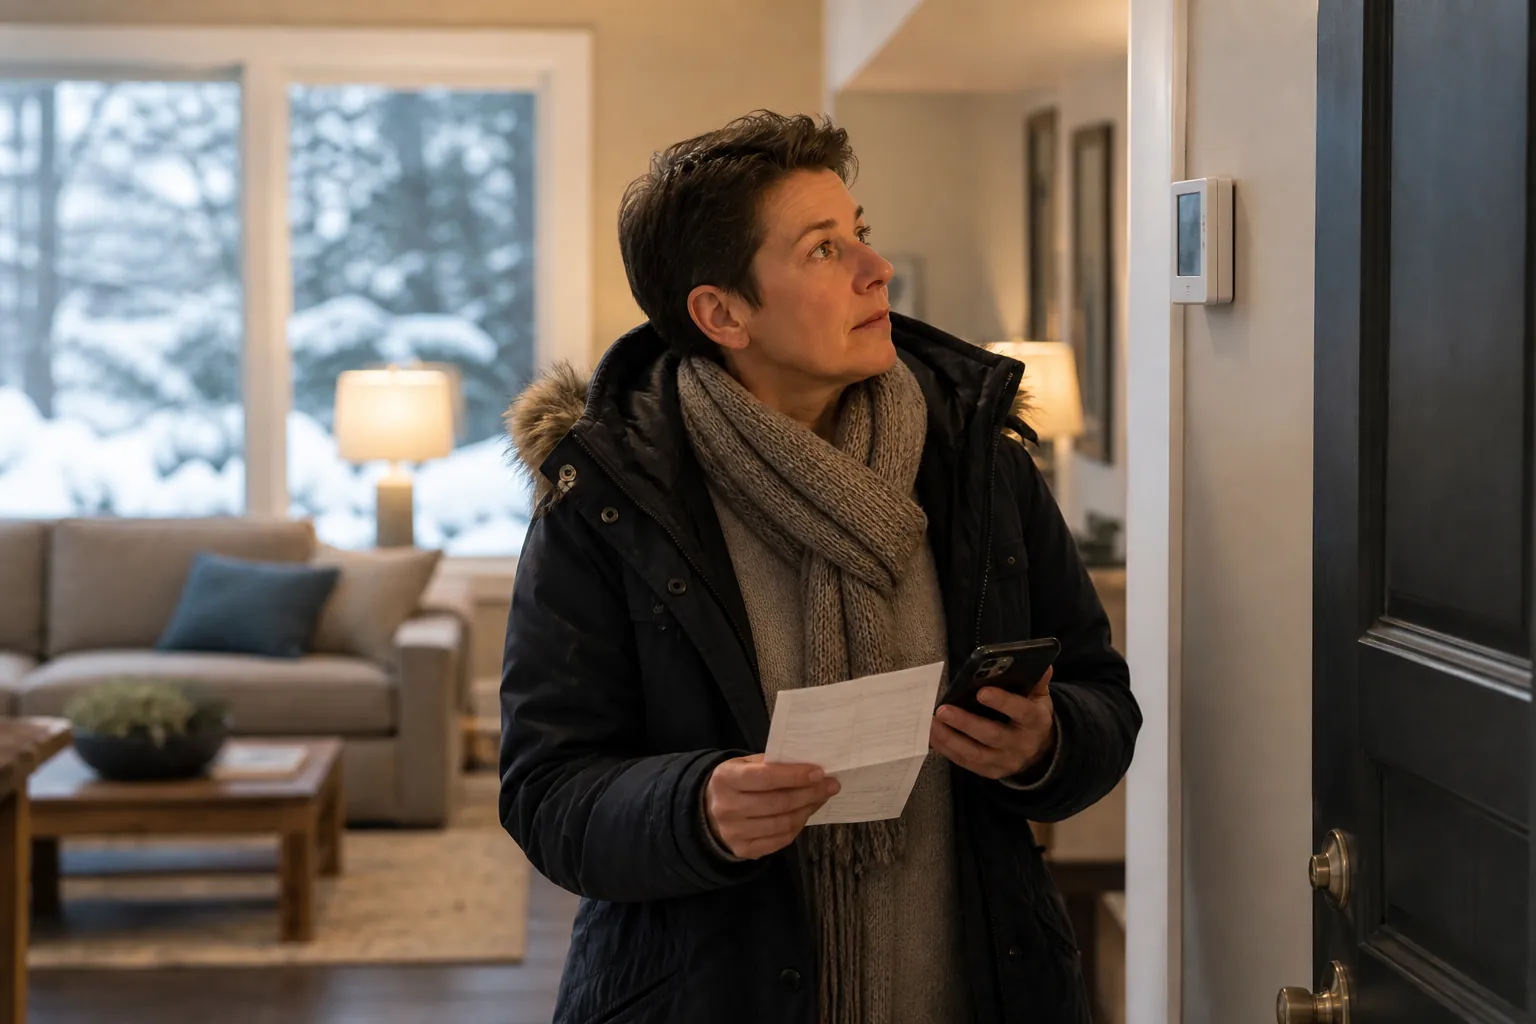
The numbers to check before the first storm
Start with the checks that change risk the fastest. Heating deserves the first pass because Ready.gov identifies heating as the second leading cause of home fires, says most home fires happen in winter, and estimates that 32,200 home heating fires in 2021 caused 190 deaths and 625 injuries.[3] That is enough reason not to treat “staying warm” and “staying fire-safe” as separate errands.
| Where to stand | What to verify | Number or rule | If it fails |
|---|---|---|---|
| Thermostat and main living space | Heat setting and actual room temperature | Aim for 68–70°F for older adults at home.[1] | Raise the setting, close off unused rooms, block drafts, and arrange help if heat cannot be maintained. |
| Bedrooms and sleeping hallway | Carbon monoxide detector placement | Install CO detectors near every sleeping area.[5] | Move or add detectors before relying on the heating system overnight. |
| Portable heater location | Clearance from curtains, bedding, furniture, papers, and rugs | Keep at least 3 feet from anything that can burn.[4] | Move the heater or remove the nearby item; do not negotiate the distance. |
| Heater cord path | Cord condition and routing | Never run cords under rugs or carpets.[4] | Plug directly into a safe outlet if possible, or stop using the heater until the setup is corrected. |
| Generator storage and outdoor plan | Operating location during an outage | Run outdoors only, at least 20 feet from windows, doors, and vents.[4] | Mark the outdoor spot now; do not decide during a storm. |
| Furnace, boiler, fireplace, or fuel-burning appliance | Service history and venting | Have the heating system inspected or serviced annually.[5] | Schedule service before sustained cold weather if it has not been done. |
| Emergency decision point | Possible hypothermia | Body temperature below 95°F is an emergency.[2] | Call emergency services; do not try to manage it as ordinary chill. |
Start at the thermostat, then prove the room is actually warm
The thermostat is the first stop because it is where independence, cost, comfort, and safety collide. Many older adults lower heat to save money or because they have always managed a cold house. The problem is that age, some medical conditions, and some medications can make cold harder to sense and harder to tolerate. The NIA’s practical target is 68–70°F, with unused rooms closed off and towels or draft blockers placed at the bottoms of doors.[1]
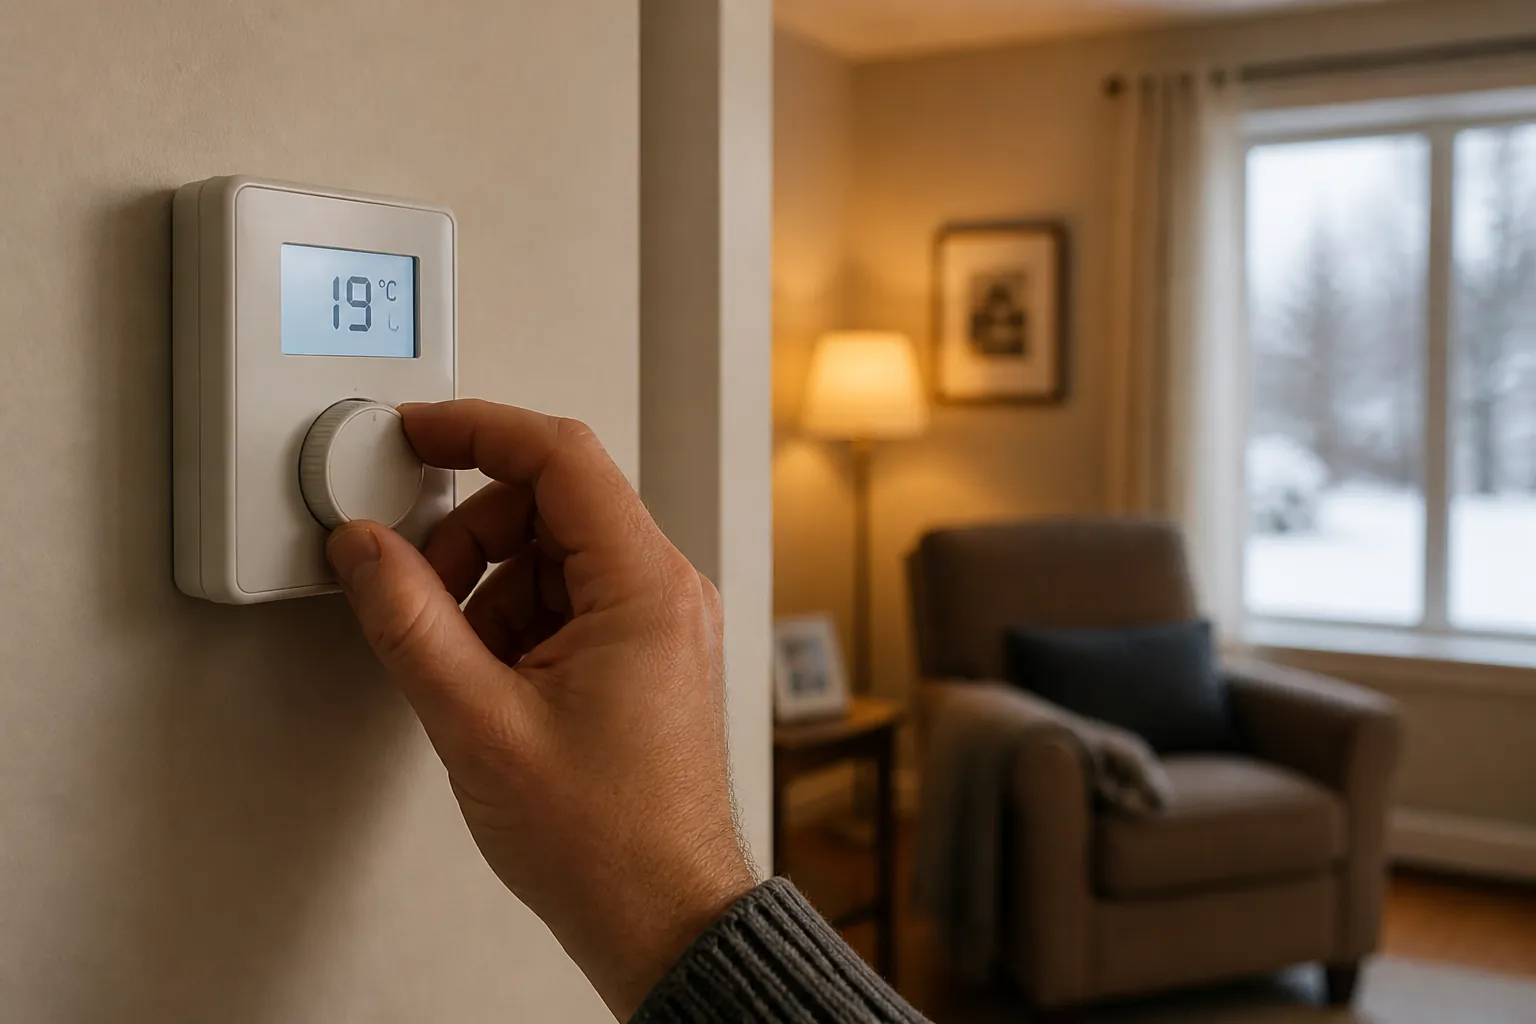
Do not only look at the programmed setting. Stand in the rooms where the person actually sits, eats, watches television, and sleeps. A thermostat in a hallway can say 68°F while the recliner beside a leaky window feels much colder. If there is a small room thermometer, place it at sitting height in the main living area for a few minutes. If there is no thermometer, add one to the list; it is a cheap way to stop guessing.
The CDC advises adults 65 and older to check home temperature often during extreme cold.[2] That does not mean the house must be heated like a greenhouse. It means the occupied space should not drift downward unnoticed because an unused bedroom, a basement door, or a drafty window is stealing heat from the room where someone spends the day.
If the older adult points to a lower number as “good enough,” be careful with the source. HealthInAging’s winter tip sheet, last updated in July 2019, gives 65°F as a floor.[7] In this walk-through, treat that as a warning line, not the goal. The NIA’s 68–70°F target is the safer working number for a person living alone, especially if no one is there to notice confusion, sleepiness, shivering that stops, or a room that keeps cooling after sunset.[1]
What to do in the same pass
- Set the normal occupied temperature to 68–70°F unless a clinician has given different instructions.
- Close doors to unused rooms, especially bedrooms that are not heated well.
- Put rolled towels or draft blockers at the bottoms of doors where cold air enters.
- Check the favorite chair, kitchen table, bathroom, and bedroom rather than trusting the hallway thermostat alone.
- Write down who will be called if the home cannot hold a safe temperature during a cold snap.
Windows and drafts are not cosmetic in an older adult’s winter home
Drafts matter because they can make a safe thermostat setting fail in the chair where the person actually sits. AARP notes that roughly 30% of heating energy can be lost through windows, which is a good reason to check curtains, locks, weatherstripping, and obvious gaps before the first storm rather than after the utility bill arrives.[6]
Walk the outside walls with your hand, not just your eyes. Feel around window frames, sliding doors, the mail slot, and the door from the garage or basement. Close storm windows if the home has them. Make sure curtains do not cover heat registers. If plastic window film, caulk, or weatherstripping is needed, write down the exact window or door. “Drafty living room” will be forgotten; “left side of front window behind recliner” will get fixed.
Portable heaters: measure 3 feet, then look at the cord
A space heater can be a useful backup for a cold corner. It can also turn a normal bedroom or living room into the most dangerous spot in the house. The CDC’s winter storm safety guidance is simple enough to check with a tape measure or a long step: keep heaters at least 3 feet away from anything that can burn, and never place cords under rugs or carpets.[4]
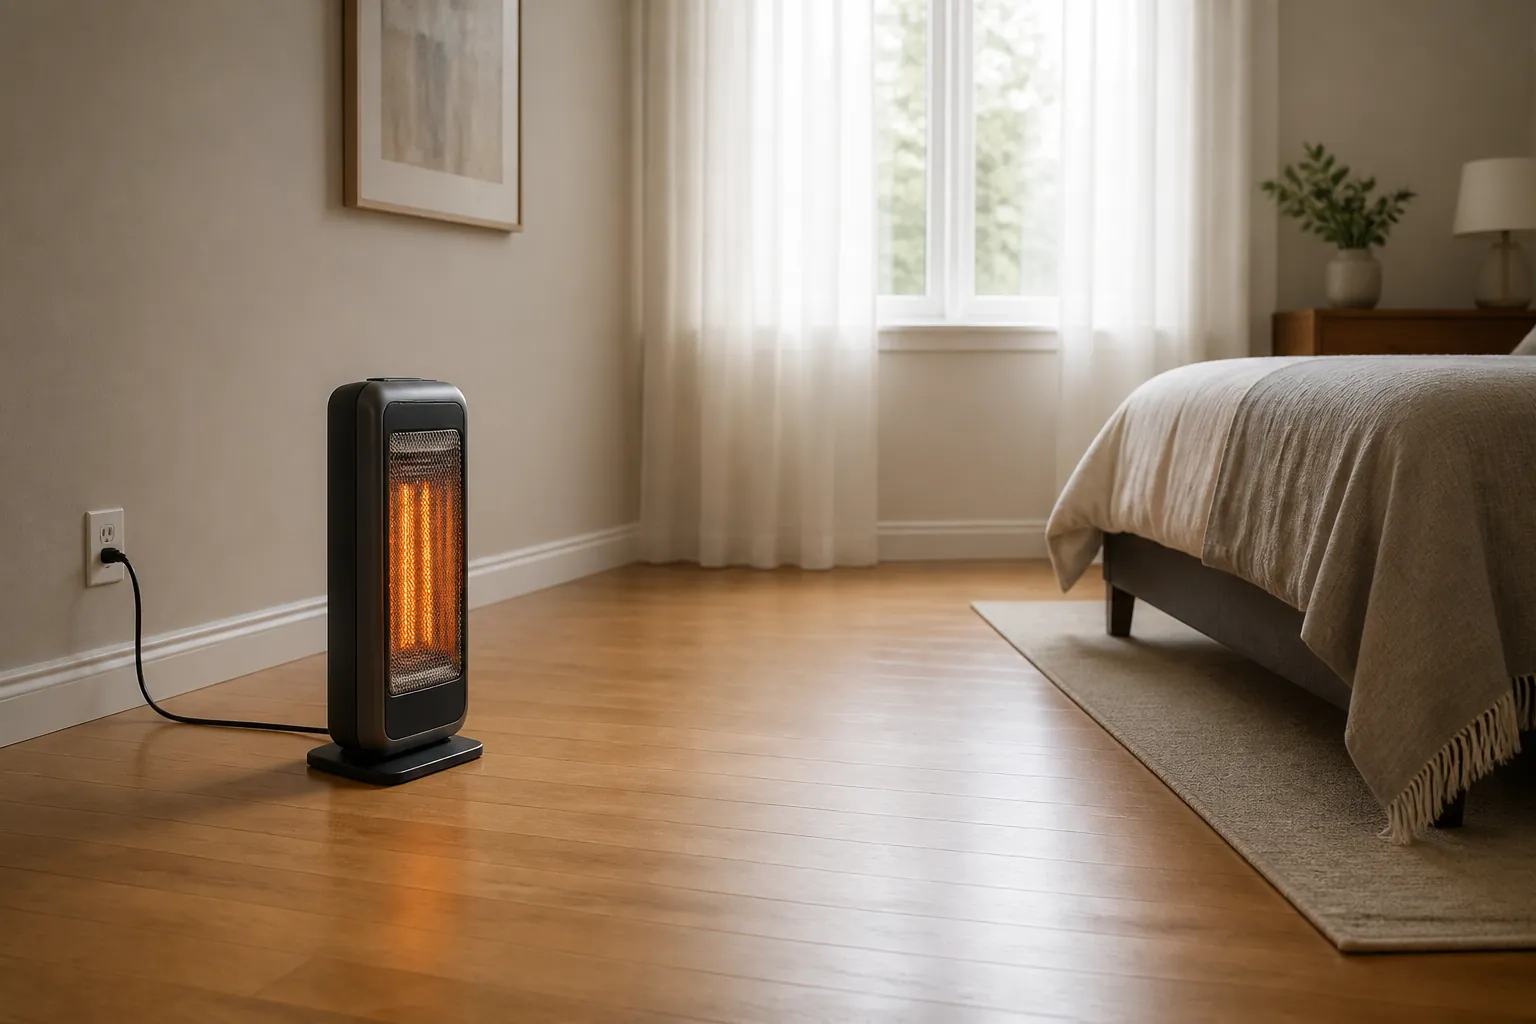
Do the heater check in every room where one might be used, not only where one is currently plugged in. Closets, spare bedrooms, and basements often hold the older heater that comes out during the first real freeze.
- Clear at least 3 feet from curtains, bedding, upholstered furniture, magazines, newspapers, oxygen tubing, laundry, and holiday decorations.
- Put the heater on a flat, stable surface where it will not be kicked by a walker, cane, pet, or nighttime trip to the bathroom.
- Trace the entire cord with your eyes. If it disappears under a rug, behind a door hinge, or under furniture legs, the setup fails.
- Check whether the outlet is loose, scorched, overloaded, or hard to reach. A heater that requires bending behind furniture to unplug is not a good daily plan.
- Decide when the heater is allowed to run. If the answer is “while sleeping” or “when no one is home,” stop and replace that with a safer heating plan.
This is one of the places where sounding a little fussy is better than being polite. If the 3-foot zone cannot be maintained, the heater does not belong there.
Bedrooms and hallways: make carbon monoxide protection visible
Carbon monoxide is the winter risk that can look like nothing is wrong. It has no color or smell, and symptoms can be mistaken for fatigue, flu, dizziness, or simply “not feeling right.” The CDC says every home should have a carbon monoxide detector near every sleeping area, batteries should be checked when clocks change in spring and fall, detectors should be replaced every five years, and heating systems should be serviced annually.[5]
Stand in the bedroom doorway and ask three practical questions: Can the sleeping person hear the alarm? Is the detector near the sleeping area rather than only in the basement? Is the date on the detector still within its useful life? If no one can find a date, model number, or replacement record, add replacement to the list instead of assuming the device is fine because a green light is on.
If the house has multiple sleeping areas, check each one. A detector outside one upstairs bedroom does not protect someone sleeping in a converted den on the first floor if the alarm is too far away to wake them. For an older adult who removes hearing aids at night, volume and placement matter as much as ownership.
Detector check to finish before you leave
- CO detector near each sleeping area.
- Test button works.
- Battery check tied to daylight-saving time changes.
- Detector age checked; replace if it is at or beyond the five-year replacement point.
- Emergency number plan posted or saved if the alarm sounds.
Basement, garage, and utility area: service history beats reassurance
The furnace or boiler may be out of sight, but it is not out of the checklist. Go to the utility area and look for the service tag, invoice, or maintenance sticker. If the system has not had annual service, do not let “it ran fine last year” count as inspection.[5]
While you are there, look for blocked vents, stored boxes crowding the equipment, flammable items near fuel-burning appliances, and anything that has been placed in front of an access panel. This is also the place to confirm that snow shovels, ice melt, and flashlight batteries are reachable without climbing over storage bins. If the older adult uses a walker or cane, the path to the utility area should not become an obstacle course just because winter gear moved indoors.
Generator plans fail when the location is vague
A generator plan that says “we’ll put it outside” is not finished. The CDC says portable generators must be operated outdoors and at least 20 feet from windows, doors, and vents.[4] That distance should be chosen before snow, darkness, and a power outage make everyone impatient.
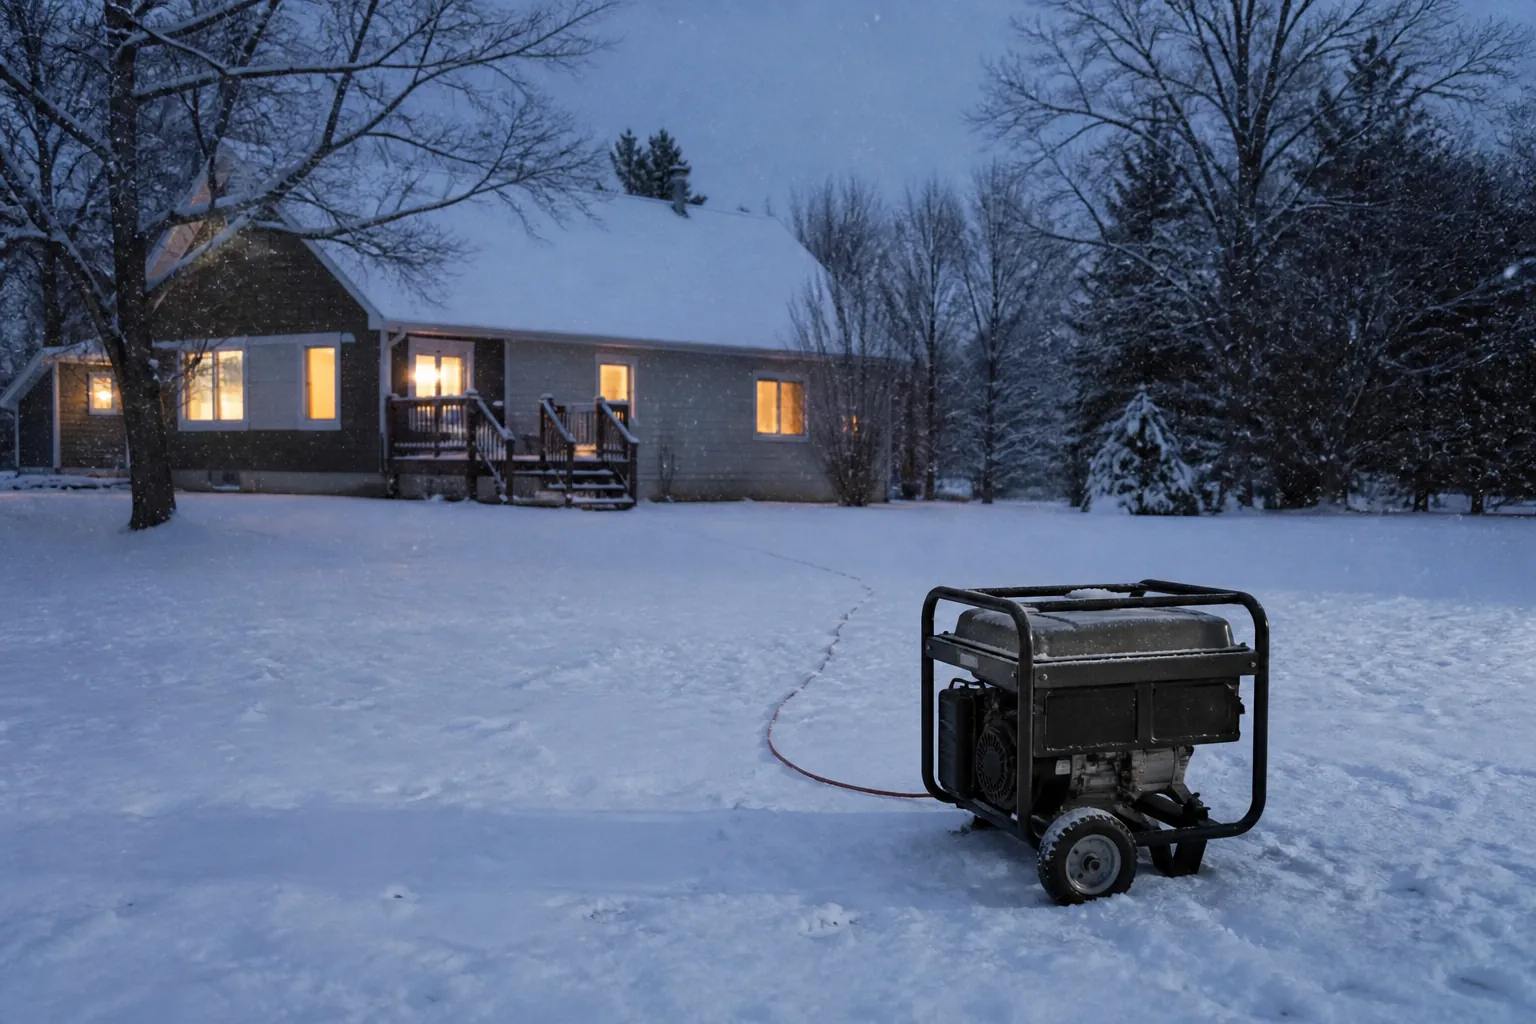
Walk outside and identify the actual spot. It needs to be away from openings, level enough to be stable, and positioned so exhaust does not blow toward the house. Do not count an attached garage, porch, breezeway, carport, or open doorway as “outside.” If the older adult cannot safely move, fuel, or start the generator, write down who can. A generator that depends on a person doing unsafe lifting or guessing in the dark is not a backup plan; it is another emergency waiting for bad weather.
Kitchen, medication shelf, and emergency supplies
The emergency-supply layer should be compact and boring. It is there so a short outage, icy driveway, or delayed caregiver visit does not immediately become a crisis.
For sheltering in place, the Ohio Department of Aging uses a three-day emergency kit baseline with essentials such as water, food, medications, flashlight, batteries, radio, first-aid supplies, extra clothing, blankets, and important documents.[8] The American Red Cross advises older adults to keep at least a 30-day supply of medications when possible.[9] AARP’s caregiver winter guidance recommends a week of non-perishable food and bottled water, using 1 gallon of water per person per day as the planning amount.[6]
- Check medication refill dates, not just pill bottles. If a refill will run out during expected winter travel or storm season, solve it now.
- Put water, shelf-stable food, flashlight, batteries, radio, blankets, and first-aid supplies where the older adult can reach them without a step stool.
- Add food that matches the person’s actual diet, chewing ability, and medical restrictions.
- Keep a paper list of medications, allergies, clinicians, family contacts, and utility contacts in the same place as the emergency supplies.
- If refrigerated medication, oxygen, powered mobility equipment, or medical devices depend on electricity, assign the backup plan to a person, not to hope.
Entryways and walking surfaces still count, but do not let them swallow the whole checklist
Yes, the entryway matters. So do wet shoes, dim porch lights, uneven thresholds, ice melt, railings, and the path from the driveway to the door. Those checks are important enough that they deserve their own deeper pass. If this walk-through finds loose mats, poor lighting, missing grab points, or a dangerous front step, use the room-by-room guide to winter-proof a parent’s home rather than trying to solve every traction problem from memory.
For the older adult who still walks outside, drives, gets the mail, or crosses icy parking lots, move from this home readiness pass to the focused guide on preventing winter falls while living alone. For bad-weather errands and outdoor exposure, use the separate outdoor safety guide for seniors in bad weather. The point here is not to ignore falls; it is to make sure heat, fire, generator, and carbon monoxide risks get the same seriousness.
Know the hypothermia line before anyone tries to “sleep it off”
Hypothermia is not only an outdoor problem. It can happen inside a cold home, especially for an older adult who is alone, underdressed, ill, or unable to judge how cold the room has become. The CDC’s emergency threshold is clear: a body temperature below 95°F requires emergency medical care.[2]
Do not turn this into a bedside diagnostic project. If there is confusion, unusual sleepiness, slurred speech, weak pulse, cold skin, or a temperature near that emergency line, call for help. For a deeper explanation of warning signs and what to do during storms, use the guide to telling ordinary cold from hypothermia in seniors.
If a storm is already forecast, switch from readiness to storm mode
This checklist is the before-winter pass. If a specific winter storm is already on the way, the order changes: charge devices, confirm transportation, review outage contacts, check food and medication immediately, and decide whether the older adult should stay put or leave before roads worsen. Use the acute winter storm preparation checklist for seniors at home for that situation.
For broader power outage, evacuation, and severe-weather planning, especially when the older adult lives alone or has medical equipment, pair this pass with the severe weather safety checklist for seniors living alone. If larger home changes come up during the walk-through, such as safer entrances, better lighting, or structural repairs, the guide to home modification costs for aging in place can help sort quick fixes from bigger projects.
The finish line: write down the gaps and assign them
Do not leave with a mental list. Leave with a short written one: thermostat target set, draft locations named, heater clearances fixed, generator location chosen, CO detectors checked, furnace service date confirmed, supplies stocked, medication plan reviewed, and any unresolved item assigned to a person with a date.
The house does not have to be perfect before the first storm. It does need the dangerous assumptions removed. “Warm enough,” “far enough,” “the alarm is probably fine,” and “we’ll figure out the generator later” are not winter safety checks. A measurable walk-through replaces those guesses with numbers someone can verify while the weather is still calm.
References
- Cold Weather Safety for Older Adults, National Institute on Aging
- Preventing Hypothermia, Centers for Disease Control and Prevention
- #WinterReady, Ready.gov
- Safety Guidelines: During & After a Winter Storm, Centers for Disease Control and Prevention
- Carbon Monoxide Poisoning Basics, Centers for Disease Control and Prevention
- Caregiver winter safety tips, AARP
- Tip Sheet: Winter Safety for Older Adults, HealthInAging.org, July 2019
- Winter Safety, Ohio Department of Aging
- Older Adults Emergency Preparedness, American Red Cross
Related reading
Noticed something outdated or inaccurate on this page? Flag a correction. We review every report against CDC, NIA, and AARP HomeFit guidance before updating a page.
Part of the Fall Prevention section.