
STEADI: Intervene
Fall-Proof Your Elderly Parent's Tornado Shelter Route
For an aging parent, the most dangerous minutes of a tornado warning are usually the rushed, dark trip to the safe spot — not the storm itself. Use this room-by-room walkthrough to clear trip hazards along the shelter route, add lighting and support where balance is weak, and complete a timed drill you repeat every six months.
When a tornado warning sounds, the safe spot is not the whole plan. Your parent still has to get out of the chair or bed, find shoes, turn a walker through a doorway, reach a light, manage a step, and arrive without falling. A tornado safety plan for elderly parents is only as strong as that short, rushed route.
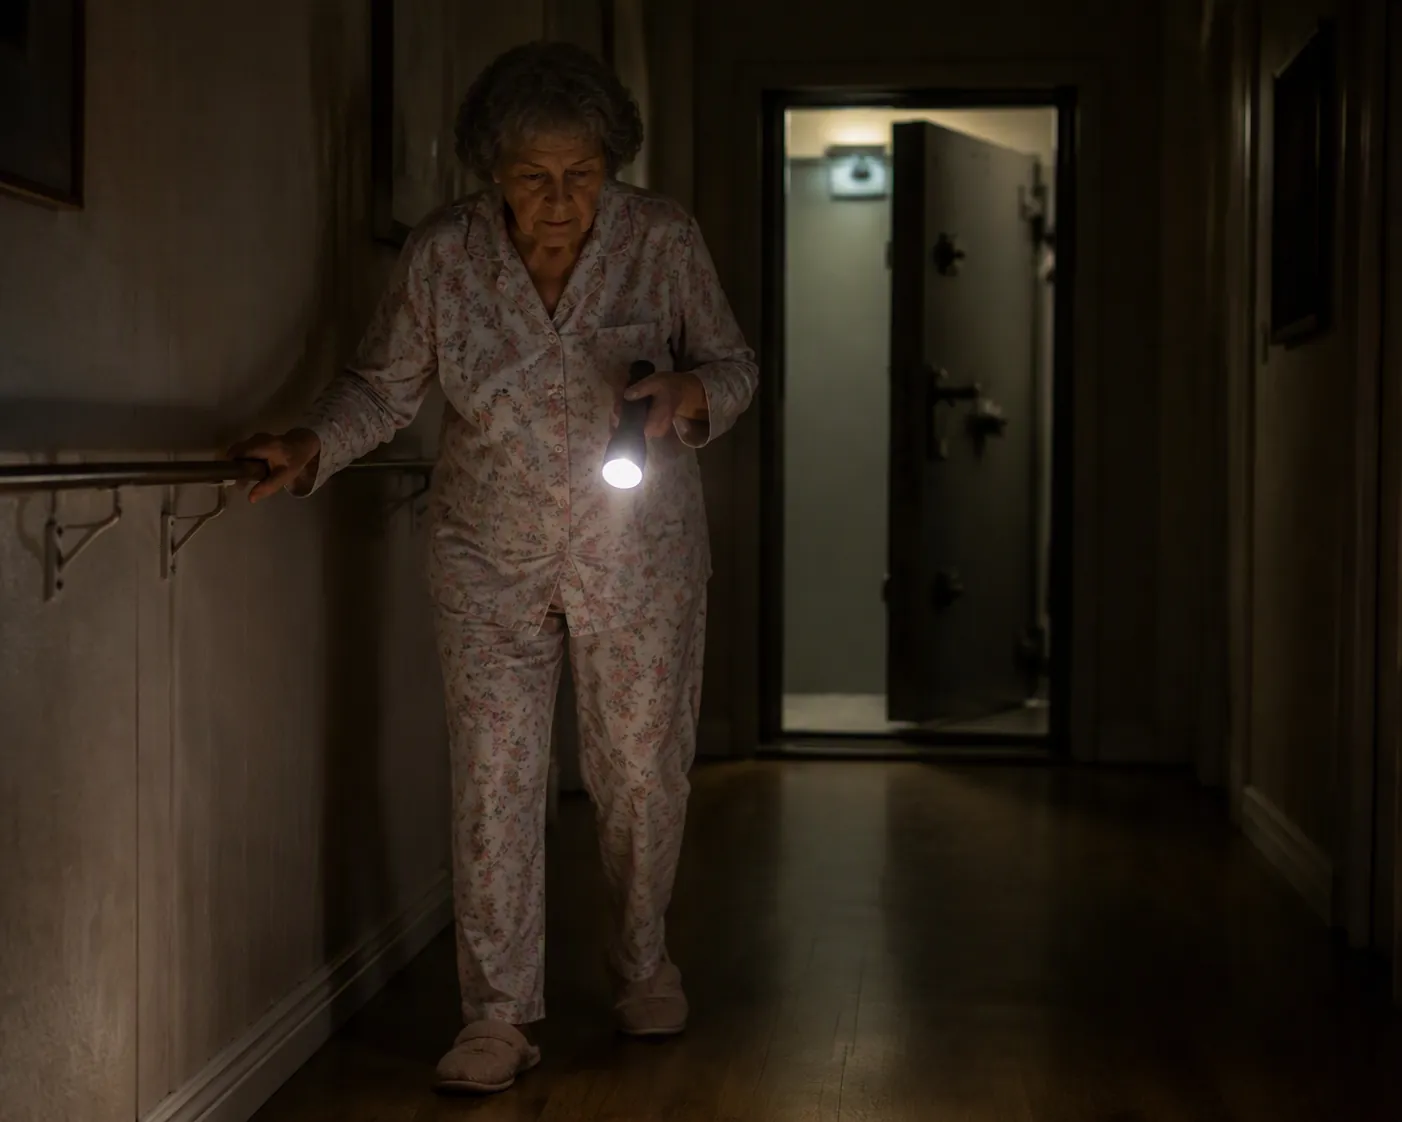
Start with the right destination, but do not stop there. CDC guidance points people toward a basement when available, or otherwise an interior room on the lowest level, and also warns against sheltering under heavy objects such as refrigerators or pianos that could fall through a damaged floor above. [1][2]
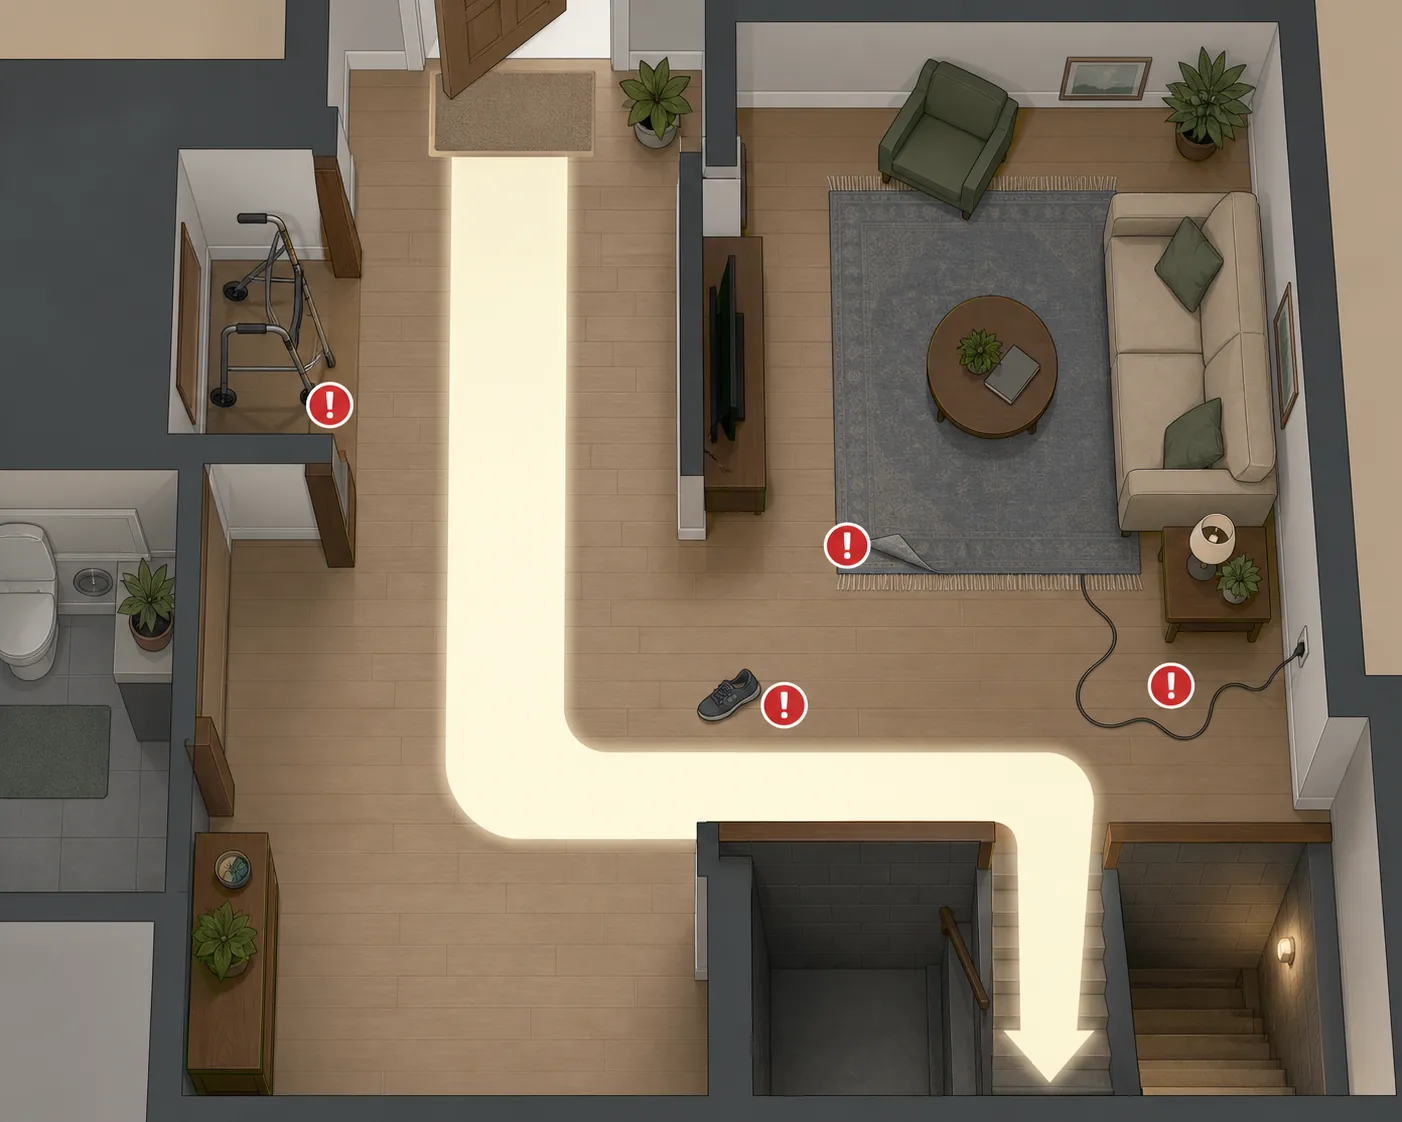
Once the safe spot is chosen, the real work is mechanical: walk from the places your parent actually spends time to that shelter. Begin at the usual daytime seat. Begin again at the bed. Mark every rug edge, cord, shoe, doorway squeeze, step, threshold, dark corner, awkward turn, and missing hand support. Then time the trip and write down what slowed it.
The broader emergency plan — medication lists, redundant alerts, support networks, and a full household tornado checklist — belongs with our tornado safety plan for seniors. Here, the question is simpler and less forgiving: can your parent reach the named safe spot in the dark, in a hurry, without a fall?
The one-walkthrough route checklist
Print this or copy it onto a page you can carry through the house. Do the walkthrough with your parent if at all possible. The point is not to inspect their home as if they failed a test. The point is to watch the route through their body: where they pause, where they reach, where they shuffle, where the walker catches, where the light is not where a hand expects it.
| Walkthrough point | What to check | Fix before the drill |
|---|---|---|
| Daytime starting place | Favorite chair, recliner, kitchen chair, porch chair, or TV seat | Keep shoes, glasses, cane or walker, and a flashlight reachable from that exact spot |
| Nighttime starting place | Bedside path, slippers, glasses, hearing aids, walker position, light switch or flashlight | Clear the first steps out of bed; place essentials on the side your parent actually uses |
| Floor path | Area rugs, curled mat edges, cords, baskets, pet bowls, laundry, stray shoes | Remove, tape down, reroute, or relocate anything that can catch a foot, cane, walker, or wheelchair |
| Lighting | Dark hallway, basement landing, doorways, stair top and bottom, safe room entry | Add reachable flashlights, battery lighting, nightlights, or motion-sensor lighting where darkness will slow the trip |
| Doorways and turns | Walker or wheelchair clearance, doors that swing into the path, furniture corners | Test the real mobility aid through the real doorway; move furniture or change parking spots if turning requires backing up |
| Balance points | Places your parent touches walls, furniture, towel bars, door frames, or shelves for support | Replace improvised support with properly mounted handholds or grab bars where appropriate |
| Steps and thresholds | Basement stairs, shelter step-down, garage threshold, uneven flooring, slick surfaces | Add non-slip surfaces, secure rails, lighting, and a slower entry routine before speed is practiced |
| Shelter arrival | Chair or seated position, room for walker, door operation, flashlight placement, water or phone if already part of the plan | Make sure the parent can enter, sit, turn, and keep the mobility aid close without blocking anyone else |
| Assistive help | Where help is needed: standing, stairs, door opening, carrying oxygen or other equipment | Write down who helps, how they enter, and whether a spare key is already with an agreed nearby helper |
| Timed drill | Actual time from chair and from bed to the safe spot | Record time, obstacles, assistance needed, and next fix; repeat every six months |
First, confirm the safe spot is reachable and sensible
A basement may be the strongest shelter location in the house, but it may also be the hardest place for an older adult to reach. That does not mean you ignore CDC shelter guidance. It means you test the whole sentence: “Go to the basement.” Can your parent stand up quickly enough? Are shoes already nearby? Is the rail solid? Is the light at the top of the stairs reachable? Can the walker be left somewhere safe without creating a new obstacle?
If the basement route is too slow or unsafe even after fixes, look for the best lower-level interior alternative already supported by official guidance. Do not quietly settle on a convenient room under a heavy upstairs object without thinking it through; CDC specifically calls out the risk of heavy objects above a shelter space. [2]
For parents with functional needs, keep a written note with the practical details that matter during a warning: mobility limits, medications, communication needs, equipment, who assists, and who has access to the house. CDC advises writing down needs, limitations, capabilities, and medications, and giving a copy and a spare key to a nearby person who has agreed to help. [1]
Walk from the chair, not from an imaginary starting line
The daytime route starts where your parent actually sits when the weather turns. For many people, that is not the front hall. It is a recliner angled toward the television, a kitchen chair, a sewing room, a screened porch, or a bedroom chair with a side table crowded by ordinary life.
Stand there with your parent and ask them to begin the shelter trip at a normal, steady pace. Watch the first thirty seconds closely. The first snag is often embarrassingly small: slippers under the chair, the walker parked on the wrong side, a cane leaning across the room, a phone charging cord crossing the path, or a low ottoman that everyone has stopped noticing.
Do not move the hazards yet. Put a piece of painter’s tape near each one or write it down. You want the first pass to show the route as it exists when no one is performing for company. After the first pass, fix the obvious items: clear the floor, park the mobility aid where the trip begins, and place shoes where they can be put on without crossing the room.
Check the bed route separately
Night changes the route. A parent who walks confidently from the living room may hesitate at the bedside because the room is dark, glasses are out of reach, hearing aids are on the dresser, slippers have slid under the bed, or the walker is parked at the foot instead of the side they use.
Start with the first motion: sitting up, feet down, hand placement, standing, reaching for the walker or cane. If your parent reaches for the nightstand to pull up, that is information. If they hold the door frame to steady themselves, that is information. If they need to turn before they can reach the walker, the route has already failed its simplest test.
Place essentials on the side of the bed your parent uses, not the side that looks tidier. Shoes or firm slippers should be reachable without bending into darkness. A flashlight should be reachable from the bed and easy to switch on with stiff fingers. If your parent uses a walker, it should be parked so they can stand into it, not hunt for it.
Remove what catches feet, wheels, and panic
Area rugs are harmless until a foot is half-awake, a walker leg catches the edge, or the hallway is lit only by a flashlight. Cords are manageable until the power is out and someone is moving faster than usual. Keystone Health’s senior emergency-preparedness checklist suggests keeping flashlights easy to reach, removing or taping down area rugs that can cause trips in low light, and using nightlights or motion-sensor lights for visibility; treat those as practical checklist ideas, not as proof that one product or layout is safest. [3]
On the route itself, be stricter than you would be in the rest of the house. A decorative rug that stays in the dining room may still need to leave the shelter path. A cord that is fine behind a chair may be wrong across the hallway. A laundry basket that is usually “only there for a minute” should not live between the bed and the safe room.
- Remove loose area rugs from the route, especially at turns, doorways, stair landings, and the shelter entry.
- Reroute extension cords and charging cables behind furniture or along walls where feet, canes, walkers, and wheels will not cross them.
- Move pet bowls, baskets, shoes, floor plants, magazine racks, and small tables off the path.
- Check the floor at night with only the backup light you expect your parent to use. Daylight hides too much.
- Repeat the check after family visits, holidays, furniture rearranging, or any new medical equipment arrives.
Make the path fit the actual mobility aid
Do not estimate walker or wheelchair clearance by looking down the hall. Push the actual walker. Roll the actual wheelchair. Try the turn through the actual doorway. A route can look clear until the rear walker legs clip a rug edge, the wheelchair footrests hit a door frame, or the parent has to back up in a narrow hall.
Doorways deserve special attention because they combine several risks at once: a threshold, a turn, a door swing, a hand reaching for balance, and sometimes a change in flooring. If the walker must be folded, lifted, or abandoned to pass through, write that down as a problem, not as a clever workaround.
Furniture may need to move only a few inches. A side table shifted away from a doorway can remove a hard turn. A hallway chair moved to another wall can make room for a walker. A door that is usually left half-open may need a hook, stop, or different habit so it does not narrow the path during a warning.
Put light where the hand goes during an outage
A flashlight in the kitchen junk drawer is not route lighting if the warning starts in the bedroom. A lantern on a basement shelf is not helpful if the first dark place is the stair landing. Lighting has to appear before the hazard, not after it.
Place flashlights where your parent begins the trip: beside the bed, beside the favorite chair, and near the shelter entrance if that entrance is separate. Choose locations that do not require bending, reaching behind clutter, or opening a drawer with both hands. Battery-powered nightlights or motion-sensor lights can help preserve the route when household power fails, and the same dark-route thinking applies beyond tornado warnings; our power-outage fall-prevention guide for seniors goes deeper on lighting a home for blackouts.
During the walkthrough, turn off the lights if it is safe to do so and repeat the path using only the backup lighting. This is where polite assumptions fall apart. The pull-chain in the basement may hang six inches farther away than expected. The flashlight may roll off the nightstand. A motion light may switch on after the risky step, not before it.
Replace furniture-grabbing with real support
During the walkthrough, notice every place your parent touches the wall, a towel bar, a bookshelf, a door frame, the back of a chair, or the edge of a table. Those touches are not random. They are balance points.
Some balance points can be solved by clearing the route or moving the walker closer. Others need a properly mounted rail or grab bar. Do not let a towel bar become an emergency handhold by default; use the mounting criteria in our towel bar versus grab bar guide before adding support along a shelter path.
Stairs need the least sentimental review. If the route uses basement stairs, check the rail from the top landing to the bottom, the lighting at both ends, the tread surface, and the place your parent pauses before opening the shelter door. If one hand holds a flashlight and the other holds the rail, what happens to the cane? If a walker cannot go down, where is it parked so it does not block someone else?
Commercial storm-shelter guidance aimed at seniors often emphasizes non-slip steps or flooring and entry designs that let a person move at a steady pace; those are useful design prompts when you inspect a basement entry or shelter threshold, even though they should not be treated as independent safety proof. [4]
Set up the shelter arrival, not just the route
The trip does not end at the doorway. Your parent has to enter the safe space, turn, sit or settle, and keep needed equipment close. A walker left across the entrance can block another person. A chair placed too far inside the room can force extra steps. A flashlight stored on the floor can become another bending task.
Keep the shelter space plain. It needs enough room for the parent, the mobility aid, and anyone assisting. If there is a chair, test whether your parent can sit and stand from it. If the safe spot is a small interior bathroom, make sure the path to the most protected position does not require stepping over storage bins, scales, cleaning supplies, or bath mats.
If your broader plan includes a small emergency bag, phone charger, medication list, or water, place those items so they do not narrow the route. The shelter path should not become a storage lane for preparedness supplies.
Run the timed drill
After the route is cleared, lit, and supported, practice it. AARP caregiver guidance recommends practicing the shelter-in-place drill with an older loved one every six months, and Red Cross tornado safety guidance tells households to practice moving quickly to the identified safe location. [5][6]
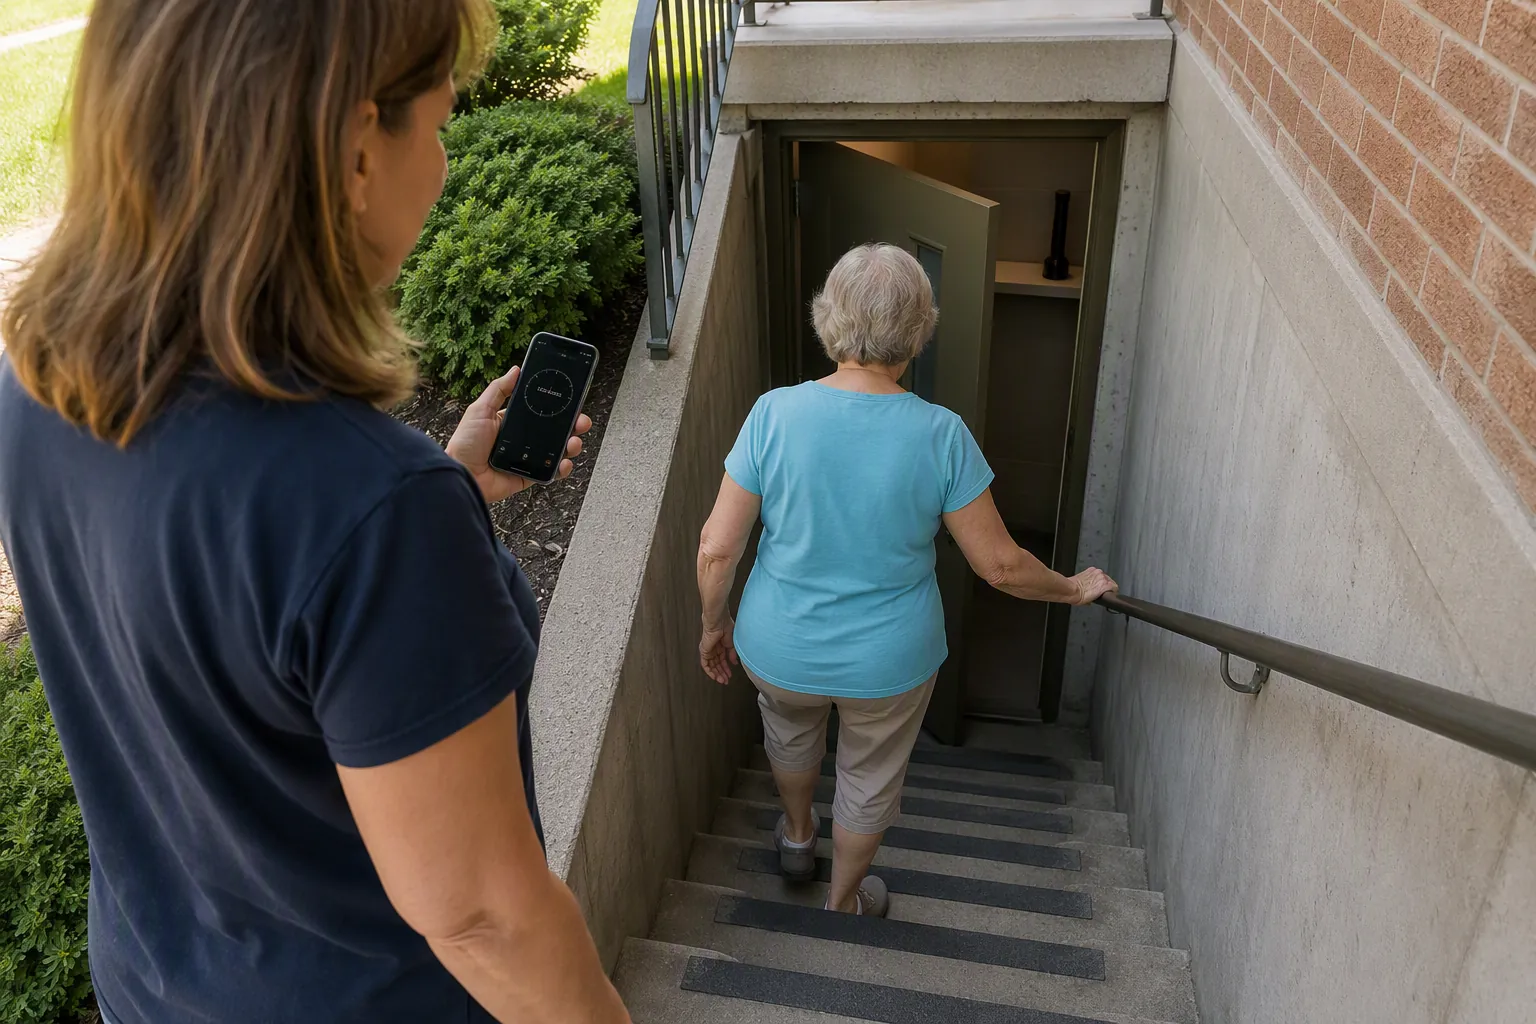
This drill should be quick, but not frantic. Do not shout instructions from behind your parent. Let them begin from the chair or bed, use the shoes, walker, cane, lights, and handholds you have placed, and move at the fastest steady pace they can safely manage. Time the route from the starting place to settled position in the safe spot.
Run two versions: one from the daytime starting place and one from the bed. If your parent naps in another room, add that route too. If they need help standing, opening a heavy door, managing stairs, or carrying medical equipment, the drill should include the helper or show clearly that help is missing.
| Drill date | Starting point | Time to safe spot | What slowed the trip | Help needed | Fix before next drill |
|---|---|---|---|---|---|
| Favorite chair | |||||
| Bed | |||||
| Other common location |
The time matters, but the notes matter more. “Two minutes” is less useful than “stopped at bedroom doorway because walker hit hamper” or “needed daughter to turn on basement light” or “could not hold flashlight and rail at same time.” Those are fixable findings.
What to change after the first drill
- If your parent stops to look for shoes, place a dedicated pair at each starting point.
- If the walker begins on the wrong side of the chair or bed, change its parking place and practice standing into it.
- If a hallway feels dark even with a flashlight, add earlier route lighting rather than expecting your parent to aim the beam while walking.
- If stairs slow the route, check rail stability, lighting, tread grip, and whether a seated interior low-level option is safer and still consistent with official shelter guidance.
- If your parent freezes or waits for instructions, write a simpler cue card and practice the first two actions: shoes on, hand to walker, move to shelter.
- If help is required, name the helper, confirm they agree, and make sure they can enter without waiting for your parent to unlock the door.
Repeat the drill every six months, and repeat it sooner after a fall, surgery, medication change, new walker or wheelchair, furniture move, or any change in who lives nearby. The route belongs to the current body and the current house, not to the plan you wrote last year.
Give the helper route-specific instructions
A nearby helper should know more than “Mom goes to the basement.” They should know which door to use, where the spare key is, whether your parent needs help standing, where the walker is parked, which light fails first, and whether the basement stairs require one person ahead or behind.
Keep a one-page route note near the emergency plan and share a copy with the agreed helper. Include the safe spot, the fastest safe route, backup route if the first path is blocked, mobility aid location, lighting locations, medication or equipment notes, and the last drill time. If your parent is sensitive to feeling managed, write it as a house note rather than a critique: “What works when we need to move quickly.”
Keep the route clear after the storm, too
The same route can become risky again after the warning passes: power may still be out, branches or debris may be near doors, water may be tracked inside, and everyone may be tired. Before your parent leaves the safe spot, turn the lights back into a route question again: what can they see, where will they put a hand, and what is now on the floor?
For related severe-weather planning, use our severe-weather checklist for seniors living alone, senior flood evacuation checklist, earthquake preparedness checklist for seniors, and after-storm home safety guide.
References
- Preparing for a Tornado — CDC
- Safety Guidelines: During a Tornado — CDC
- Emergency Preparedness for Seniors — Keystone Health
- Storm Shelters for Seniors — Refuge Storm Shelters
- Preparing for an Emergency — AARP
- Tornado Safety — American Red Cross
Related reading
Noticed something outdated or inaccurate on this page? Flag a correction. We review every report against CDC, NIA, and AARP HomeFit guidance before updating a page.
Part of the Fall Prevention section.