10 Bathroom Design Mistakes That Raise Fall Risk for Older Adults — and How to Fix Each One
bathroomstructural~$50–$600Reviewed: 2026-06-29
10 Bathroom Design Mistakes That Raise Fall Risk for Older Adults — and How to Fix Each One
This article identifies 10 common bathroom design mistakes that increase fall risk for older adults, explains why each is a hazard, and provides evidence-based fixes with cost ranges and difficulty levels — helping caregivers and homeowners prioritize safety improvements.
Estimated cost range: $50–$600
Cost ranges are estimates. Verify eligibility directly with each program.
By Editorial Team
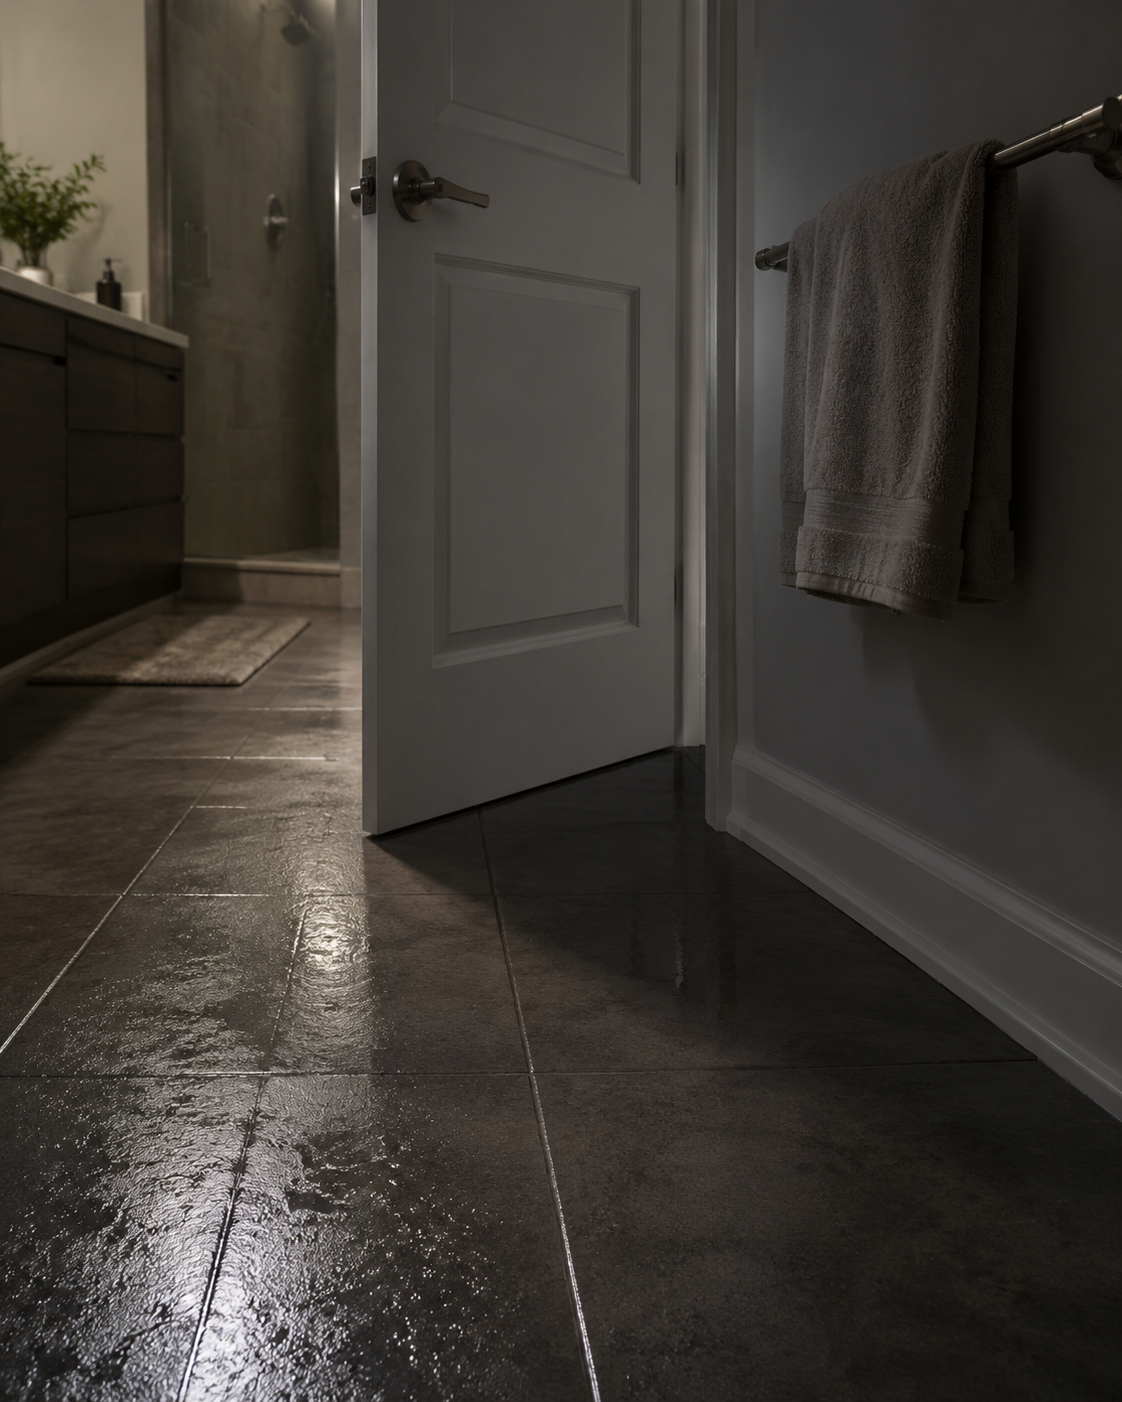
A risky bathroom rarely announces itself with one obvious defect. More often, the floor looks beautiful until it is wet, the towel bar looks strong until someone grabs it, the tub feels manageable until a tired knee has to clear the edge, and the door seems ordinary until someone is lying behind it. For older adults, those small design choices can stack into one preventable fall.
The scale is not small. CDC data estimate roughly 235,000 emergency-room visits each year from bathroom falls among adults 65 and older.[1] Age Safe America and Shirley Ryan AbilityLab materials are often cited for the claim that about 80% of home falls occur in the bathroom; that number should not be stretched to mean the rest of the home is safe, but it does explain why aging in place bathroom design deserves more than a few stick-on accessories.[2]
Use this as an audit, not a showroom checklist. If a parent has already fallen or nearly fallen, start with the items that could fail today: traction, handholds, lighting, and rescue access. If you are remodeling, the expensive mistakes are different: missing wall blocking, choosing the wrong flooring, leaving a high tub threshold as the only bathing option, and installing doors or controls that assume standing balance will always be available.
Mistake
Why it raises fall risk
Better fix
Cost tier
Difficulty
Glossy floor tile with low DCOF
Wet feet lose traction on polished surfaces
Choose tile with suitable wet DCOF and texture
Product choice now; costly if replacing finished floor
Medium to high
Towel bars used as grab bars
They are not built for body-weight loads
Install rated grab bars into structure
Moderate per location
Medium
No wall blocking
Future grab bars may have no safe anchor
Add blocking before walls close
$50–$100 during construction; $300–$500 per bar retrofit
Low during remodel; high afterward
High tub threshold
A 12–20 inch step-over combines balance, wet surface, and leg lift
Consider curbless shower, low-threshold shower, or appropriate walk-in tub
Remodel budget
High
Poor night and task lighting
Low light hides water, edges, and obstacles
Add layered lighting and motion-activated night lighting
Low to moderate
Low to medium
Inward-swinging door
A fallen person can block rescue access
Use outward swing, pocket door, or emergency-release hardware
Moderate to remodel budget
Medium to high
Round knobs and hard-to-turn faucets
They require grip strength and wrist rotation
Use lever handles
Low to moderate
Low
Standard-height toilet
Lower seats demand more leg strength and balance
Use 17–19 inch comfort-height toilet or appropriate riser
Low to moderate
Low to medium
Shower controls out of seated reach
The user must stand, twist, or reach while wet
Install handheld shower on slide bar with reachable controls
Moderate
Medium
No thermostatic anti-scald valve
Sudden temperature change can trigger a startled movement
Install thermostatic anti-scald protection
$200–$600 installation
Medium
1. Choosing glossy floor tile before checking wet traction
The first mistake often happens months before anyone uses the bathroom. A polished tile sample looks clean under showroom lights. Installed across a bathroom floor, it becomes part of the fall chain: bare feet, water overspray, soap residue, a towel on the floor, one hurried step.
The number to ask for is DCOF, or dynamic coefficient of friction. ANSI’s commonly cited minimum for level interior surfaces expected to be walked on when wet is 0.42, while aging-in-place remodel sources often recommend looking higher, commonly 0.50 or above and sometimes closer to 0.60 for wet bathroom conditions.[3][4] That does not make a tile fall-proof. It only tells you the flooring has been selected against a performance measure instead of a photograph.
For a remodel, ask the contractor or tile supplier for the wet DCOF rating in writing before ordering. Matte, textured, smaller-format, or mosaic tile can improve traction, especially when grout lines add grip, but texture still has to be cleanable. If the tile is already installed, the fix may be less elegant: high-quality bath mats with non-slip backing, a professionally applied anti-slip treatment where appropriate, or eventual floor replacement. For a deeper contractor-facing checklist, see the bathroom remodel fall-prevention guide.
Cost and difficulty: choosing safer tile before installation is mostly a product-selection decision. Replacing a finished floor belongs in a larger remodel budget, especially if the subfloor, waterproofing, or shower pan is involved.
2. Installing towel bars where hands will reach for support
A towel bar is one of the most misleading objects in the bathroom because it feels fixed. It may even survive years of normal use. That is not the same as being able to take the sideways, downward, panicked load of an adult trying not to fall.
Grab bars are expected to support at least 250 pounds when properly installed; towel bars may be designed for about 50 pounds and are not a substitute.[5][2] Drywall alone is not enough. If the bar tears out, the person does not merely lose support — they may fall harder because they trusted it.
Install real grab bars where transfers happen: beside the toilet, at the tub or shower entry, and along the bathing wall. The bar should be anchored into studs, blocking, or an approved mounting system. Decorative grab bars exist, and there is no reason the room has to look institutional, but the load rating and anchoring method come first.
Cost and difficulty: moderate per location if there is structure behind the wall; more expensive if the installer has to open finished walls or use specialty anchoring. If you are unsure where support is needed, a professional home safety assessment can prevent guesswork; see what Medicare now covers for home safety assessments.
3. Closing the walls without blocking for future grab bars
Blocking is not glamorous. It is also one of the cheapest decisions you can make before drywall goes up and one of the most irritating omissions to discover after a fall. Without solid backing, a future grab bar may not land where the person actually needs it.
Remodel sources estimate that adding blocking during construction may cost about $50 to $100, while retrofitting a grab bar after walls are closed can run about $300 to $500 per bar.[6][7] The exact cost depends on finish materials, wall access, and labor, but the pattern is consistent: structure is cheaper before the wall becomes a finished bathroom wall.
During a remodel, ask for continuous blocking or reinforced zones around the toilet, shower, and tub, not just one guessed location. That gives a future occupational therapist, CAPS professional, or contractor more freedom to place bars where the user’s height, transfer pattern, and dominant hand actually require them. If you are hiring for this work, use a CAPS vetting process rather than assuming every remodeler understands aging-in-place details.
Cost and difficulty: low during construction; medium to high after walls are tiled, waterproofed, or otherwise finished.
4. Leaving a high tub threshold as the only bathing option
A standard bathtub can require stepping over a 12- to 20-inch wall.[8][5][9] That movement asks for hip flexion, balance on one leg, enough grip to steady the body, and confidence on a wet surface. It is not a minor inconvenience for someone with weakness, dizziness, neuropathy, arthritis, or fear after a previous fall.
The better answer depends on the person and the house. A curbless shower can remove the step-over problem, but it must be designed with correct slope, drainage, waterproofing, reach zones, and room for a caregiver if assistance is needed. A low-threshold shower may be more practical in some homes. A walk-in tub can help certain users who want seated bathing, but it still requires waiting while the tub fills and drains, and it is not automatically the safer choice for every mobility pattern.
This is one of the places where product marketing can get ahead of function. Before choosing, compare the user’s actual transfer ability, whether they can stand long enough to shower, whether a caregiver helps, and whether the bathroom footprint supports a safe layout. For a more detailed comparison, see walk-in tub versus curbless shower choices.
Cost and difficulty: high if replacing a tub, moving plumbing, or creating a curbless shower. If money is tight, prioritize grab bars, a secure transfer bench if appropriate, and non-slip surfaces while planning the larger change. Broader budget planning is covered in the aging-in-place remodel funding guide.
5. Treating bathroom lighting as decoration
Low light makes ordinary hazards harder to read: water on the floor, the edge of a bath mat, the toilet base, a change in floor level, the outline of the tub. At night, the problem is worse because the person may be half awake and trying not to turn on a harsh overhead light.
A 60-year-old needs roughly three times the lumens a 20-year-old needs for comparable visual performance.[10] That does not mean blasting the room with glare. It means layering light: bright, even task lighting at the vanity; safe illumination at the shower and toilet; and low-level night lighting that turns on before someone has to cross the room.
The fast fix is motion-activated LED lighting along the route to the bathroom or near the toe-kick, plus a nightlight that does not create shadows. During a remodel, ask for switch placement that can be reached before entering, fixtures rated for damp or wet locations where required, and lighting that reduces glare on glossy surfaces.
Cost and difficulty: low for plug-in or battery-powered motion lighting; medium for hardwired lighting, new switches, or shower-rated fixtures.
6. Letting the bathroom door swing inward without a rescue plan
An inward-swinging bathroom door feels normal until the one moment when normal fails. If someone falls behind it, a caregiver may not be able to open the door far enough to enter, assess breathing, stop water, or help the person up safely.
AARP and NAHB aging-in-place guidance commonly point toward door approaches that improve access, including outward-swinging doors, pocket doors, wider clearances, or hardware that can be released from outside in an emergency.[5][11] The right fix depends on the hallway, wall framing, electrical runs, and whether the bathroom is being remodeled anyway.
For a quick improvement, replace privacy hardware that cannot be opened from the outside with emergency-release hardware. For a remodel, ask early about an outward swing or pocket door. This decision has to happen before framing, electrical, and trim work are treated as finished.
Cost and difficulty: low for hardware; medium to high for changing door swing or installing a pocket door, especially if the wall contains plumbing or wiring.
7. Keeping round knobs and hard-to-turn faucet handles
Round doorknobs and small faucet handles assume grip strength, wrist rotation, and dry hands. That is a poor assumption in a bathroom used by someone with arthritis, tremor, weakness, or neuropathy.
NAHB, AARP, and NIH/NIA materials commonly recommend lever-style handles because they are easier to operate with limited grip.[11][5][8] The fix is usually straightforward: lever door hardware, lever faucet handles, and controls that can be used with the side of a hand rather than a tight grasp.
Cost and difficulty: low for many hardware swaps; medium if faucet replacement requires plumbing work or if older fixtures are difficult to match.
8. Assuming a standard-height toilet is harmless
A standard-height toilet is often about 14 to 15 inches high, while comfort-height models are commonly about 17 to 19 inches.[5][11][12] Those few inches can change how much strength and balance a person needs to sit and stand.
Higher is not automatically better for everyone. A shorter user may lose stable foot contact if the seat is too high. The safer choice is the height that lets the user sit with control, stand without rocking forward, and keep feet supported. Grab bars beside the toilet often matter as much as the toilet height itself.
Cost and difficulty: low for some raised toilet seats or safety frames; medium for replacing the toilet. If a remodel is already planned, choose toilet location and wall blocking together rather than treating the toilet as a separate fixture.
9. Placing shower controls where a seated person cannot reach them
A shower can have good tile, a bench, and grab bars and still force an unsafe movement if the controls are out of reach. The person sits, realizes the water is too hot or the spray angle is wrong, then stands or twists to adjust it.
Shirley Ryan AbilityLab occupational therapy guidance emphasizes reachable bathing controls and handheld shower options for safer seated bathing.[13] A handheld shower on a slide bar can let the user bathe while seated and adjust spray height without stepping across a wet floor. The slide bar should not be mistaken for a grab bar unless it is specifically rated and installed for that load.
Cost and difficulty: moderate for adding a handheld shower and slide bar; higher if plumbing must move so controls can be reached from outside the spray zone or from a seated position.
10. Skipping thermostatic anti-scald protection
Scald prevention is usually discussed as a burn issue, but it also belongs in a fall-risk audit. A sudden blast of hot water can make someone jerk backward, step quickly, reach blindly, or abandon a stable position. In a wet shower, that startled movement matters.
NAHB and bathroom safety sources recommend thermostatic or anti-scald protection as part of safer bathroom design, and installation is commonly estimated at about $200 to $600 depending on the valve, access, and labor.[11][4] This is especially worth asking about during a remodel, when the wall may already be open.
Cost and difficulty: medium if the plumbing is accessible; higher if finished tile has to be opened. Pair the valve decision with control placement, handheld shower selection, and seated bathing plans.
What to fix first if you cannot do everything now
After a fall, families often get handed a pile of recommendations with no order. The order matters. Start with the hazards that can fail immediately and cheaply: remove loose rugs, improve lighting, stop using towel bars as support, add proper grab bars where structure allows, and make the bathing transfer safer with appropriate equipment. For product-level hazard awareness, see hidden bathroom hazards that increase fall risk.
If the bathroom is being remodeled, shift attention to the choices that are hard to change later: floor traction, wall blocking, tub or shower entry, door swing, plumbing control placement, and lighting plan. Those decisions should be in the contractor’s scope before bids are compared, not added after the tile is chosen.
For cost planning beyond this room, use an aging-in-place home modifications cost guide to separate weekend fixes from remodel-budget work. A family does not have to rebuild the entire bathroom at once, but these ten choices should stop being treated as cosmetic. The safer bathroom is usually built by correcting the weak links in order of risk, cost, and timing.


Comments
Join the discussion with an anonymous comment.